Black and white landscapes are both beautiful and dramatic. What's the way to create them?
Black and white landscapes are both beautiful and dramatic. But what's the best way to go about creating them? These five post-processing tips from landscape photographer Peter Tellone will improve your black and white photos and help you create terrific images!
1. Start with a Great Color Image
Yes that’s right. A great black and white image starts with a great color image. This works in two ways. If you have black and white in mind for a scene, make sure that scene has a lot of contrast. Not just in contrasting colors and hues but also in Lightness.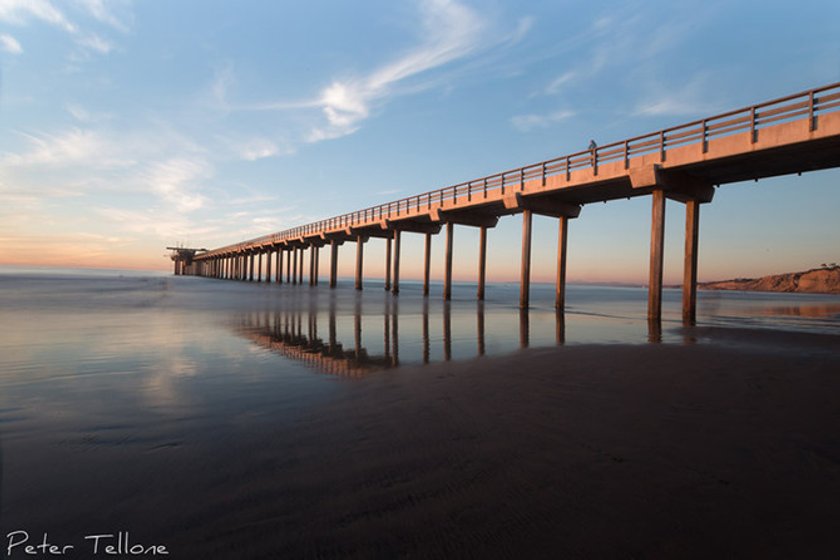 Secondly, fully process your color image - or at least mostly process it. This is one of the biggest mistakes people make in making a black & white, they convert the image too early in the process. Make sure the Exposure, Highlights and Shadows are all correct. Then make sure you set your White and Black points (search on Google for how to do this, it’s VERY important).
Remember we are converting millions of colors and hues to just 256 tones of gray so we need to have our color image looking its best.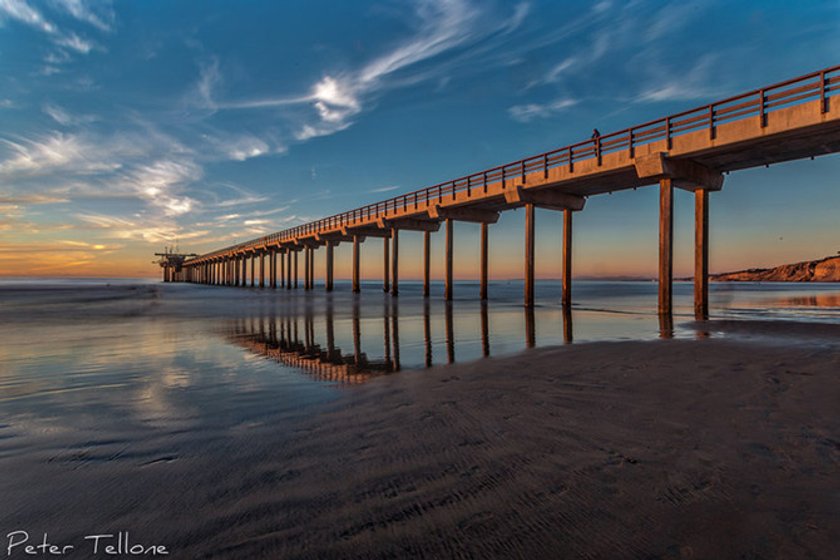
2. Don’t Over-saturate the Color Image
While we want a full color and hue range we don’t want them over-saturated. It should cover the range but should look a little flat. That’s OK, we’ll fix that later. If you over-saturate the image you can end up with Bloom, loss of detail and it’s even possible to blow out a color channel (red , green or blue) and while it may just look bright red in color, it may end up being a blown out white in conversion.
3. Don’t Sharpen or add Clarity…Yet
Sharpening should always be done last in any process but don’t add Sharpening or Clarity to the image before you convert to Black & White. Too often this can lead to halos and ringing of the edges of details that aren’t visible in color but stand out in a Black & White image. Plus, Skylum’s Tonality Pro has better clarity and structure tools than you will find in your editing program. Better to use them after conversion to see the effect on the final image. It’s best to wait until everything is done to see if you even need to sharpen the image in the end.
4. Try the Presets
If you are new to black and white, first try running through the presets in Skylum’s Tonality Pro. Remember that Black & White conversion is an art all to itself and there are many styles. For landscapes I prefer a very natural and Full Tonal Range.. or Full Tonality (pun intended). This is what Ansel Adam’s sought from metering to exposure to development. He wanted the ultimate tonality possible. BUT, there are other styles that are popular and you may use different styles for Architecture, to Street, to Portraiture. The Presets will allow you to browse though and find a style that may fit yours. Once you find a preset you like, make note of what the actual settings are that make that look possible. You may learn a lot.
5. Go for it Yourself. Start from Scratch
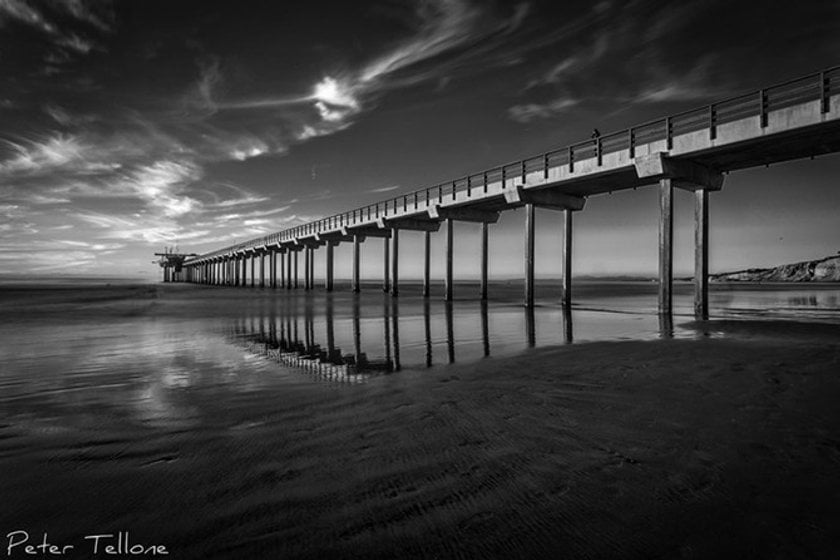
If you want to try using the adjustment controls yourself without the preset, there is a hierarchy of how you should go about it. And it basically is a “Top Down” approach but I mix it up just a bit. Start with the Tone Module, in fact, you may not need to use any of the other modules because Tonality Pro’s Tone module is that powerful. Work the exposure and contrast sliders first to get the basic look. Then break the image down for the Shadows, Mid-tones, and Highlights and then Black and White once again (just like we did with our color image). Keep an eye on the histogram. for most landscapes we want a full histogram and not bunched up at either end or a suck-out in the middle.
Now here is where I differ in the top down approach. Next I will jump down to the Color Filter Module. I like deep, dark, skies in my Landscapes to replicate what we used to do with red filters when we shot B & W Film, so often I will pull back the Blue channel to do just that.
We should have gotten enough contrast in our image just using the Tone Module. But if you would like more, use the Curves Module. Google an “S Curve” in curves for a look you like.
At this point NOW is a good time to add any clarity or structure to the image so you can best see when it’s too much or just right.
And finally, finish off your image, if you like, with a Vignette (Tonality’s Vignette is far better than Lightroom’s) and also you can add some finishing grain/film effects or texture overlays.
I hope these few tips will help you get the Black & White images you dreamed of. Skylum’s Tonality Pro makes it easier and more powerful than ever before. Just start with a little pre-conversion prep and you should have an outstanding looking image to show off and share to your favorite Social Network.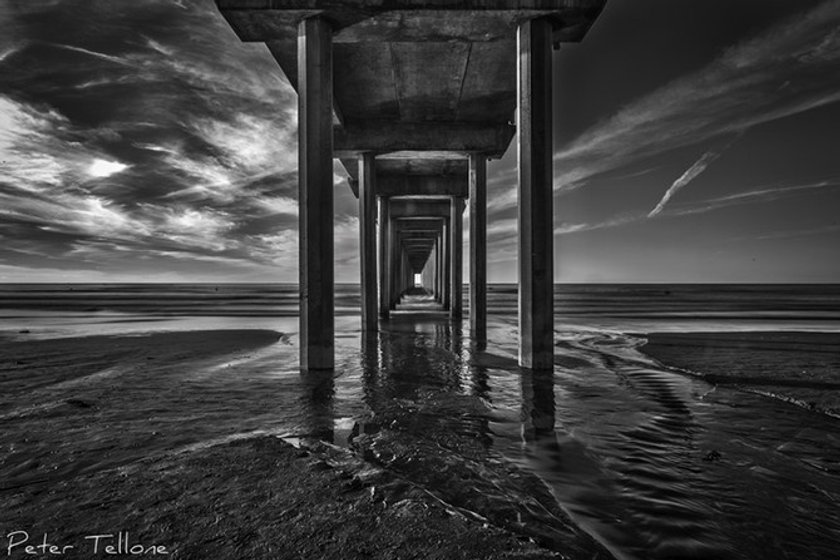
About Peter
Peter Tellone is a photographer, instructor, writer and blogger based in Southern California. He is currently the Featured Landscape Photographer for the Canon Lens Experience at BH Photo & Video. He has blogged for BH Photo and TheHDRImage.com. You can see more of his work here.