Taking photos during the Golden Hours near sunset and sunrise can give your images a wonderful glow. Find out when, where and how to capture or create this warm lighting.
Photography is about capturing light. Mother Nature herself gives us one of the most spectacular kinds of light twice a day. The sunlight just after sunrise and just before sunset is one of the most amazing light sources on the planet for photography. Read along while we explore some ways to use this magical, “Golden Hour” lighting, also known as “sweet light”.
A Bit About the Science
Don’t worry; this isn’t going to be a physics lesson. That said, it’s helpful to understand what causes this quality of light at these “magic hours”. By the way, the term “hour” is figurative in this case – the duration of this phenomenon varies according to a number of factors.
As most readers will know, the color of our sunlight is altered by a huge filter we call the atmosphere. Different frequencies of light rays are scattered differently as they pass through it. When the sun is near the horizon from a given point of view, it travels through more atmosphere to get to us. This scatters more of the blue portion of the spectrum, while the red portion is less affected.
 This filtering creates a warmer light and that light reflected to our eyes and camera sensors can enhance the appearance of many subjects. The low angle of the sun also tends to soften shadows and reduce contrast. With those alterations, this lighting is ideal for many types of photography, from portraiture to landscapes and architecture.
Learning to See Gold
Curiously, we tend to envision those wonderful, red-orange skies on the horizon this time of day. To really see the effects of Golden Hour Lighting, though, you need to turn around. While sunrises and sunsets are certainly incredible, the real magic happens when you look in the other direction.
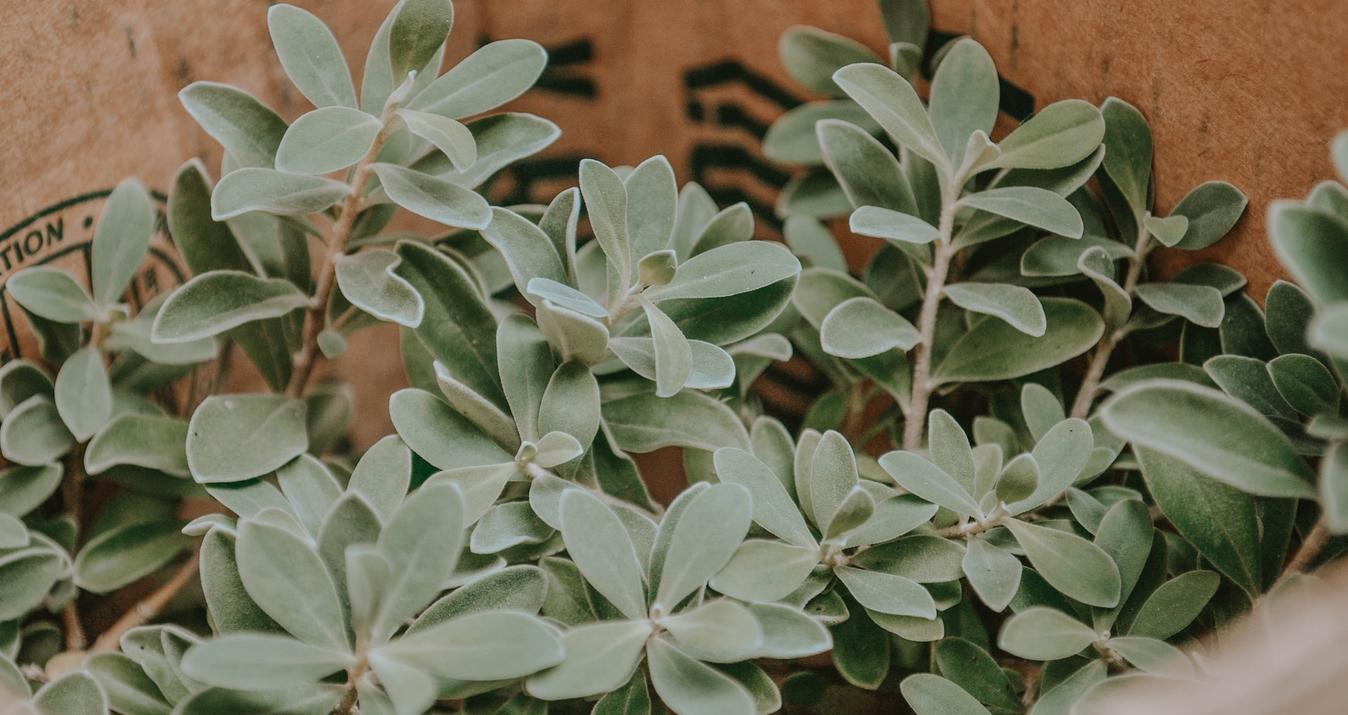
Skin tones get warmer. The landscape takes on a wonderful, soft glow. Structures reflect the reddish light in tones from scarlet to gold. Reflections look more vivid. The effects can be subtle or bold, depending on the light and the scene.
When to Find It
As we’ve already mentioned, there’s no specific starting time for Golden Hour. Your geographical location, the season and the weather are only a few of the factors that influence the time of day as well as the intensity of the phonomena.
Be on location and set up well before dawn or sunset to maximize your chances. Be ready to shoot quickly; this light doesn’t often last long.
Where to Find It

You might think you need to be on a beach or outside the city to capture sweet light. Although both of those are great locations, look around downtown or even in your own neighborhood for some Golden Hour surprises. Try using a west-facing window to light a still life or portrait. Don’t limit your thinking.
How to Shoot in It

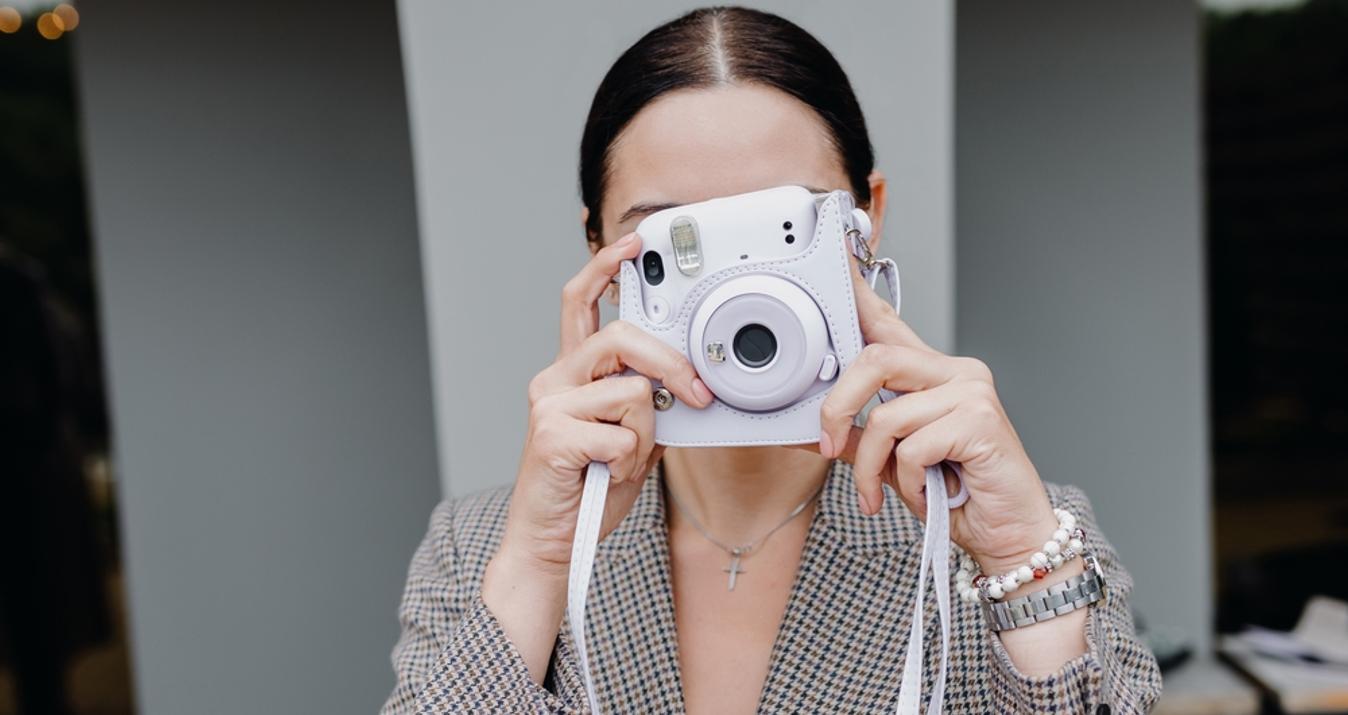
Capturing an subject in this light is a matter of timing, preparation and skill, combined with just a touch of luck. Some of the steps you’ll need to take will depend on the subject matter (landscape, architecture, people, etc.) but here are a few tips:
- Save your images in RAW format. Doing so will give you more creative freedom later.
- Don’t use Auto White Balance. Most cameras will compensate for the warmer light by adding blue, canceling the effect. If you’re not using any artificial light, set your WB for daylight or cloudy. You can, of course, adjust the color temperature later if you shoot RAW.
- Have supplemental lighting on hand. Shadows will be softer, but might still need to be controlled, particularly in portraiture. Reflectors are a good choice, since you won’t have to worry about mixed color temperatures.
- Work both directions. Golden Light is wonderful for portraiture, because your subjects can face toward the sub without squinting. On the other hand, that rich, reddish light makes incredible rim lighting, too. Take some backlight shots and grab some silhouettes, too. You can even play with lens flare.
- Use the shadows. This time of day, the shadows in a scene will be long. They can become wonderful elements in your composition.
- Bracket your exposures. Pushing the exposure to one side or the other can enhance the effects of Golden Hour lighting. Give yourself a stop or two of EV to work with by using your camera’s Auto Exposure Bracketing. This also gives you the option of creating HDR images.

- Vary your aperture setting. Portraits can be given an ethereal glow by widening your aperture. For landscapes and architecture, use higher f-stop and a tripod. Don’t be afraid to break these rules, either. Think outside the box.
Work fast and think faster. Your time may be very limited.
How to Fake It
With some creativity, you can approximate Golden Hour lighting, even if you only want to test an idea. You’ll need to start by thinking about the effect you want. Rim lighting, sun flare and other effects can be created with strobes and modifiers. For “sun-facing” portraits, use soft, even lighting that doesn’t create hard shadows.

Once you’ve created the appropriate lighting effects, the main adjustment needed is in color temperature, to produce a redder cast. To be most effective, though, this shift should be selective.
One of the easiest and most effective ways to simulate this type of lighting is with the Golden Hour Filter in Luminar. It’s selective, non-destructive, adjustable and the next best thing to the real thing.
Wrapping it Up
Golden Hour lighting can add tremendous impact to almost any type of photo. Using it is a matter of planning, timing and quick execution. The guidelines above should help you take full advantage of the magic and create some for yourself in a pinch. Enjoy!