With the advent of Luminar's 2024 Raw Develop filter, editing Raw files is easier than ever. Here's a step-by-step guide to help you get started.
We will cover the basics of RAW Photo Editing, from opening your RAW files in Luminar Neo to making essential adjustments and finally converting your images to JPEGs. Whether you're a beginner or just looking to refresh your skills, this guide will help you get the most out of your shots.
Developing photos shot in Raw and then converting them to Jpegs is quite easy, especially in software like Luminar Neo. If you’re new to shooting in Raw, though, it might seem a little intimidating, so we’ve created this step-by-step guide to see you through it.
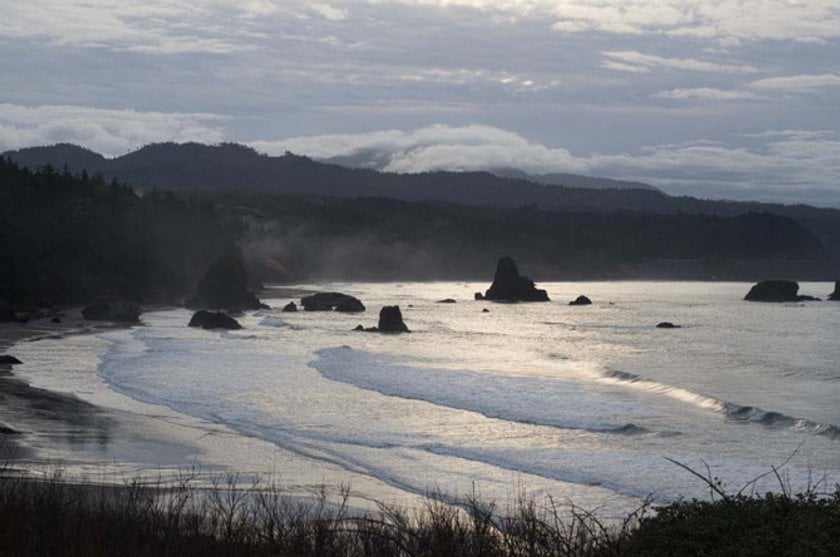
1. Shoot a scene in Raw and import it to your computer
2. Open it in Luminar Neo and select the Raw Develop filter from the filter menu
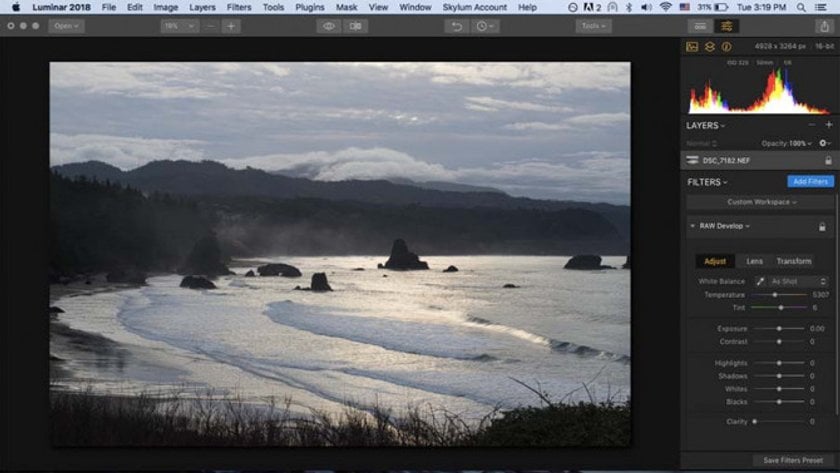
3. Correct any lens distortions
It’s helpful to start with this adjustment first, as non-corrected images can be distracting. Now that Luminar Neo has included it in the Raw Develop filter, there’s no longer any need to do it in Lightroom.

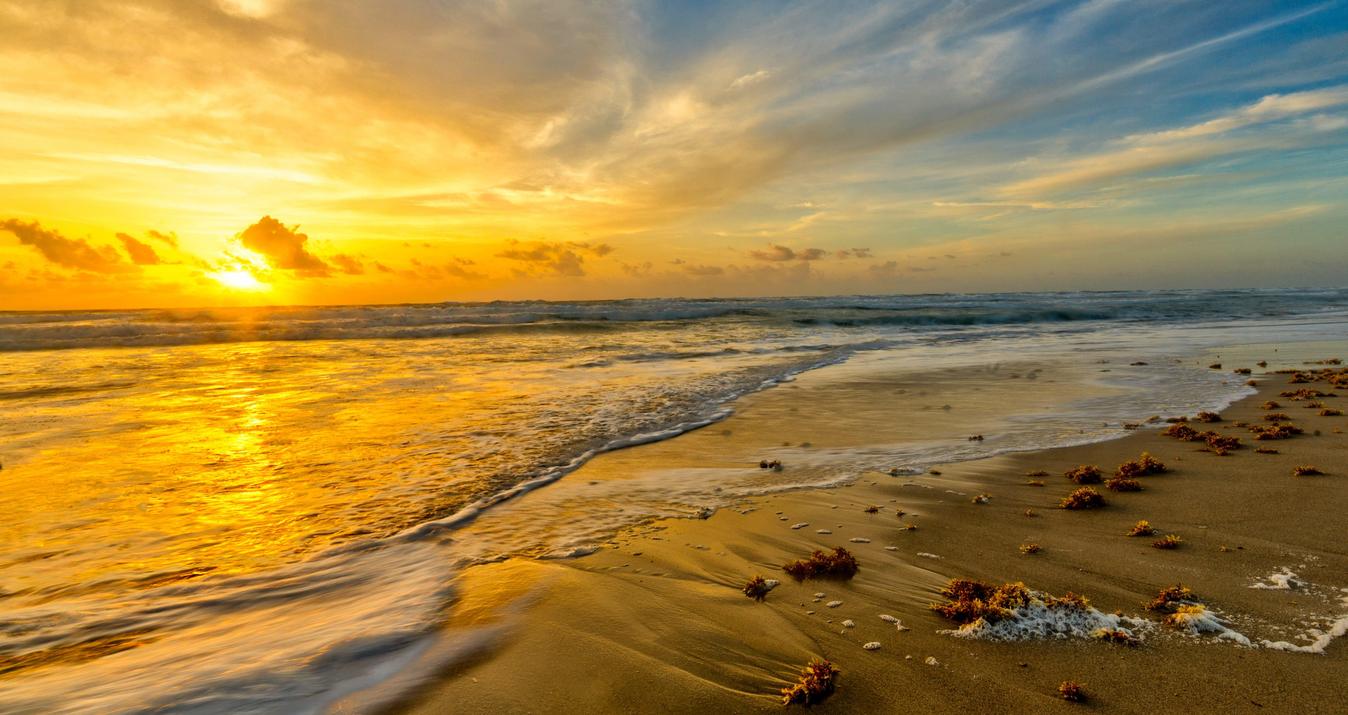
4. Level the horizon (if there is one)
This is an often over-looked edit by beginning landscape photographers, yet it’s quite important. When the horizon’s crooked, the viewer’s brain will keep trying to compensate for it, creating a sense of unease. Luckily, it’s an easy fix. Simply select Luminar’s “transform” option and adjust the rotate slider.
 This photo was taken with a pretty straight horizon, so not much adjustment was needed.
Your Solution for Effortless RAW Image Transformation
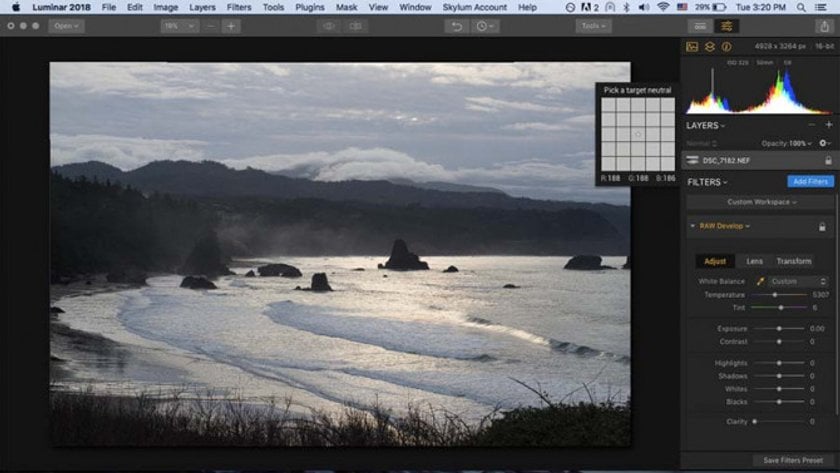
Apply it Now!5. Adjust the white balance
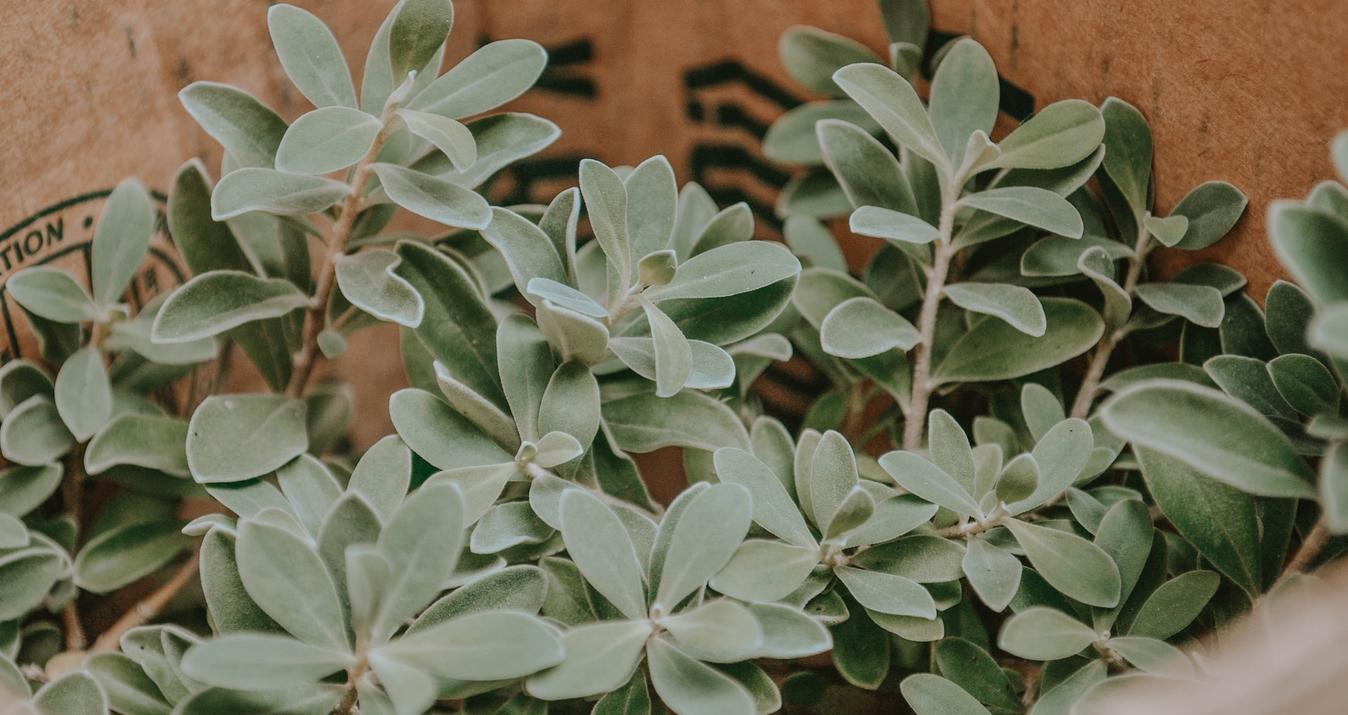
Adjusting the white balance is super easy with the Raw Develop filter—you can use the presets (where it says “custom”), the temperature/tint sliders, or the white balance tool to the left of the presets. With white balance tool, all you need to do is click on a place in your image that is gray or a neutral-looking color (but not white). Ideally, the numbers for RGB should be the same or close. If you don’t like the result, click somewhere else until you find what looks right for you. There’s no international consortium on what the “right” white balance for any image is—choose the one that looks best to you.
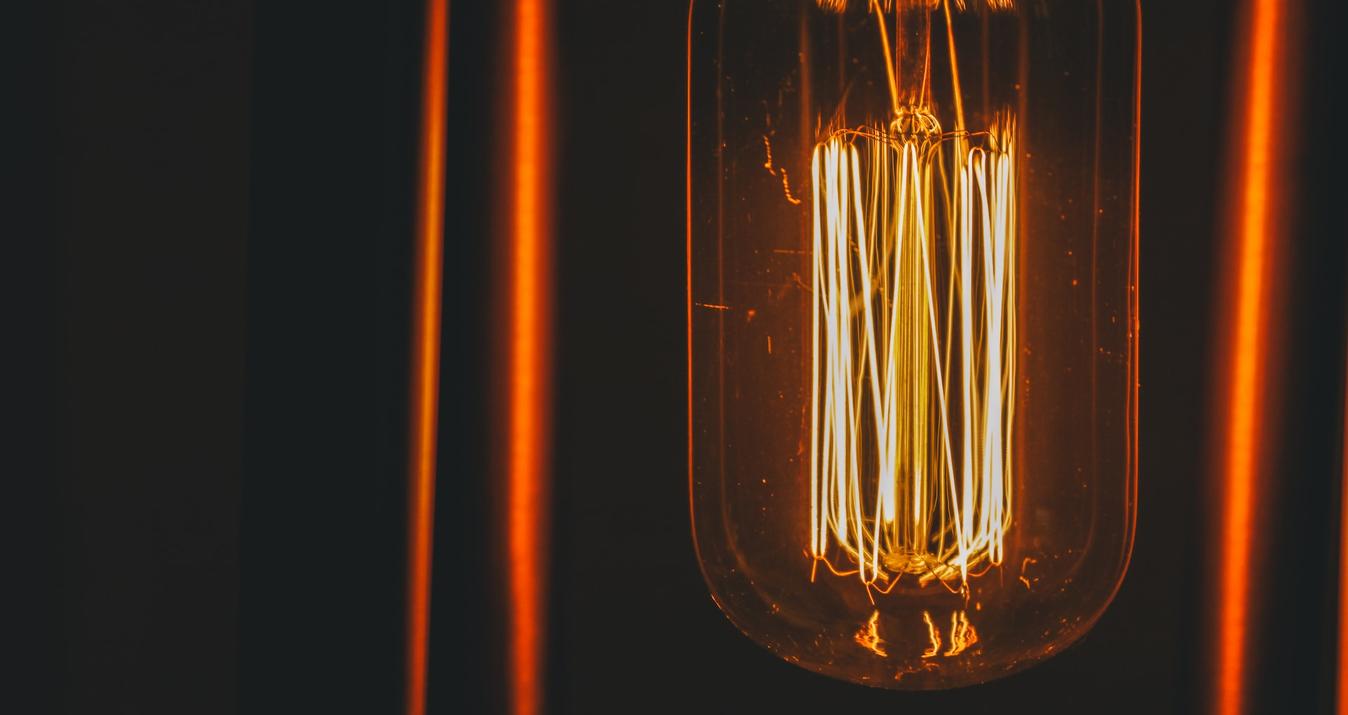
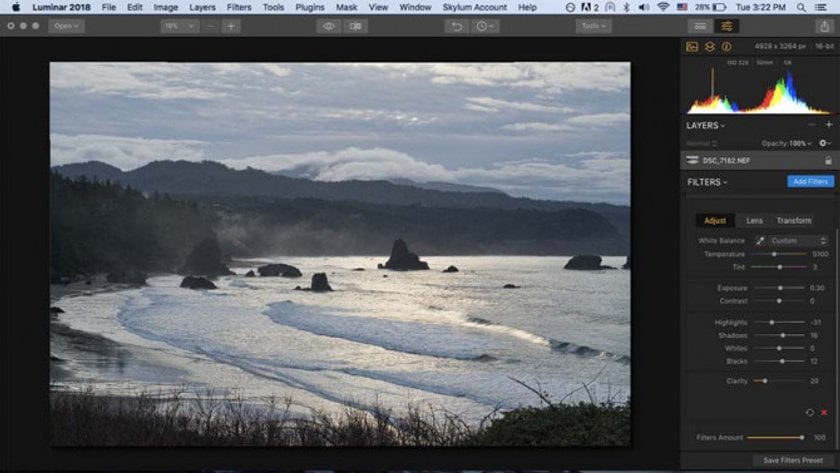
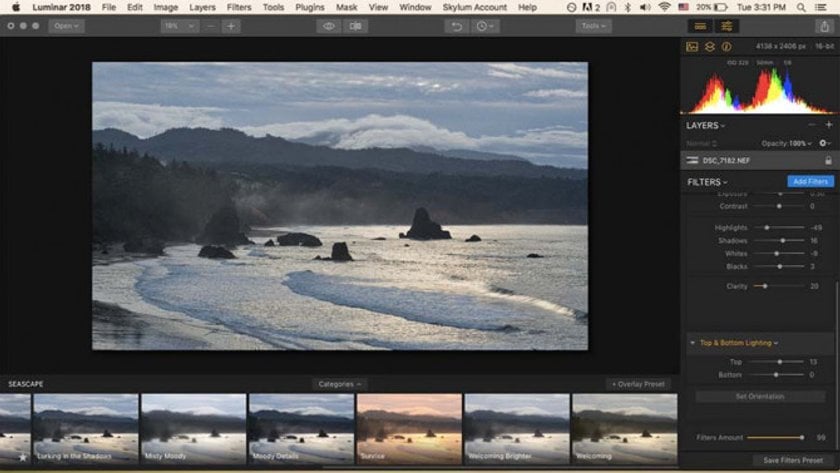
6. Adjust the exposure, contrast, highlights, shadows, whites, blacks, and clarity
You’ll probably need to do some playing around with the sliders before you find the look you’re going for. In this photo, I chose to tone down the highlights some so that I could boost the exposure without blowing them out. I also wanted to open up (brighten) the shadows some to bring out more detail. When I was finished, I bumped up the clarity just a touch. (A good rule of thumb is to take the slider just past the point where it looks good and then back it off until it hits the sweet spot.)
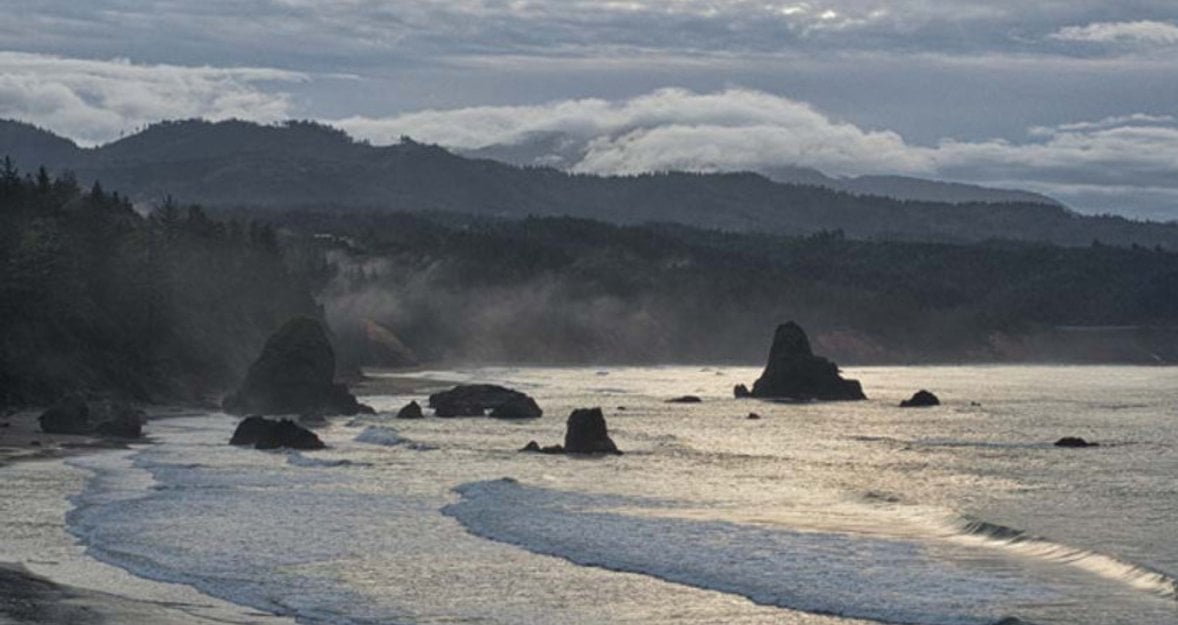
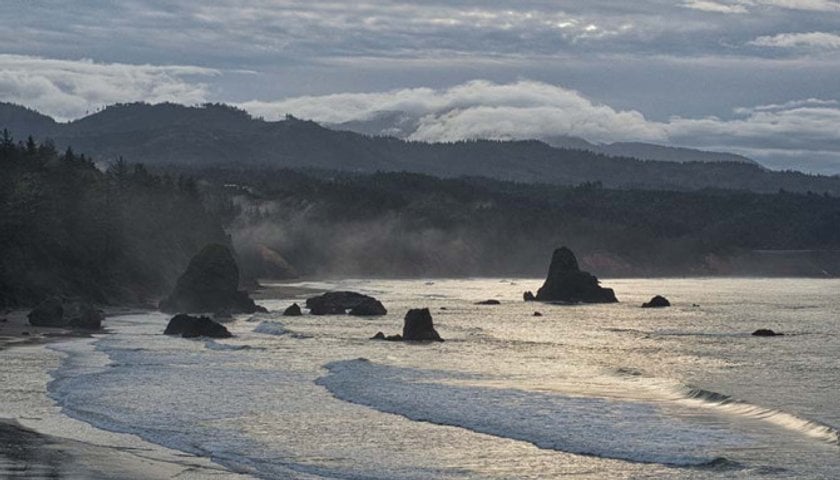
7. Add on any filter effects you’d like
Once you’ve finished with the Raw Develop adjustments you can move on to any of the other amazing Luminar presets and/or filters. I usually like to try out the Accent AI editor to see what it will do before moving on to other filters. In this case, I chose the top/bottom lighting filter to brighten up the clouds a bit more. I’ve also chosen this time to crop the photo. (You can do this at any time after using the lens and transform adjustments.)
The last two adjustments I made were with the Details Enhancer and the Sharpen Filter.
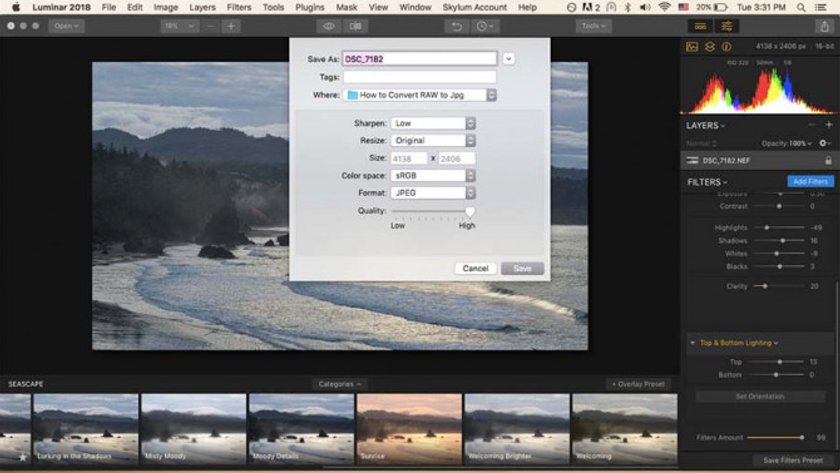
8. Export to Jpeg
Once you’ve got the look you’re going for, choose “Export” from the file menu. This will allow you to choose your level of export sharpening, the color space, and the file format. Here I’ve chosen a high-quality Jpeg. If the quality doesn’t matter so much to you and you’d like a smaller file, simply adjust the quality slider to the left.
You might be wondering why even bother with the Raw Develop filter if you can just go straight to the Accent AI filter. The reason being is the better your photo’s starting point, the better the filter’s effect. Making even micro adjustments in the Raw Develop filter module can make a difference in the final outcome.
 And there you have it—a simple workflow using Luminar’s Raw Develop filter.