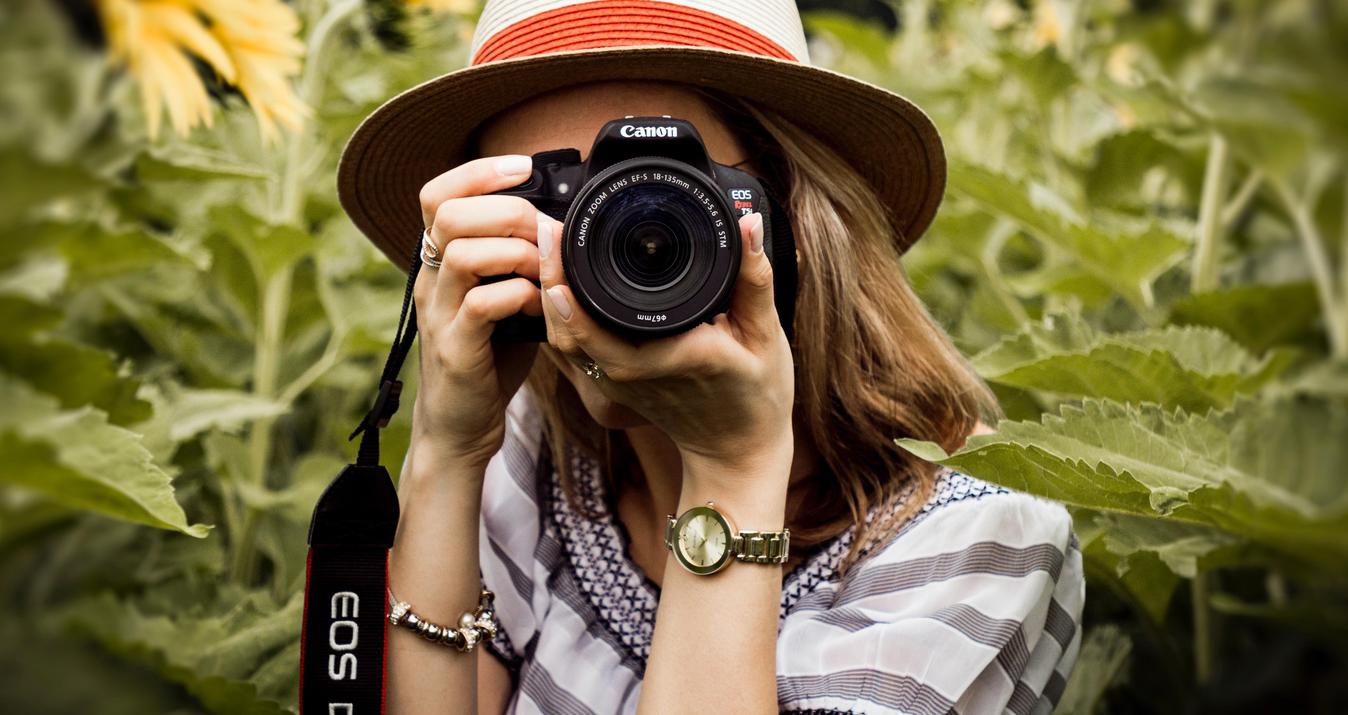
It's easy to stand out creatively with your iPhone HDR photos. Find out how.
It probably comes as no surprise that cameras and the built-in camera apps on the latest mobile phones are… well, smarter than ever! One of the areas that we’ve watched with great interest over the past couple of years is advancements in HDR technology on phones.
When you’re building what you know will be the #1 HDR software on the Mac desktop, you can’t leave anything to chance! So, we wanted to check out the latest HDR capabilities built into the iOS, and see how we could “go manual” and enhance images even further with Aurora HDR.
iPhones have HDR *on* by default, which is fine unless you have more awesome ideas that require manual tweaking. By clicking the label “HDR”, you can turn it off. Then, double-tapping the screen will display an exposure control: swipe up to increase exposure (make lighter), and swipe down to decrease exposure (make darker).
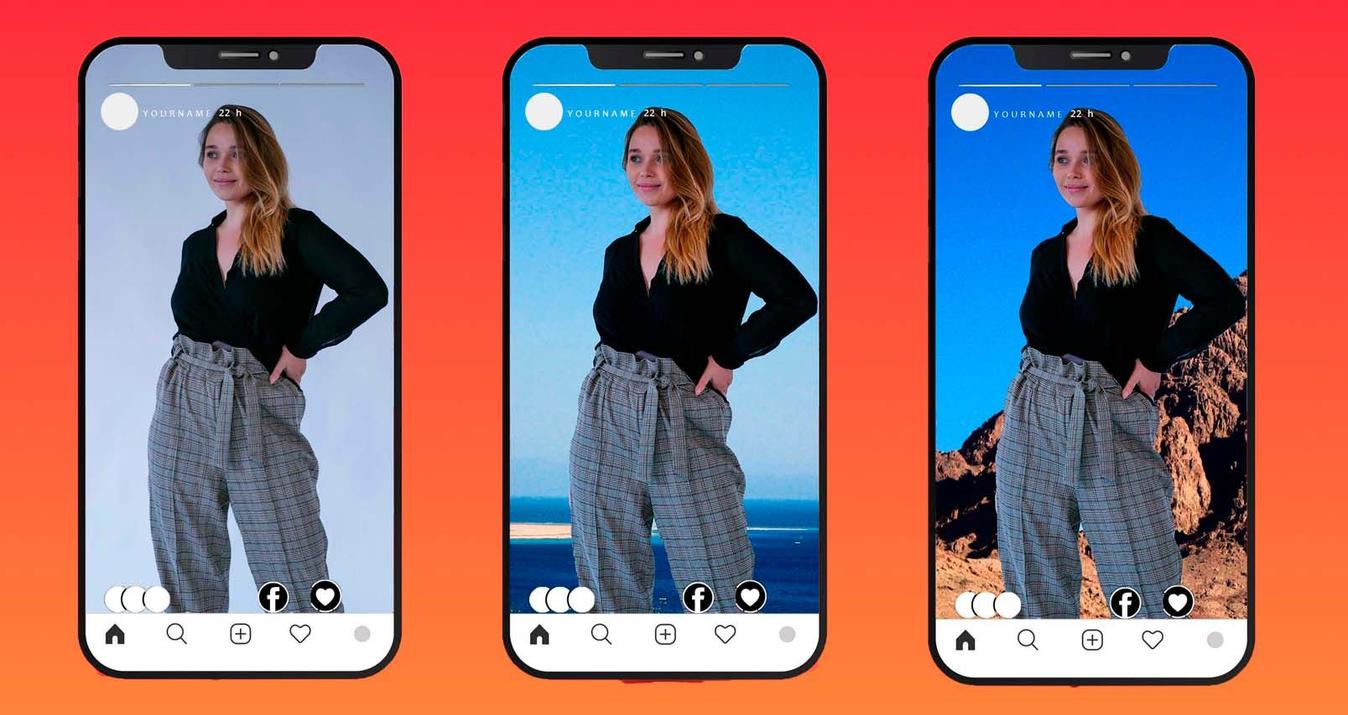
Take 3 images (exposure brackets) on your iPhone where one image is over-exposed (lighting shadows), one in the middle and one is under-exposed (darkening the highlights).

Tip: because you want the images to line up, find a reference like a straight-edge in the photo so that each shot is lined up on that edge.
Move the images from the phone to your Mac using Airdrop or by first syncing with Photos for Mac, then exporting the images. When you launch Aurora HDR, select the images you shot on your phone. You’ll want to tick the Alignment checkbox because more than likely the images were taken by hand (and not on a tripod). By default, Aurora HDR uses natural and realistic tone map settings. After the initial merge, you can truly bring the magic and a unique style to your smartphone images. Aurora offers over 60 built-in presets, dozens of tools and a nearly limitless number of options to make the image exceptional, far more than the built-in camera or any mobile app provides.
It’s super-easy to explore different looks for your photos with one-click presets, or use creative tools like layers, textures, masking brushes, image radiance, vignettes and more to make your photos awesome. As with any creative process, where you go stylistically with your smartphone images is entirely up to you. In this shot of a restaurant interior, we wanted to create a moody scene that had a warm glow to it. Using the Image Radiance control, along with HDR Denoise, it was easy to achieve our vision for the photo.
It's clear people are paying more attention to their online “image reputation.” Taking a few extra minutes to do a quick edit with your best smartphone images (before posting to social media or online galleries) is both enjoyable and can help you stand out creatively. So... the next time you find yourself somewhere without your DSLR, never fear! Your iPhone can easily be used as a source for bracketed exposures!