Raw or Jpeg, which file format should you shoot in? There are pros and cons to both, but one definitely wins out over the other.
Photographers have many choices to make, one of which is what file type to shoot in: Raw or JPEG. Raw files are just that: raw; while Jpegs come out of the camera processed and compressed. So which to choose? Read on!
Raw Files
Raw files are (relatively) unprocessed, uncompressed files that contain all of the information your camera’s sensor recorded in the shot. The files are 3-4 times the size of Jpegs, and contain much more detail and a finer gradation of tones and colors. They need post-processing in advanced editing programs with Raw Converter that can handle the file format (i.e. Photoshop, Lightroom, Luminar, etc). In fact, because Raw files are virtually unprocessed by the camera, they will appear dull and boring straight out of the camera—especially when compared to Jpegs.
Jpegs
Jpegs, on the other hand, are smaller, compressed files that the camera pre-processes for you. The camera takes the Raw file and then adjusts the contrast, saturation, white balance, and/or sharpening before compressing it down to 8 bits from a 12-bit or 14-bit data file. The result is more polished, but the process loses a fair amount of data—data that can make a world of difference to the final quality of your image.
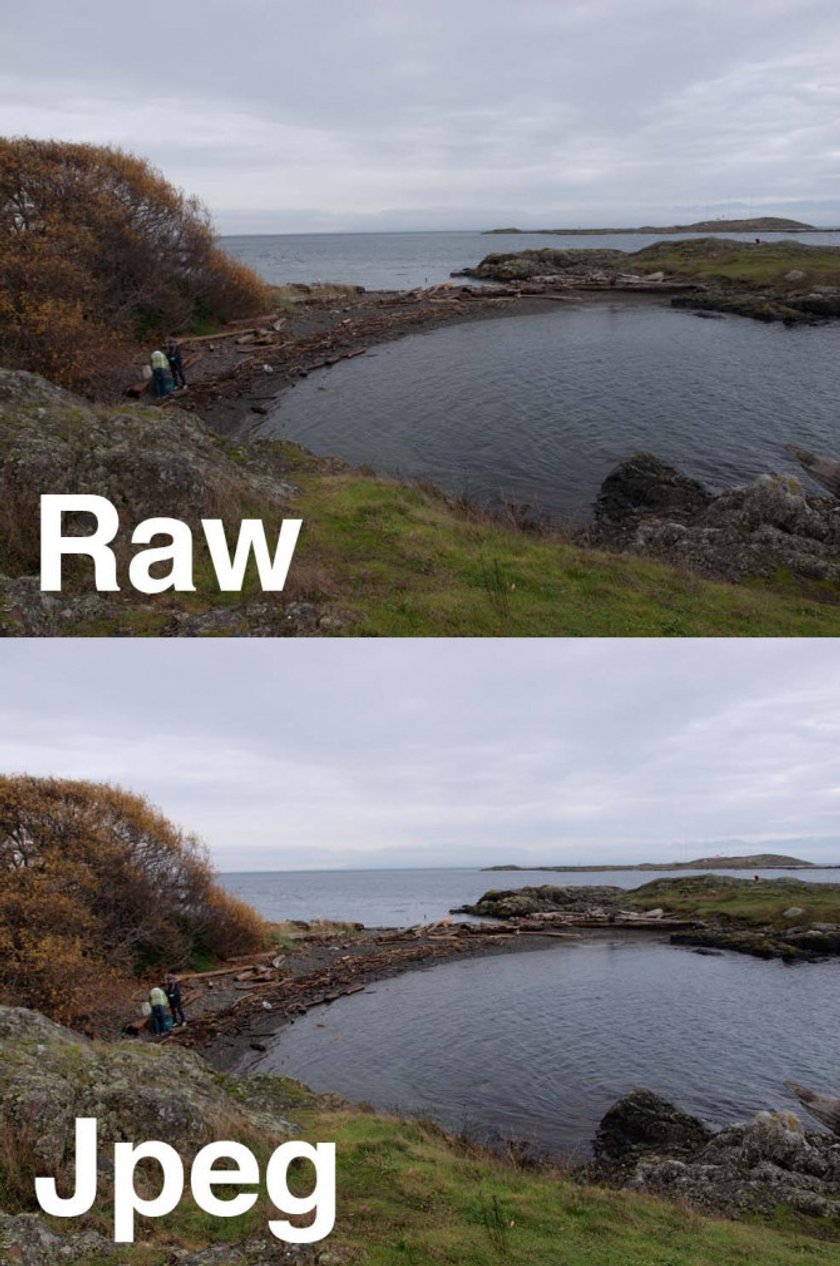 Raw images come out a bit flat and lifeless when compared to Jpegs, but they contain much more sensor to be worked with.
Why Shoot In Raw?
Shooting in Raw is basically like taking the camera off ‘auto’ and shooting in ‘manual’ mode. It means that you’ll have far more control over the final look of your image, but you’ll have to do a bit of extra work to get there. Still, if the quality of your photos matters to you, the extra work and larger file size are well worth it.
Shooting in Raw allows you to:
• Make more adjustments without a significant reduction in quality. While this is especially helpful if you plan to print out your images, it also makes a world of difference in just about any image. It’s also easier to avoid or correct posterization (most obviously seen in the banding that you often see in bright skies).
• Effortlessly correct white balance. Obviously, it’s best to get the right white balance in-camera, but things happen—especially when you’re at a scene where you need to get your shots quickly. When you shoot in Jpeg, the white balance is applied to the image in a way that can’t easily be adjusted without affecting the overall image quality. In Raw the white balance you choose in-camera is still recorded, but because you have way more data, it’s particularly easy (and harmless to the photo) to adjust.
• Edit without destroying your image’s information. When you make adjustments to a Raw file, you’re not actually changing the original data. Instead, you’re creating a set of instructions for how a version of it should be saved. The original file always remains unaltered. This means that you can undo any mistakes by returning to the original file, or make a number of creative edits from the Raw version, without ever worrying that hitting “Save” will create permanent damage. Also, Jpegs lose image quality every time you make adjustments, save them, and then make more adjustments later. With Raw files, you always have all of the original image material at your fingertips.
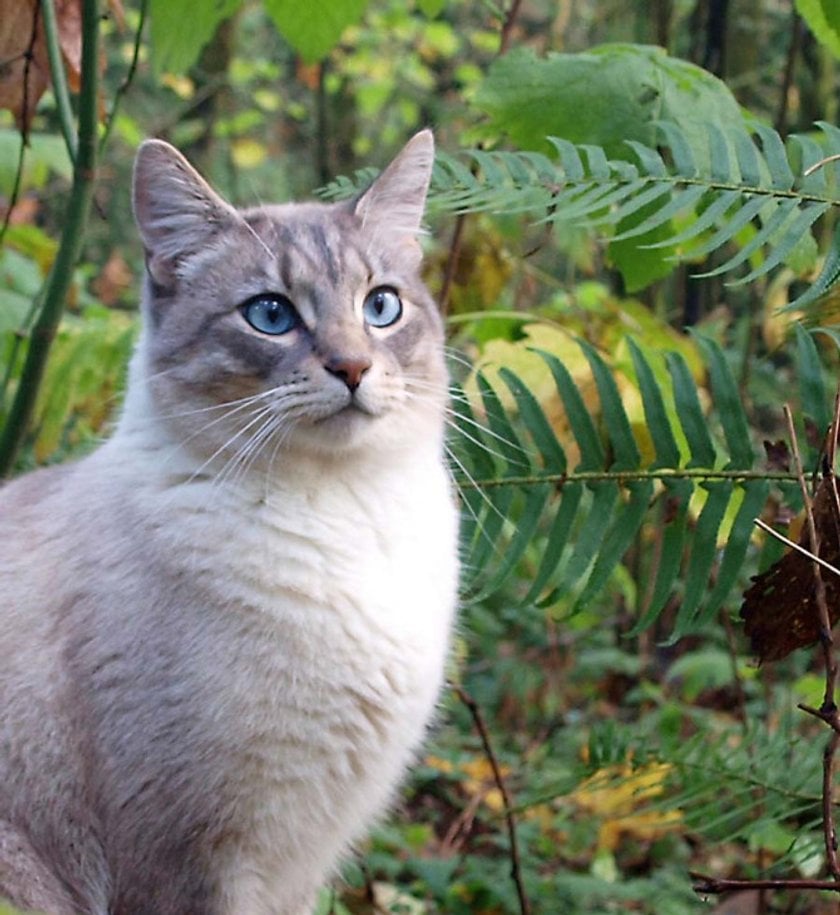 Shoot in Raw when the image quality matters to you
Why Shoot In Jpeg?
As mentioned before, shooting in Jpeg is pretty much akin to keeping your camera in “auto.” Here are the benefits:
• There’s less post-processing. While software like Luminar makes it quite easy to edit in Raw, it still takes a few more steps than working with Jpegs. Also, if you’re just wanting to take a snap and post it to social media with minimal fuss, Jpegs will work fine for this. They come out much more polished than Raw files and can often be posted instantly.
• You want to save disk space. As mentioned before, Jpegs are a fraction of the size of Raw files, so if you’re pressed for storage space and don’t need high-quality photos, Jpegs might be the way to go.
• Jpegs are a standard file format readable by all software. To work with Raw files, you need photo editing software that can handle the proprietary file formats. Just about any app will work with Jpegs.
• Raw images take longer for your camera to process. That means that your camera’s buffer will fill up more quickly if you’re shooting in burst mode. So if you’re needing to shoot 10 frames per minute or so and your camera slows down with Raw, Jpeg will be the way to go.
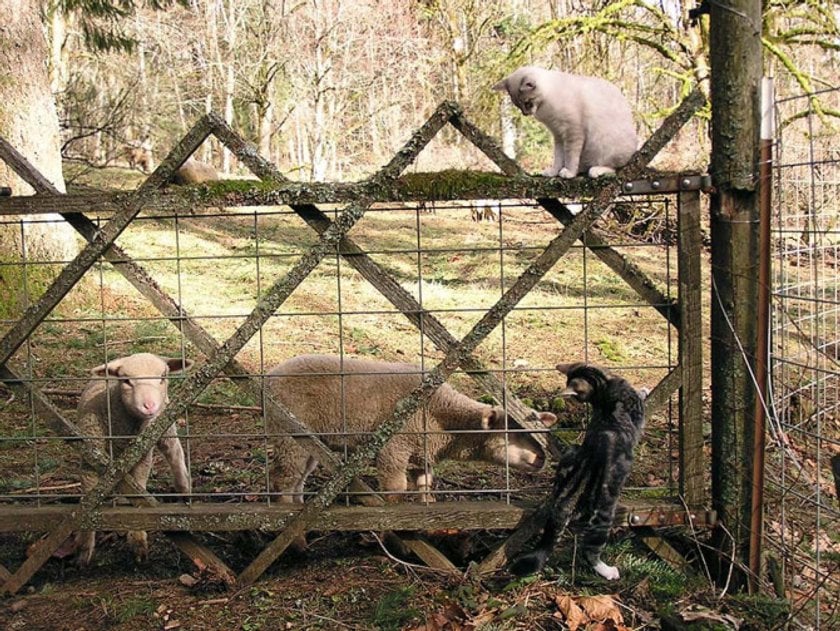 Shoot in Jpeg when you’re just taking a quick snap
So Who’s the Winner?
In the end, which one you choose will depend on what kind of photos you need, how much time you want to spend on your workflow, and to a lesser degree, how much storage space you need (storage space is quite cheap these days). Basically, Jpeg will work whenever you need to process photos quickly and the quality is less important. Maybe you just want to take a few quick photos with your phone to upload to Facebook. Or maybe you’re a blogger with lots of photos to post and you just want a super-quick workflow. Both of these are a great time to use the Jpeg format. Sports photography or other instances where you need burst mode might be another place to shoot in Jpeg.
If, on the other hand, image quality really matters to you, you’ll need to shoot in Raw. This is especially true if you’re doing paid work in the fine art, fashion, or portrait genres, but remains true for all photos. It’s also important to shoot in Raw (and save in a large file format) if you plan to print your images out. And if you wish to reach a professional level, shooting in Raw is the only way to go. With it, you take full control of the look of the final image and can successfully manage many of the problems that come with low light conditions or other challenges.
Not sure about the making the change? Try setting your camera to the Raw + JPEG option so that you can capture both formats simultaneously. Then you’ll be able to experiment at will with nothing to lose.