4 Pro photographers share their editing & shooting tips to help you make better photos
One of the great privileges of working in the photo software business is the opportunity to meet and work closely with some of the leading photographers of our time. It helps to drive us further, to make better products that meet the needs of even the most demanding artists.
Recently we reached out to some of our favorite HDR photographers and invited them to become Aurora Masters. They represent some of the finest people at their craft. Besides introducing you to their work, we also asked them for their best HDR tips that anyone could use to improve their HDR photos. Here’s what they said.
TREY RATCLIFF
Get your camera into the auto-bracketing mode and collect auto-bracketed shots everywhere, even if you don't think it's an HDR situation. If your camera has auto-bracketing, keep it on most of the time. I take 3 exposures most of the time at -2, 0, and +2.
I also shoot in the RAW mode to have little more juice in the light to play with later in post-processing. When you drag a series of photos into Aurora HDR Pro (or most HDR programs), you'll be surprised at some of the textures and colors that come out of the woodwork.
CAPTAIN KIMO
Shoot, shoot, shoot. All of my greatest images are the results of me going out every day to photograph. My best photos are from days when I least expect the light to produce anything special. You can increase your chances of getting good light by using apps like The Photographer's Ephemeris (TPE), Skyfire and Weather.
I use the Weather app to see where the clouds are and which way they are moving. Skyfire shows me where the best possible light will happen. And I use TPE to see where and when the sun and moon will rise and set. Note: Skyfire can be used inside the TPE app.

SERGE RAMELLI
Taking shots at different exposures is very useful when the contrast in the scene is very present. For instance, every time I have the sun in my frame, I shoot HDR to make sure I have all the dynamic range. My formula is to use three exposures at 2 F-stops apart, and usually, I use my self-timer so I don’t touch the camera while it’s shooting.
Better alignment! If you want to shoot HDR without a tripod, make sure that your normal exposure is at a minimum of 1/250 speed of a second. In this way, the over-exposure will be around 1/50 of a second with two F-stops of separation and it will not be blurry if you use the timer. But of course, the best is to use a tripod!

LUKE ZEME
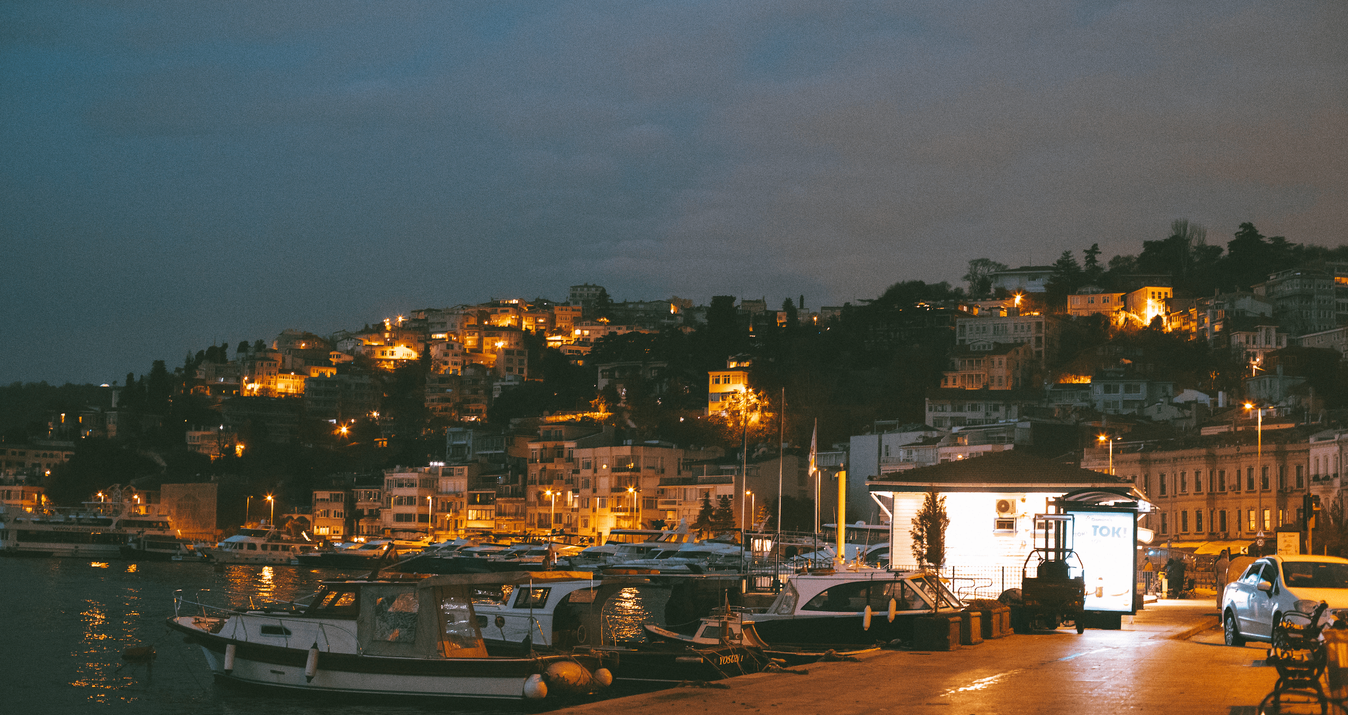
Shoot, when the lighting is dramatic as this simple rule will improve your image-making 10-fold. These include the golden hours and the blue hour. Plus, I find that HDR shots in a city after it has rained at night look amazing.


