Welcome to the world of 360-degree photography, where every image offers an immersive, all-encompassing experience. In this fast-paced digital age, photographers are constantly exploring innovative ways to capture and convey the essence of a moment. And 360-degree photography is one of the most exciting techniques to have emerged, inviting viewers into the heart of a scene. But how do you take 360-degree pictures that truly encapsulate the spirit of a moment or a location?
Whether you're an aspiring photographer, a seasoned professional, or just someone curious about this intriguing form of photography, this article will serve as a comprehensive guide. We'll walk you through the ins and outs of equipment setup, shooting techniques, and post-processing, enabling you to craft captivating and immersive spherical photos.
Are you ready to explore new dimensions in photography? Let's dive into the fascinating world of 360-degree imagery!
Brief Overview of What a 360 Photo Is
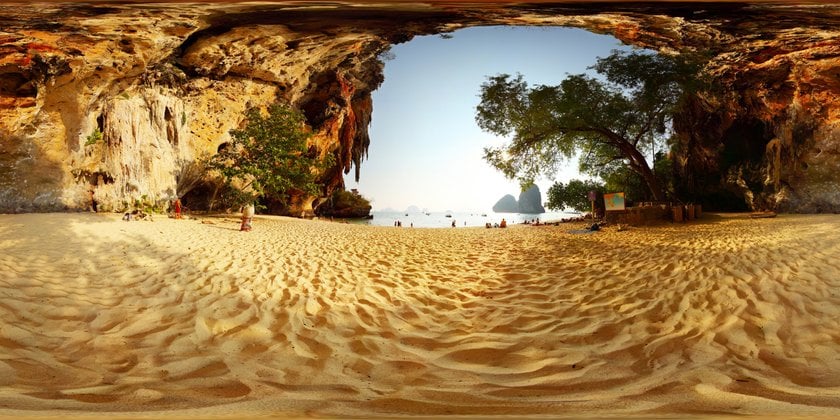
 You may have come across 360-degree photos on social media, real estate websites, or virtual tours and wondered, "What is a 360 photo?" A 360 photo, also known as a spherical or panorama photo, is an image that offers a complete 360-degree view of a scene in every direction. It allows viewers to explore an image as if they were standing right in the middle of it, experiencing the entire surroundings by simply dragging the image or tilting their device.
But how to create a 360 photo? Creating a 360 photo involves capturing multiple images of a scene from different angles and then stitching them together using specialized software. This process creates a seamless, fully immersive visual experience. In the next sections, we'll go into more detail on the equipment and techniques you'll need to capture your own breathtaking 360-degree images.
The Potential and Creative Possibilities of 360 Photography
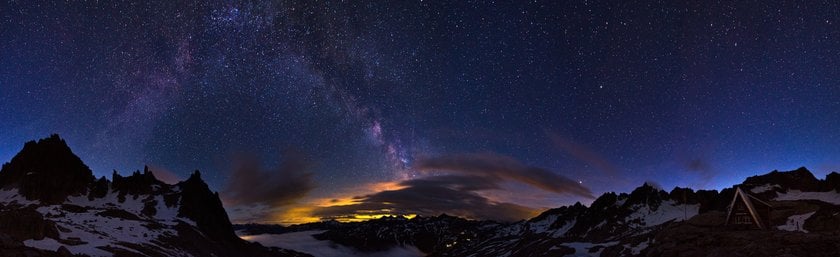
 Taking 360 photos opens up a world of creative possibilities that simply aren't available with traditional photography. By capturing every angle of a scene, you can create immersive images that transport viewers to a different place and time, allowing them to experience the world from your perspective.
The potential of 360 photography extends far beyond simple panoramas. With a 360-degree photo, you can create interactive virtual tours, allowing people to explore spaces at their own pace, such as real estate properties, museums, or tourist attractions. You can use 360-degree photos to enhance storytelling in your blogs, social media posts, or multimedia projects, making your audience feel as if they're part of the scene.
360 photography is also increasingly being used in industries such as marketing, tourism, and gaming. By offering viewers an interactive and engaging experience, you can make a stronger impression and convey a more impactful message. The potential applications for 360 photography are vast and growing, making it an exciting field to explore for both professional and amateur photographers.
Choosing the Right Camera and Accessories
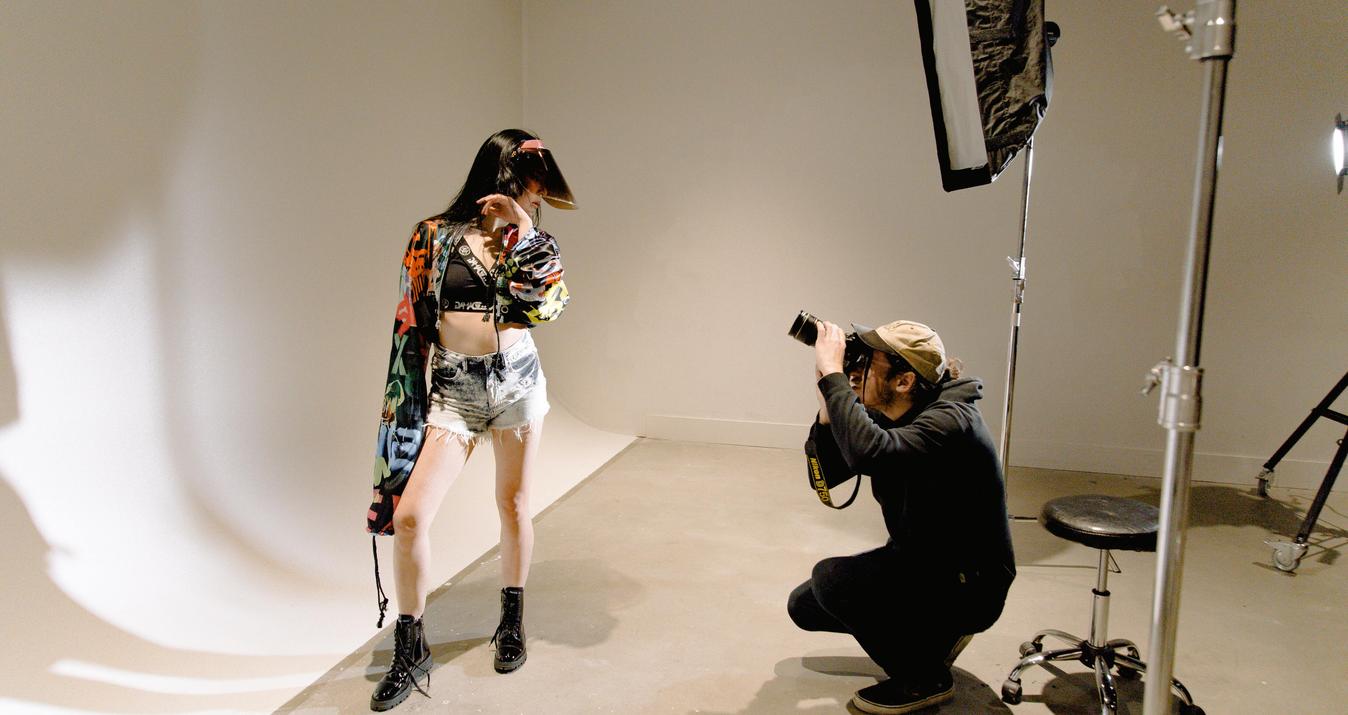
 If you've ever wondered how to do 360 pictures, it all starts with selecting the appropriate equipment. Whether you're capturing a breathtaking landscape, an intricate interior, or a bustling city scene, the right tools can make all the difference. Here, we will guide you through the options available and how to choose the best camera and accessories for your needs.
- 360-Degree Cameras: Designed specifically for capturing 360-degree imagery, these cameras are equipped with multiple lenses that capture all angles of a scene simultaneously. They're user-friendly and ideal for those new to 360 photography. Popular choices include the GoPro Fusion, Insta360 One X, and Ricoh Theta V.
- DSLR or Mirrorless Cameras: For those seeking more control over their images, a DSLR or mirrorless camera might be the better choice. With these cameras, you have greater control over settings like exposure and focus, which can result in higher-quality 360 photos. You'll need a fisheye lens and a panoramic tripod head to capture all angles of a scene, and you'll need to stitch the images together in post-production.
Next, consider the essential accessories:
- Tripods: A tripod is a must-have for 360 photography. It stabilizes your camera, ensuring sharp images. Opt for a tripod with a leveling base to keep the horizon straight.
- Pano Heads: If you're using a DSLR or mirrorless camera, a panoramic tripod head is crucial. It allows you to rotate the camera smoothly and consistently, capturing all angles of a scene.
- Fisheye Lenses: A fisheye lens is necessary for those using DSLR or mirrorless cameras. It captures a wider field of view, meaning you'll need fewer photos to cover the full 360 degrees.
Your choice of camera and accessories will depend on your budget, experience level, and intended use. While 360-degree cameras are more accessible and convenient, DSLR or mirrorless cameras offer better image quality and more creative control.
Advanced yet easy-to-use photo editor
Get Luminar Neo NowCamera Settings and Placement for Best Results
 When taking 360 photos, it's essential to consider both your camera's settings and its placement to achieve the best results. These factors will significantly impact the quality and visual appeal of your final 360 images. Below, we'll explore the key settings and placement tips to consider when shooting 360-degree photos.
1. Camera Settings:
- Exposure: Use manual mode to set a consistent exposure for all images. This ensures that there will be no noticeable differences in brightness when you stitch the photos together.
- White Balance: Set a consistent white balance to avoid color shifts in your final image. Automatic white balance can result in color variations across photos.
- ISO: Use the lowest ISO setting possible to reduce noise in your images. Since you'll likely be using a tripod, you can use slower shutter speeds to compensate for low light.
- Focus: Set your camera to manual focus and focus on an object that's a reasonable distance from the camera to ensure that everything in the scene appears sharp.
- Aperture: Use a smaller aperture (higher f-number) to increase the depth of field, ensuring sharpness throughout the image.
2. Camera Placement:
- Height: Place the camera at eye level to create a natural perspective for viewers. If capturing interiors, consider the height of the room and the viewer's line of sight.
- Leveling: Ensure your camera is level with the horizon to avoid tilted or skewed images. Use a leveling base or a built-in level in your camera.
- Central Position: Place the camera in the center of the scene you want to capture. This reduces distortion and makes it easier to stitch the images together.
- Stability: Use a sturdy tripod to stabilize your camera. This is especially important when shooting multiple images for stitching.
By carefully considering these settings and placement tips, you'll be well on your way to capturing stunning 360-degree photos. Remember that practice makes perfect, so don't hesitate to experiment and refine your techniques as you explore the world of 360 photography!
Shooting Techniques to Capture Comprehensive 360 Views
Capturing a full 360-degree view of a scene requires careful planning and the right shooting techniques. Below, we'll explore the primary methods for shooting 360 photos, as well as tips for using fisheye lenses effectively.
1. Panning vs. Multi-Shot:
- Panning: This technique involves rotating the camera around a single point while keeping the camera level and capturing a series of overlapping images. This is ideal for capturing wide landscapes or interiors with minimal movement. Make sure to overlap your images by at least 30% to ensure seamless stitching.
- Multi-Shot: In this approach, you take multiple images from different angles and heights, covering the entire scene. This is especially useful for capturing complex scenes with multiple focal points or when working in tight spaces.
2. Fisheye Lens Usage:
- Field of View: Fisheye lenses offer a wide field of view, typically ranging from 100 to 180 degrees. This allows you to capture more of the scene in each shot, reducing the number of images needed for a 360-degree view.
- Distortion: Fisheye lenses create a distinctive "bulging" effect, which can add an artistic touch to your images. However, be aware that this distortion can make straight lines appear curved. Consider the scene you're capturing and whether this effect will enhance or detract from the final image.
- Camera Settings: When using a fisheye lens, set your camera to manual focus and focus on an object at a moderate distance to ensure sharpness throughout the image. Also, use a smaller aperture (higher f-number) to increase the depth of field.
3. Shooting Tips:
- Avoid Movement: Since 360 photos require stitching multiple images together, it's essential to minimize movement within the scene. Ask people to remain still or choose a moment when there's minimal activity.
- Mind the Lighting: Be aware of the lighting conditions and how they might change during your shoot. Consistent lighting helps create a seamless 360-degree image.
- Plan Your Shots: Before you start shooting, plan your route and angles to ensure you cover the entire scene. This will help you avoid gaps in your final 360-degree image.
Post-Processing, Sharing, and Creative Ideas
 After capturing your 360-degree images, the next steps involve stitching, enhancing, and sharing them. Here's a streamlined guide to help you through this process with Luminar Neo.
Stitching Images into a 360-Degree Panorama:
- Use Luminar Neo's built-in panorama feature or third-party software specifically designed for stitching 360-degree images.
- Manually align and blend your images if needed to ensure a seamless 360-degree panorama.
Editing Your 360 Photos with Luminar Neo:
- Adjust color settings, such as white balance, contrast, and saturation, to bring out the best in your images.
- Retouch your images by removing unwanted objects or correcting imperfections.
- Take advantage of Luminar Neo's AI-driven tools to enhance details and lighting in your photos.
- If you used a fisheye lens, employ the Lens Correction tool to remove vignetting (dark corners).
Sharing Your Photos on VR Platforms:
- Share your 360-degree photos on platforms that support interactive viewing, including Facebook, YouTube, and VR platforms like Kuula or VRchive.
- Optimize your images by reducing file size without compromising quality.
- Enrich the viewer's experience by adding interactive elements such as hotspots or annotations.
Creative Ideas:
- Craft virtual tours of properties, museums, or tourist attractions using your 360-degree photos.
- Incorporate your 360 photos into interactive storytelling projects.
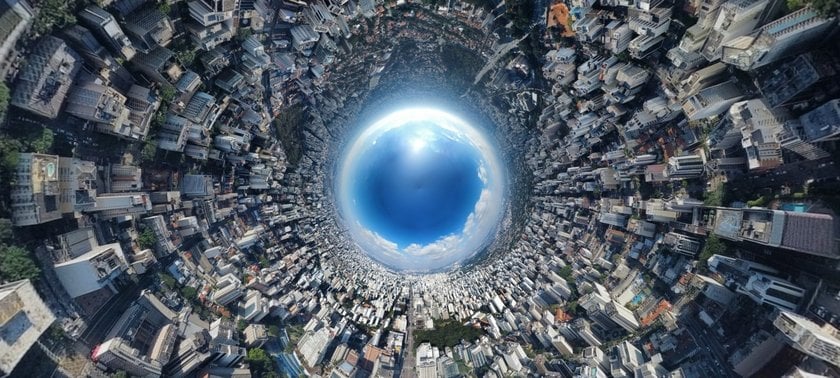
- Experiment with intriguing visual effects, like tiny planet images or inverted panoramas.
To sum up, post-processing and sharing your 360-degree photos are essential steps in showcasing your work. By skillfully stitching your images, enhancing them with Luminar Neo, and sharing them on VR platforms, you can create immersive experiences for viewers. Let your creativity flourish and make your 360-degree photography truly stand out!
Conclusion
360-degree photography is an exciting way to show off the world. It lets viewers step into a scene and look around as if they were there. By using the right equipment, mastering shooting techniques, and carefully editing your images, you can create amazing 360-degree panoramas. Dive into this unique type of photography and let your creativity shine!