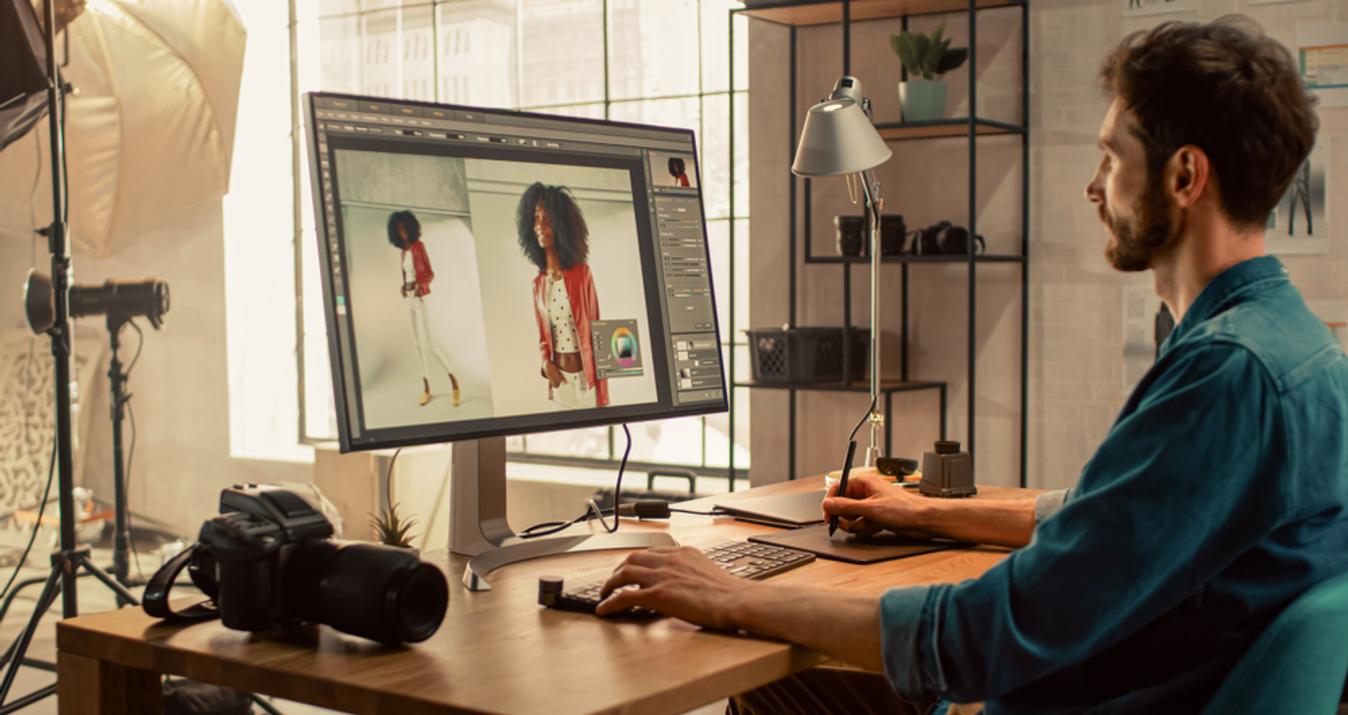
Mac computers suited perfectly for photo editing and graphic processing.
Photographers have been editing and processing their photos for a very, very long time. Almost always, a little amount of editing is necessary to turn a good photo into a truly great one. Before digital cameras came out, photographers had to spend a good amount of their time trying to process their films. This, understandably, frustrated many beginner photographers who did not have the patience to experiment with editing techniques in their dark rooms. These days, however, photo processing has been made much simpler with the help of digital cameras and excellent computers like the Macs.
Too Many Editors to Choose From
Once you dive into the world of photo editors for your Mac, you’ll soon realize that there is simply too much stuff to choose from. From excellent free programs to expensive ones that are horrible, you can find image editors of all kinds on the internet.
The main thing you need to decide is whether to use a free image editor that lets you make basic tweaks to your photos or to use an expensive professional package for those great production-quality shots.
No matter which image editor you choose, there are certain aspects of photo editing that you need to be very careful of. If you are a beginner to photo editing, then the following 9 tips will help you a lot in editing your photos correctly on your Mac.
1. Shoot in RAW
If you want to maintain the quality of your photos when you edit them, then always shoot in RAW. RAW files maintain all the image data that is captured by your camera’s sensor, making it very easy to process your photos later on without losing detail and sharpness.
2. Crop your Photos
One of the most basic of suggestions when it comes to photo editing is to crop your photos for a better composition. Don’t get me wrong; it’s always better to compose your shots perfectly in-camera, but it isn’t always ideal. You may be shooting high-speed action or just may not have enough time to compose your frame very well, or you just might find out that the photo looks better cropped a different way when you open it in an image editor.
3. Use a Histogram to Balance Exposure
It is very important to balance the exposure of your images when you are editing them. An underexposed or overexposed image might take away from the true beauty of the image you have taken. This is where a histogram helps you. A histogram is basically a visual representation of the different tones that are visible in your images. An ideal histogram should not have any sudden ‘peaks’ in it, and should touch both extremes. An underexposed image may have a histogram leaning far too left, and an overexposed image may have the opposite effect. However, if you are going for a more ‘artsy’ photo and purposely enhancing the photos black or white levels, then your histogram may not need to be balanced.
4. Use Auto Settings for Quick Fixes
Many of the popular image editors, whether free or not, allow you to make one-click fixes to your image’s color and contrast levels. This is especially helpful if your image was taken in unnatural light. Photoshop is known for its auto color and auto level adjustments, where it can make an image look instantly more pleasing with a single click.
5. Don’t Oversaturate
This may seem like something every photographer should know, but there are many beginners who simply end up oversaturating their photos in post processing. Oversaturated images do not look realistic at all, and hence lose their technical ground. It is important to edit the colors just enough so that the image looks pleasing without becoming a scene for an animated movie. Again, shooting in RAW format and using a software like Capture One or Lightroom will restrict you from saturating your image beyond the amount of color captured from the scene.
6. Desaturate When Necessary
At times, you may want to give your images a more artistic look by removing some color from them. One way is to go completely black and white, making your photos look either much softer (by using low contrast) or very accentuated and rustic (by using high contrast).
Another thing you can do is use built-in filters in certain programs to achieve a monochromatic look for your pictures. It all depends on what you want the image to say. Sometimes, simply taking saturation levels down a notch makes your images look a little more dramatic.
7. Don’t Over Sharpen
Yes, it is nice to have sharp and detailed images but it is not very nice to have images that have been sharpened up so much that they seem unnatural. Try to get a sharp image right out of your camera by using tripods or optical stabilization. However, if you do end up with a slightly blurry shot, you should sharpen your images just enough to bring up the fine details. Over sharpened images do not please anyone, and should always be avoided.
There is nothing wrong with editing your images in post to bring up some details or making creative changes to them. But one should always know the basics of photo editing first. Many people who are new to image editing end up ruining perfectly good photos by simply overdoing certain things when editing. Editing is a skill that you need to learn gradually, one photo at a time. You can be as creative with your photos as you want, but learning the basics mentioned here will ensure that your editing skills get developed properly over time.