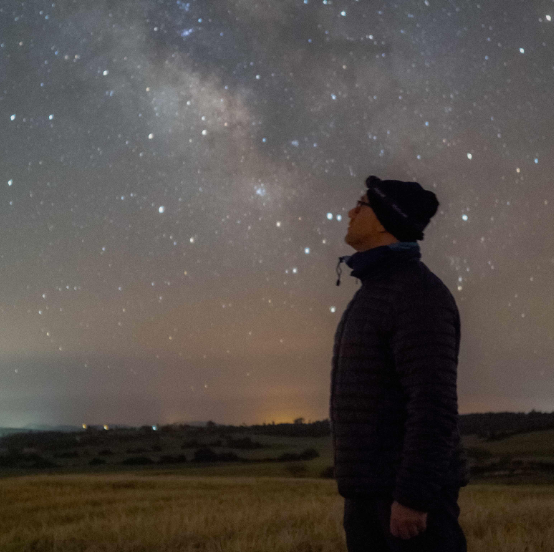
Moonrise photography is a fascinating specialty in the world of astrophotography that allows you to capture the beauty and mystery of the Moon as it appears above the horizon. Whether you are an amateur photographer or a seasoned professional, planning a moonrise photography session can be a rewarding experience.
In this guide, I'll take you through the essential steps to make sure you're well prepared for your moonrise photography adventure.
Searching for the Idea
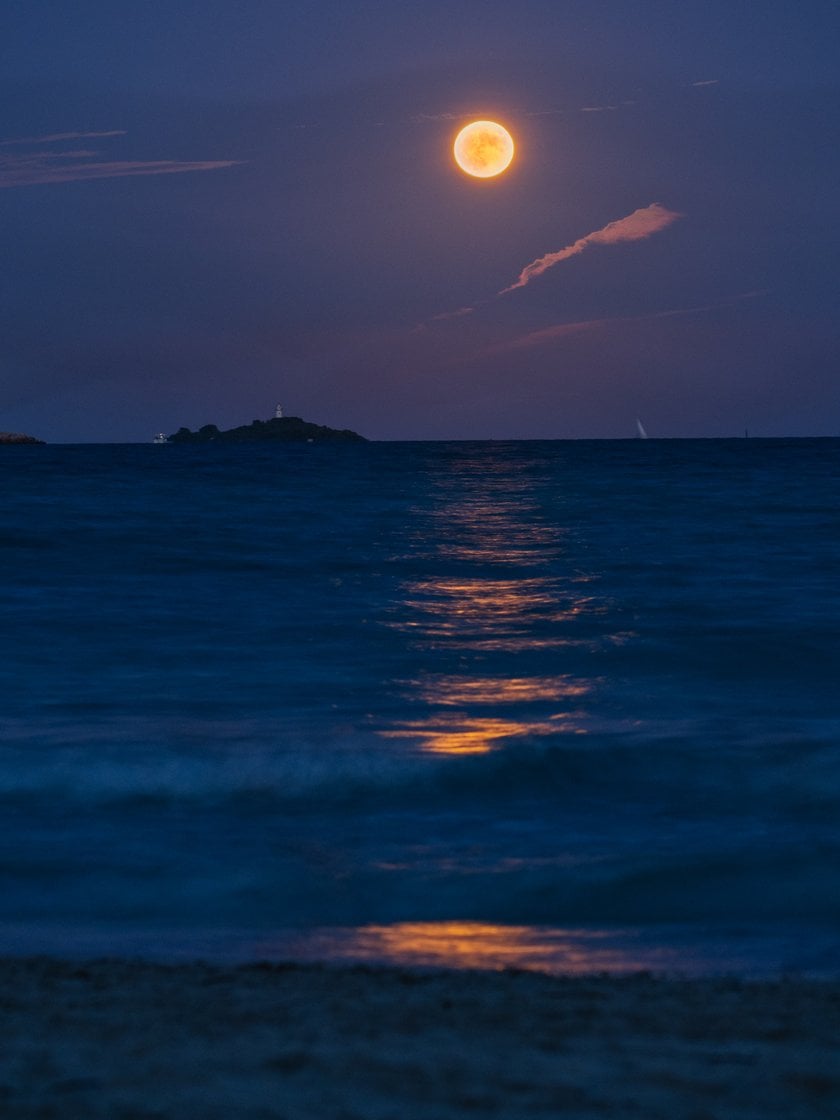
We can photograph the Moon at any time and place, by knowing the time, we can see the place where it will rise. What makes the difference is to think of a great idea and try to find the exact spot to photograph the Moon together with a motif that will make our Moon photography spectacular and special.
Once we have our idea, we can help ourselves with applications such as Planit or Photopills; they will provide us with the necessary tools to check if it is possible to realize our idea.
Research the Phases of the Moon
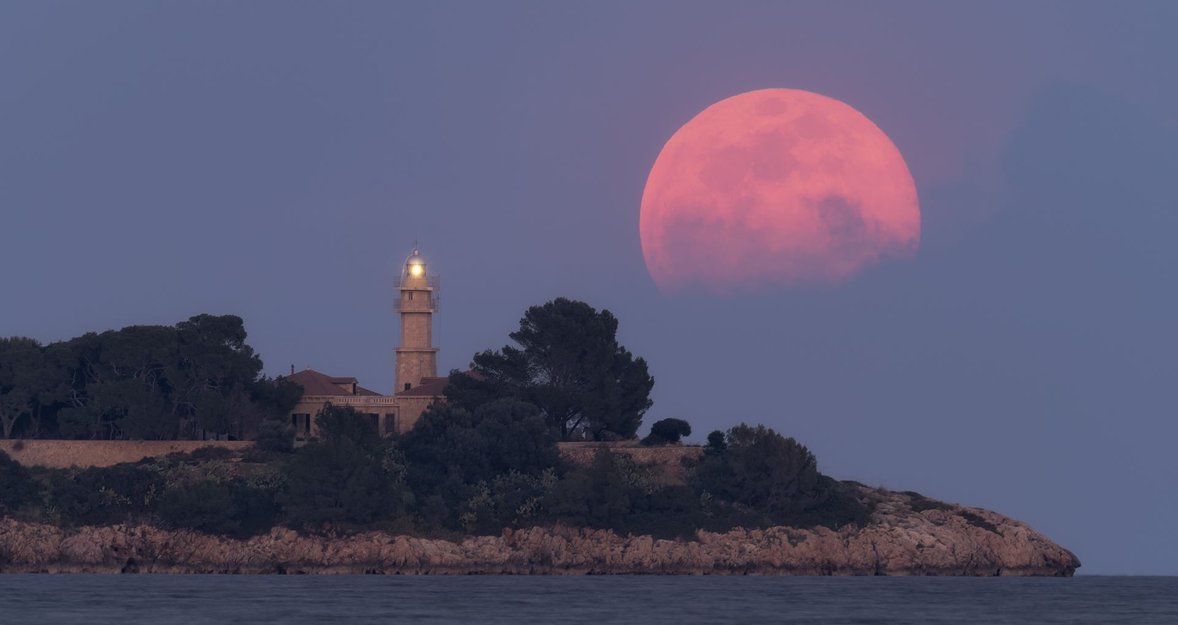
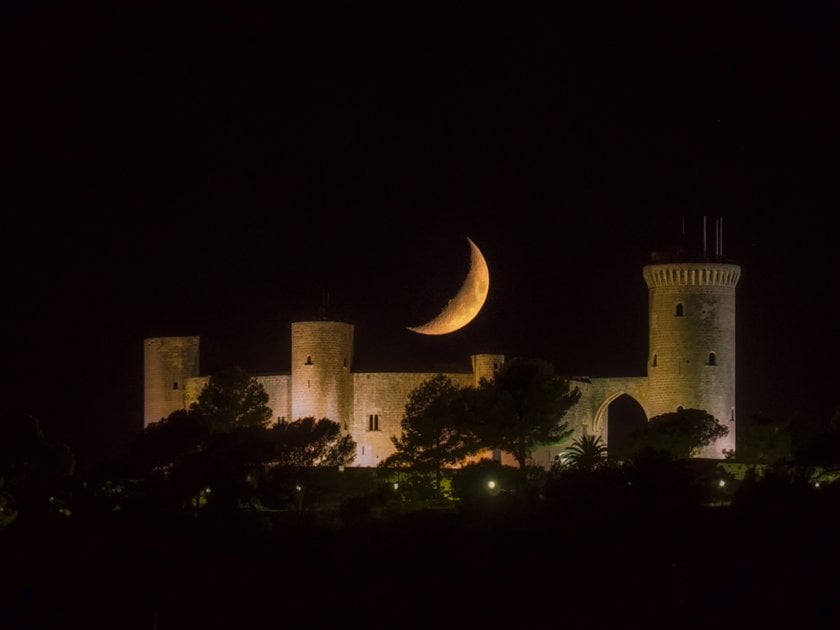
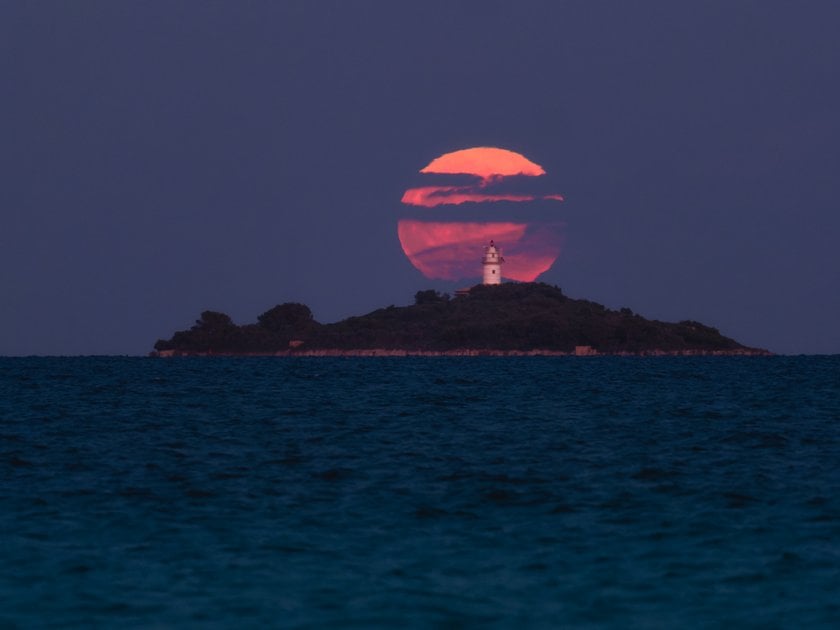
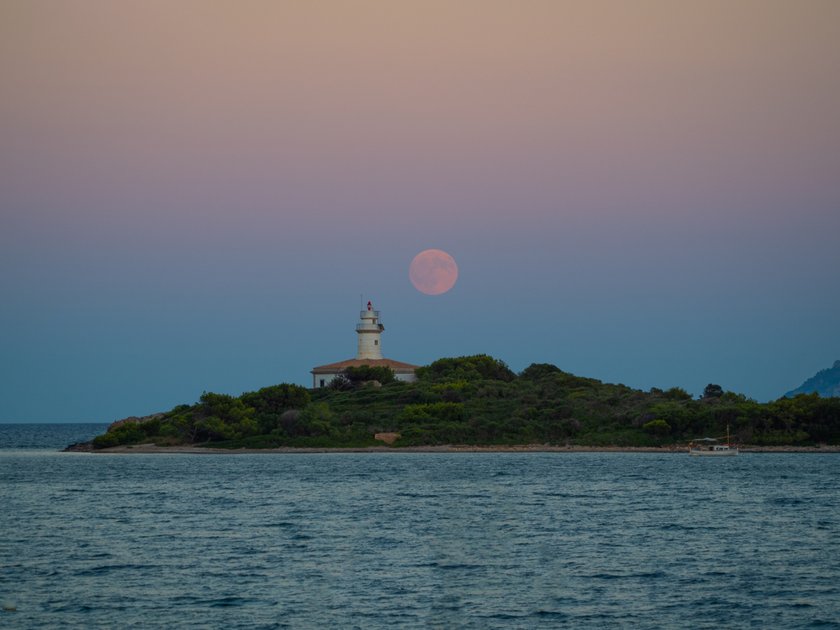
Before embarking on your moonrise photography expedition, it is crucial to understand the moon's phases. The best moonrise shots are often captured during specific phases, such as the full or crescent moon, as they provide well-defined lunar features and impressive contrast.
Location Scouting
Choosing the right location for your moonrise photography is key to achieving impressive results. Consider local geography, the direction of the moonrise and possible obstacles, such as buildings or trees that could obstruct your view. Tools like Google Earth can help you research locations, helping you find the perfect spot for your shoot.
Inspecting the Location
Once we have our planning done, it is very important to move, if possible, to check that no element can affect our idea, trees, buildings, or other elements that do not appear on the map.
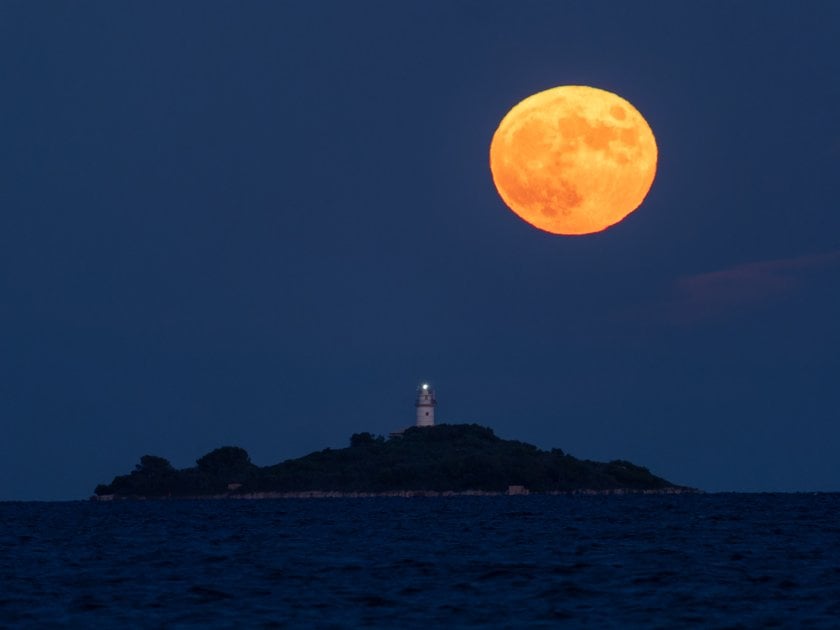
How Big Will the Moon Be in My Photos
To plan your photo, it is important to know the size you want the Moon to be in the final photo.
1. The size of the Moon in the photo will depend on:
The distance between the camera and the subject.
The focal length of the lens used.
2. The distance will determine the size of the Moon with respect to the subject/object we want to photograph it with:
The smaller the distance between the camera and the subject, the smaller the size of the moon.
The greater the distance between the camera and the subject, the larger the moon.
3. The focal length will determine the size of the Moon and the subject in our frame:
The shorter the focal length, the wider the frame. The Moon will occupy a small space.
The longer the focal length, the tighter the frame. The Moon will occupy more space relative to the whole image.
 Example: the same distance at different focal lengths
Weather and Lighting Conditions
Keep an eye on the weather and lighting conditions for the day of your moonrise photography. Clear skies are ideal, but a partly cloudy sky can also add drama and texture to your shots. Be prepared to adjust your settings and composition to suit the lighting conditions as the Moon rises.
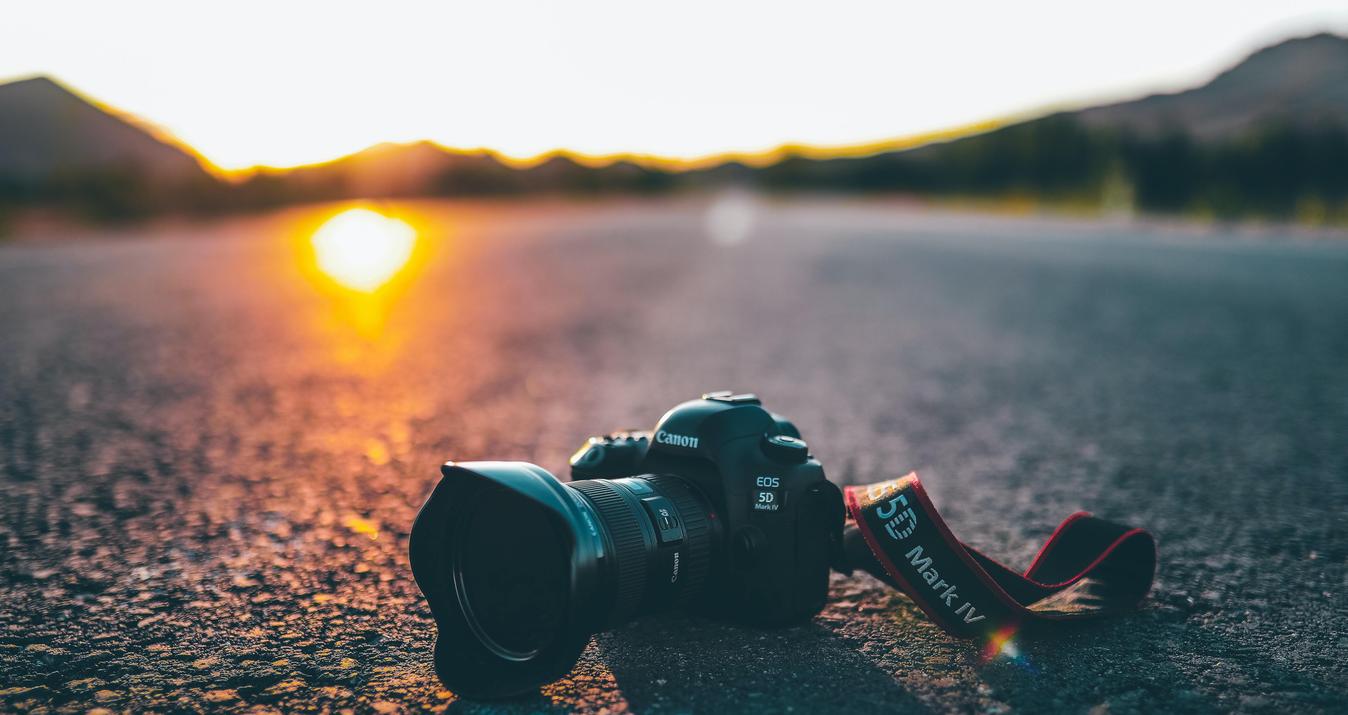
Equipment Preparation
Having the right equipment is critical for moonrise photography. Make sure you have the following:
Camera: Use a DSLR or mirrorless camera equipped with manual settings.
Lens: Choose based on your vision; a longer focal length will capture a larger Moon in your frame.
Tripod: Ensure you have a sturdy tripod to maintain camera stability during long exposures.
Remote Shutter: Use a remote shutter release or the camera’s built-in timer to minimize camera shake.
Batteries and Memory Cards: Bring extra batteries and memory cards to ensure you have enough power and storage for the duration of your shoot.
Camera Setup
Correctly setting up your camera is essential for capturing the moonrise in all its glory. Start with these recommended settings:
Shoot in RAW. This allows for better processing and development due to more captured information.
Manual mode. This enables you to adjust the necessary settings manually.
Aperture. This depends on the available light at the time of shooting. Use f2.8 for low light, and f8 for brighter conditions to achieve greater depth of field and detail.
Focus. Focus on the desired subject next to the moon, whether it's a building, person, tree, etc.
Speed. Speed, like aperture, depends on the available light. The more light we can shoot at faster speeds. On the other hand, if there is little light we will have to use slower speeds, but we have to take into account not to use speeds lower than 1 second in order not to obtain a blurred moon.
ISO. Use the lowest possible value that the scene allows to minimize noise.
White balance. Manually adjust it between 3400 and 5000 Kelvins.
Advanced yet easy-to-use photo editor
Get Luminar Neo NowPost-Processing Moonrise Photos with Luminar Neo
After capturing your moonrise photos, post-production can improve the final results. Luminar Neo can help you perfect exposure, color balance, and sharpness. Be careful not to over-edit and keep the natural beauty of the moon.
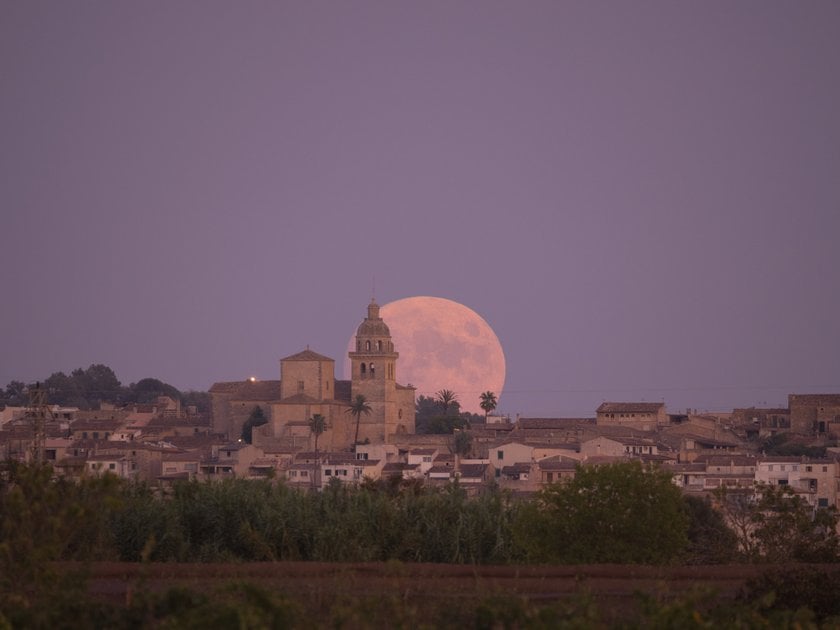
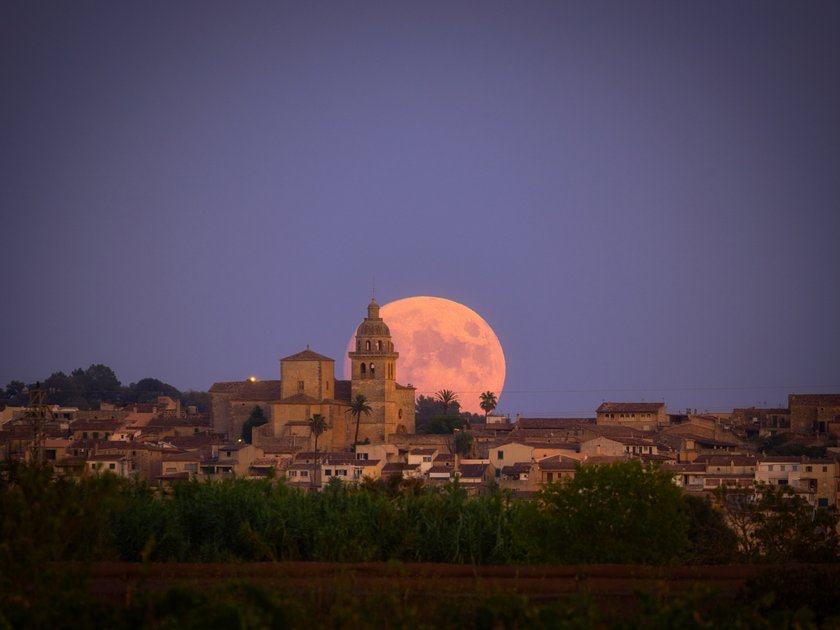
Let's practice with this beautiful moonrise in the village of Montuïri, Mallorca!
1. Start with the Basic Adjustments
Begin in the Develop panel. Adjust highlights, shadows, and contrast to your liking. Then, correct the white balance. Since our photo was taken during the golden hour, adjust to reduce the magenta tone and fine-tune the temperature.
Remember to respect the moon's natural colors, even as you add an artistic touch. Apply slight saturation and intensity to bring out the colors.
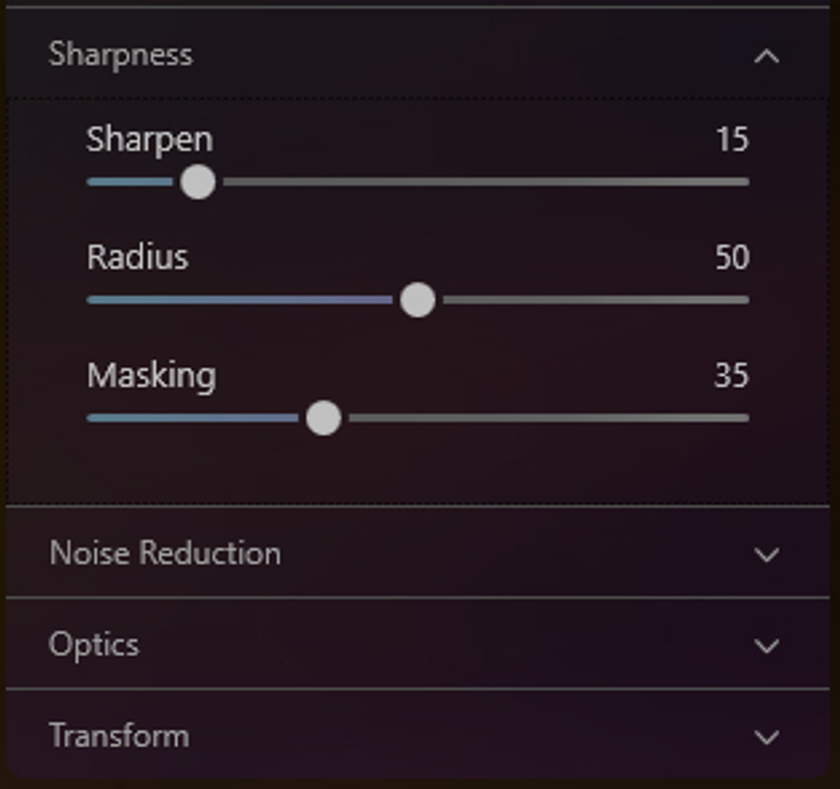
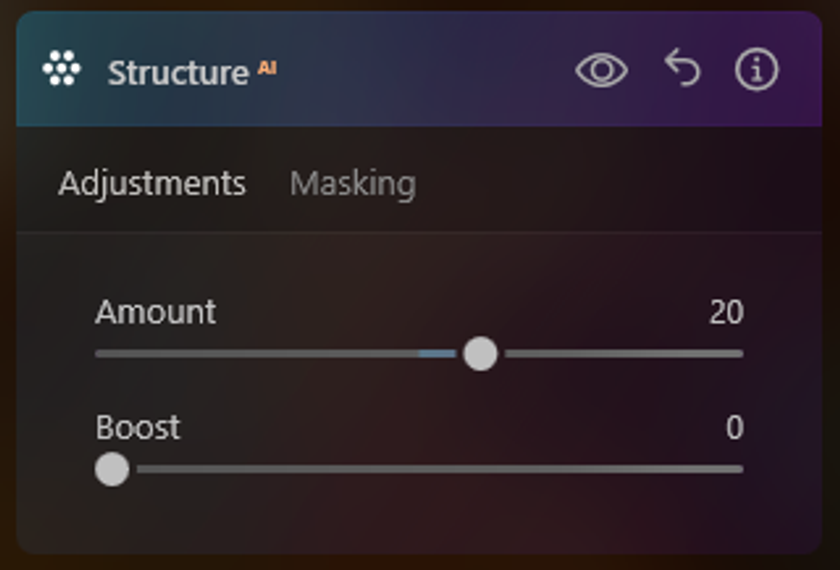
2. Improve Sharpness
Let's enhance the details of the scene. The Structure AI tool allows us to improve the textures of the photo effortlessly. Just move the slider until you find the right spot.
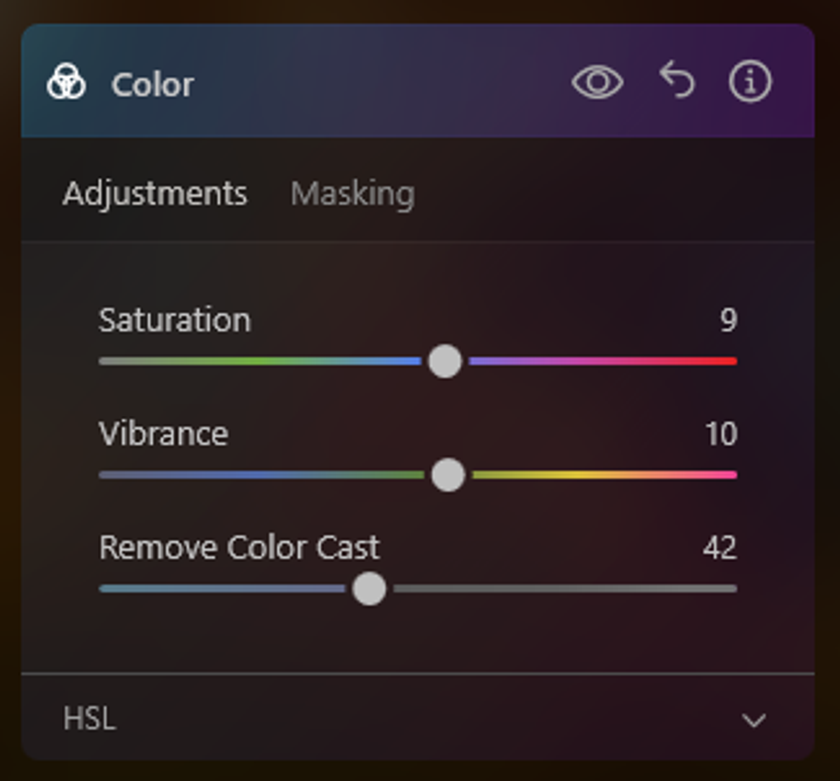
3. Refresh the Colours
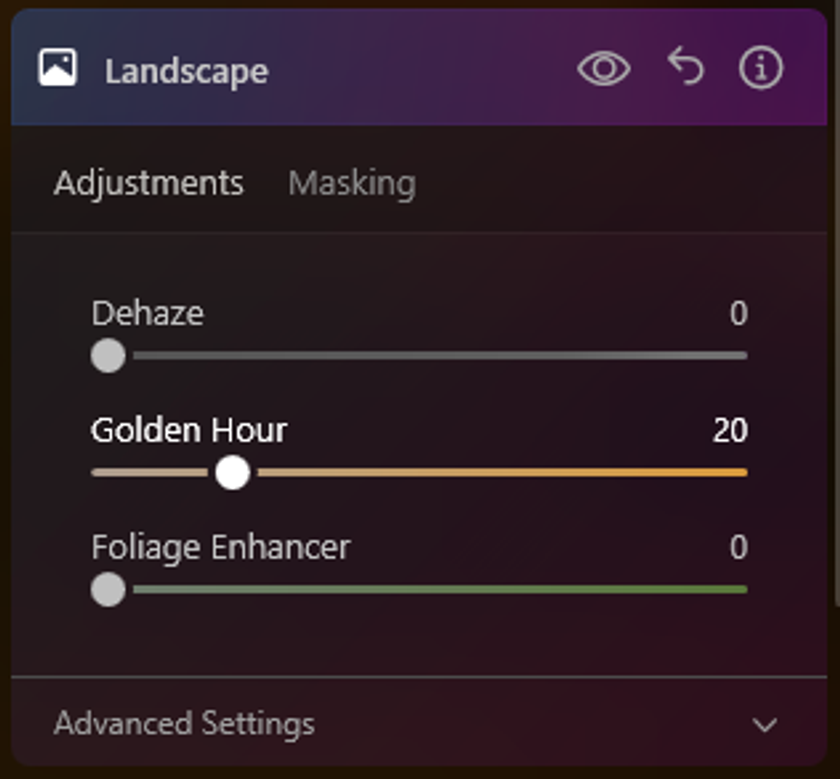
Utilize the Color tool to minimize any dominant purple tones, adjusting to your preference. And with the Landscape tool, improve the golden hour hues for warmer sunset colors.
Note: If your photo includes vegetation, you can use the Foliage Enhancer, but in this image, it is not interesting.
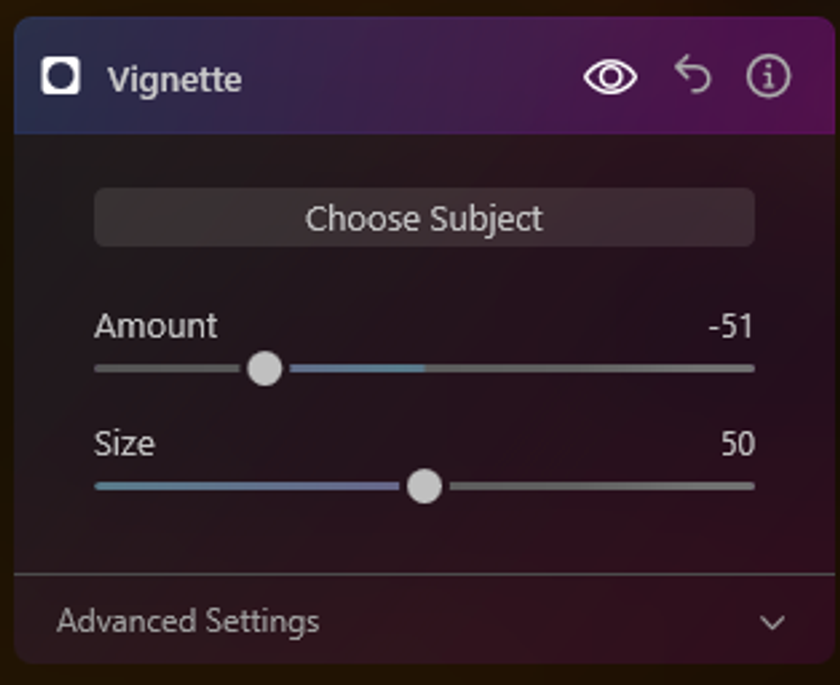
4. Create a Little Vignetting
Let's move on to the tool called Vignette. Adjusting sliders a bit, we can focus on the central part, where we have a Moon with a church.
5. Finish the Photo with the Effects
Now, let’s recreate an atmosphere to enhance the photo. Apply the Glow Effect subtly to the whole photo. And finish the process with another one, Mystic Effect. 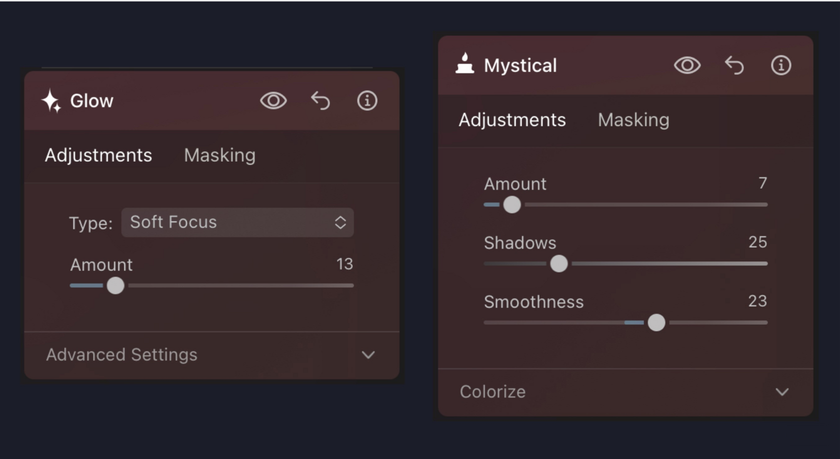
This way, we can manage to soften the luminosity and increase the contrast. It creates a fantasy effect by prioritizing the lighter areas.
6. Enjoy the Result
We've made all the necessary edits, and now it's time to compare the original photo with its processed version.

Elevate Your Photography with Our Advanced Software
Discover PricingWrap-Up
Moonrise photography is a captivating activity that combines art and science. With careful planning, the right equipment and a creative eye, you can capture the beauty and mystery of the Moon in a unique way. With Luminar Neo we get to enhance our photo, highlighting the colors and texture of the moon.
You've got the tips, so next time there's a stunning moonrise on the horizon, don't miss the opportunity to create your own moonrise photos.