Check out how clamshell lighting can change the game for your portrait shots. This guide is for anyone ready to level up their photography with a simple yet effective lighting trick. No complicated equipment needed, just two lights, and you're good to go!
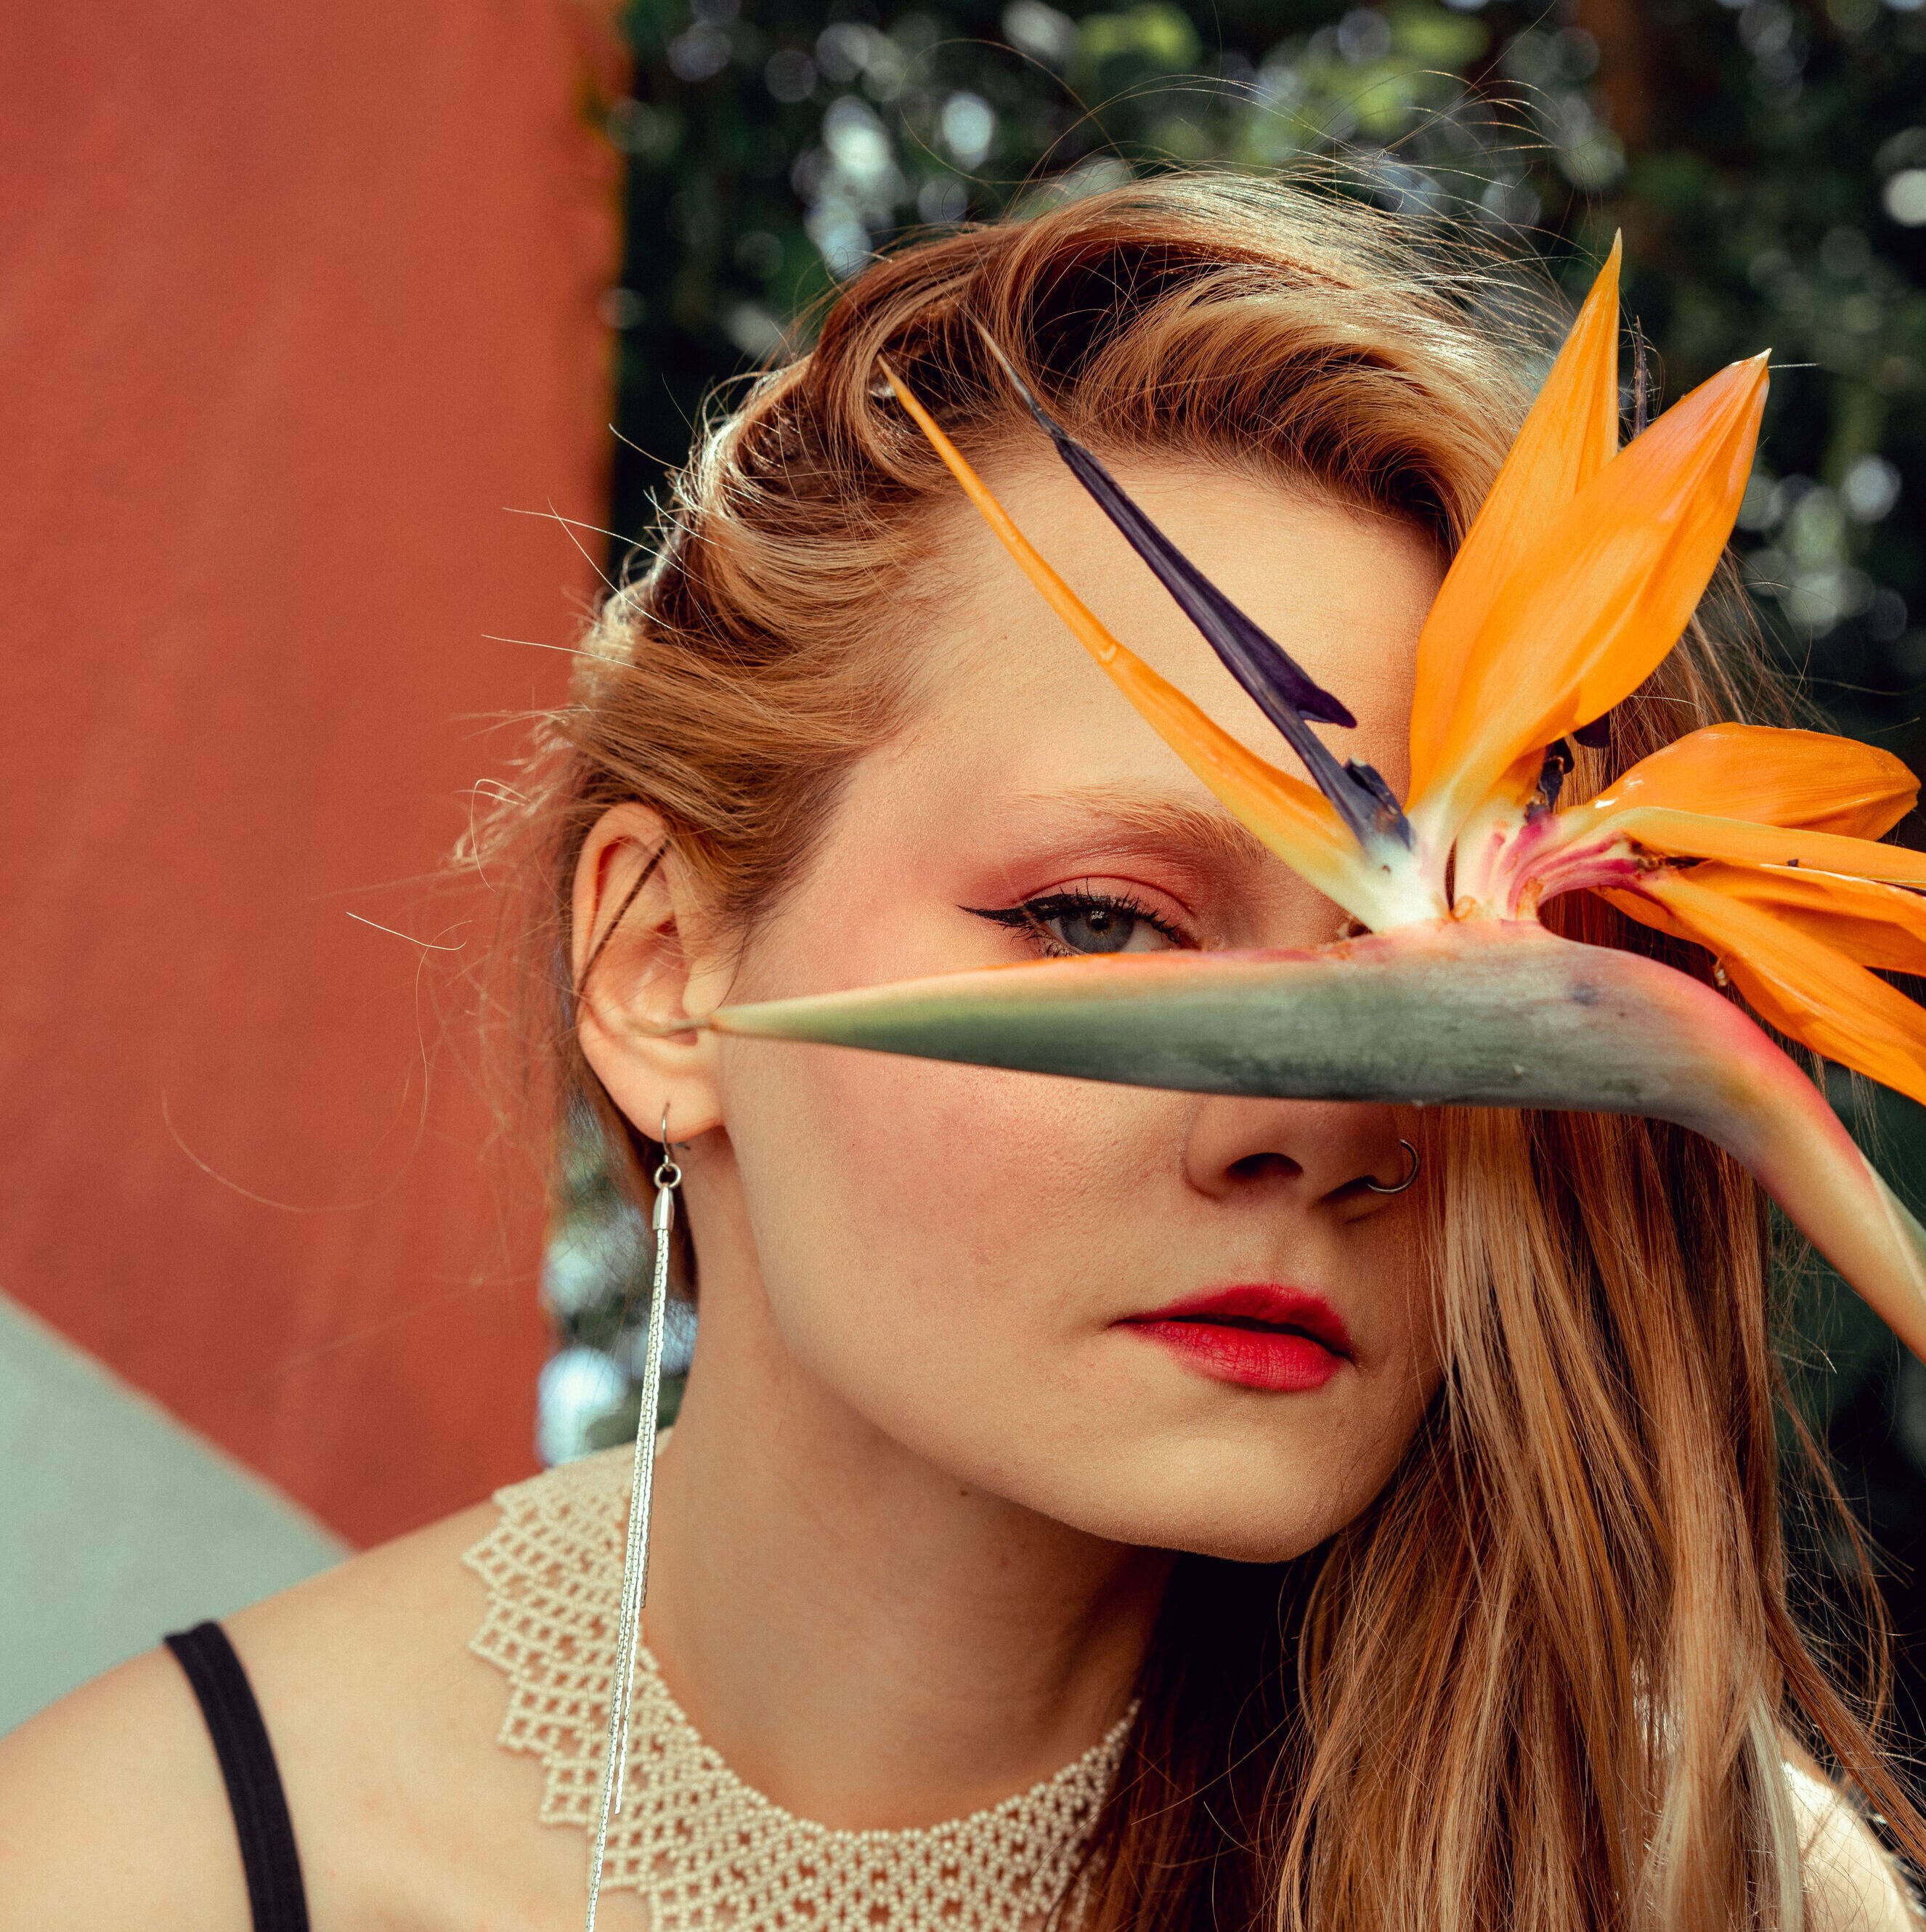
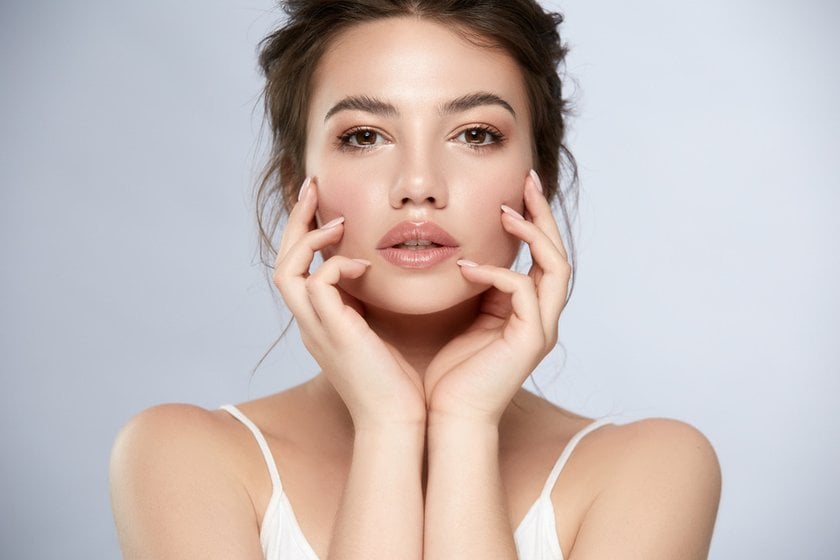
Ever noticed how some portraits just seem to glow, making the person in them look their absolute best? That’s often thanks to a simple yet powerful lighting setup known as clamshell lighting. It’s a game-changer in photography, especially if you’re aiming for pictures that stand out because of their beautiful, soft light. Clamshell lighting isn’t complex, but it does wonders for portraits, highlighting features and reducing shadows without needing fancy equipment.
This guide is for anyone interested in photography, and it aims to help you master clamshell lighting, no matter your current skill level. By the end, you’ll see how using this technique can significantly improve your portrait photography, giving it that professional edge you’ve been looking for!
What's Clamshell Lighting?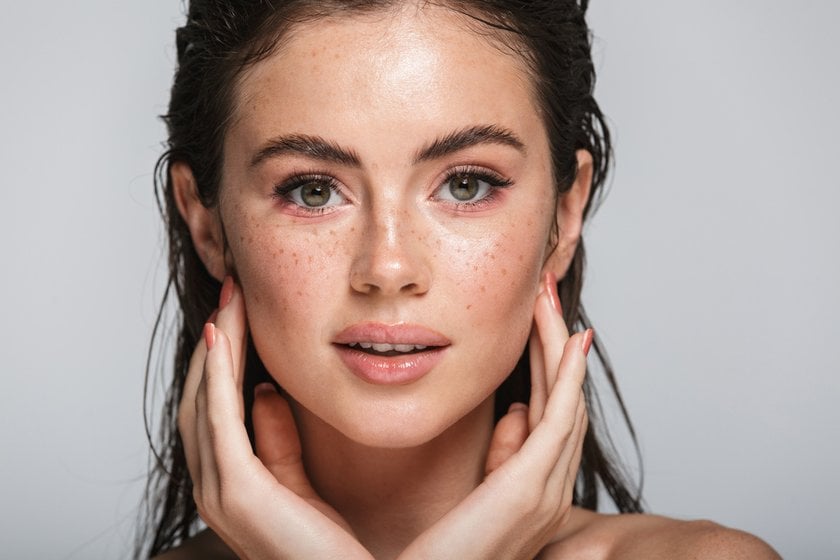

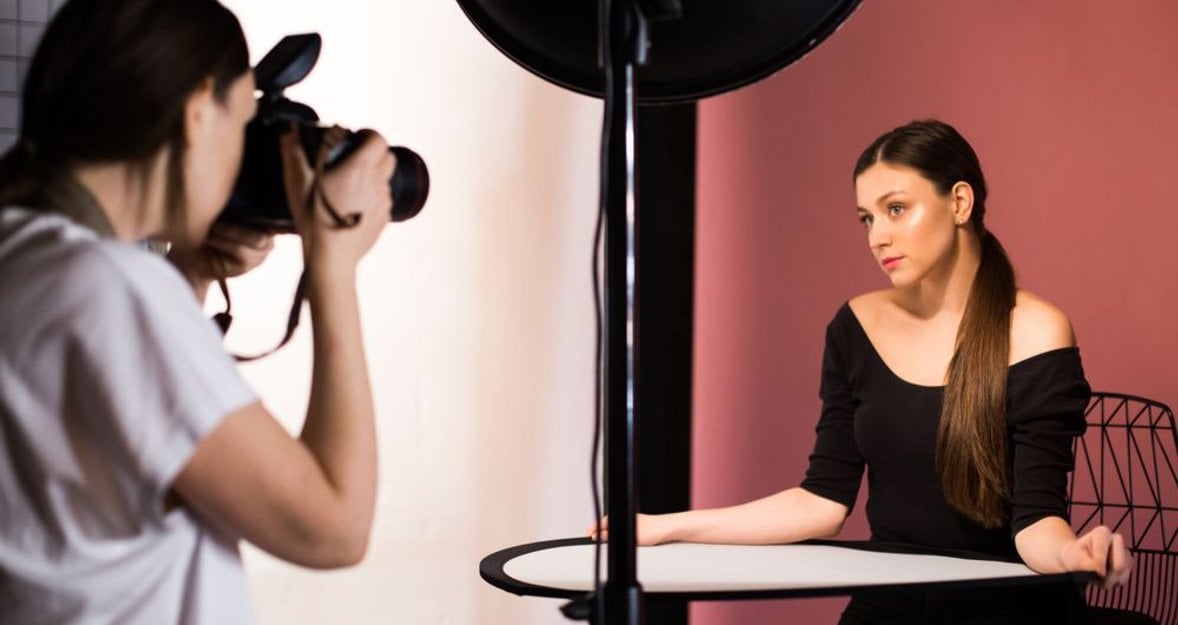
Clamshell lighting is pretty simple but genius. Picture this: you have two lights, one above and another below the face of the person you're snapping photos of. They work together like the two halves of a clamshell, hence the name. This setup is great for portraits because it casts a soft, even light that flatters the face, smoothing out wrinkles and shadows and giving the eyes a lively sparkle.
Setting Up the Lights
Here’s how you do it: put one light above the person, pointing down at an angle. This is your main light, and it does most of the work. Then, place another light or a reflector below, pointing up, to soften any shadows the top light creates. The key is to make sure the lower light is a bit gentler than the top one. This way, you get a nice balance that looks natural and makes everyone look their best.
Choosing Your Gear
Don’t worry if you don’t have fancy equipment. Clamshell photography can be done with basic stuff like a couple of lamps and a mirror or a whiteboard as the reflector. Of course, if you have access to professional lights and softboxes, that’s great. They give you more control over the light. But the main idea is to work with what you have. Even a simple setup can give you amazing results once you understand the principle behind clamshell lighting!
AI-Powered Image Enhancer for Flawless Portraits
Give it a try!How to Set It Up Right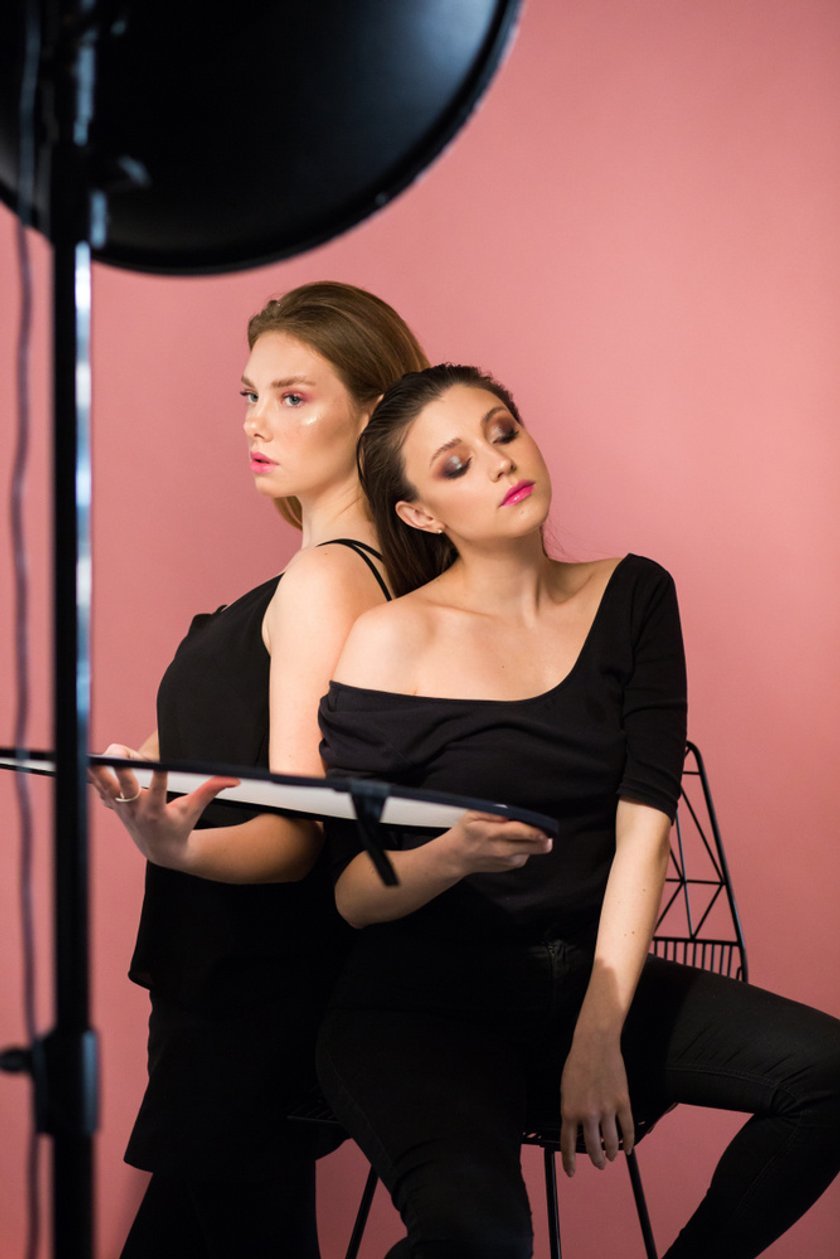

Getting your lights right is crucial for that professional look in your portraits. Here’s a guide to setting up!
Main Light Placement: Place your main light in front of the person you're photographing, a bit above their head, angled down towards their face. This is your key light, so it should be the strongest one you use.
Fill Light Fine-tuning: The fill light goes below, aiming up to soften shadows without overpowering the main light. Think of it as the support act that makes the main light look even better.
Evening Out the Light: If you've got diffusers, now’s the time to use them. They help spread the light evenly, avoiding harsh shadows. No diffusers? A piece of thin white fabric or even a white bedsheet can work in a pinch.
Where to Place Your Subject
The spot where the person stands makes all the difference. Let’s do everything to get it right!
Distance Matters: Keep them a couple of feet away from your main light to allow the light to disperse nicely. Too close and the light can get too intense; too far and it might not illuminate them as well.
Eye Contact: Position them so their eyes are level with the camera. This helps catch the light in their eyes, making the portrait pop.
Looking Direction: Direct them to either face the camera for a strong, direct look or to slightly turn away for a more introspective vibe. It depends on what feel you’re going for in the shot.
By following these steps, you can master clamshell lighting for headshots and two-light portrait setups. It’s about experimenting and adjusting until you find what looks best. Every face is different, so what works for one might need a tweak for another. Keep playing with these settings, and you’ll quickly see your portraits improve!
The Definitive Solution for Picture-Perfect Portraits
Discover Today!Try New Things and Fix Problems

Once you've got the hang of your two-light setup for headshots, the real fun begins. It's about playing around, seeing what works, and fixing any hiccups along the way. Tweaking your lights a bit here and there can totally change the vibe of your photos. Maybe angle the main light differently for a shadow that adds depth, or throw a colored gel on to set a mood. These small changes can have a big impact!
The backdrop behind your subject is also key. A simple, solid color keeps things clean and focused on them, but there's room to get creative with patterns or textures that add a little something extra to the shot. Props can be a game-changer, too. A cool pair of glasses, a hat, or anything that adds a bit of personality can make a portrait stand out.
Now, onto the common issues. If your subject's face is coming out too shiny, your main light might be too strong. Dial it back or move it further away. A touch of makeup powder can also help cut down on the glare. If you're battling with shadows that are too harsh, beef up your fill light to soften them up a bit. It’s about balancing the light so it flatters without washing out or hiding features.
Skin tones need special attention. Lighter skin might need you to tone down the lights to avoid overexposure, while darker skin might require a bit more light to ensure the features are highlighted just right.
Experimenting is key. Don’t be afraid to try new things and adjust as you go. Photography is a mix of art and science, and sometimes, it takes a bit of tweaking to get everything just right. By keeping at it, you’ll find your groove and start nailing those 2 light headshot setups!
Enhancing Your Photos With Luminar Neo
When it comes to giving your portraits that extra touch of magic, editing in Luminar Neo, an AI photo editor, transforms the way you relight photos online. This powerful software leverages AI studio lighting, making it possible to enhance your images with just a few clicks! Whether you've mastered the clamshell lighting technique or are working on perfecting your two-light setup, Luminar Neo's auto-enhance feature can adjust shadows, mid-tones, and highlights, bringing out hidden details and adding depth to your photographs. It's like having a professional lighting setup at your fingertips, allowing you to achieve a balanced and polished look effortlessly.
Moreover, Luminar Neo doesn't stop at just enhancing your images; it offers a wide range of personalization options. From adjusting brightness and contrast to changing the size, this editor ensures every detail in your portrait stands out. The program's ability to dramatically alter the lighting with one click simplifies the editing process, while its advanced light enhancement tools open up a realm of possibilities for creativity. Whether you aim to add excitement, set a mood, or highlight important features in your photos, Luminar Neo's studio light feature can simulate various lighting effects, adding a new dimension to your images. It's specially designed for portrait photography, offering an easy, spam-free, and comprehensive toolkit that saves time and elevates your photographs to professional standards!
Perfect Your Portraits with Precision Skin Retouching
Explore In Luminar Neo!Conclusion
As we conclude our exploration of clamshell lighting, it's evident that this technique is a cornerstone for anyone looking to elevate their portrait photography! The simplicity yet effectiveness of clamshell lighting cannot be overstated; it offers a straightforward approach to achieving soft, evenly lit portraits that flatter the subject, highlighting their best features while minimizing harsh shadows. This guide aimed to demystify clamshell lighting, making it accessible to photographers of all levels and showing how it can significantly improve your portrait work, giving it that sought-after professional edge.
While tools like Luminar Neo play a supportive role in enhancing these portraits further, perfecting your lighting setup is foundational. Understanding how to manipulate light and shadow through clamshell lighting is what transforms a good photo into an exceptional one. The post-processing capabilities of Luminar Neo, or any editing software, should be seen as the polish on the already valuable work, enhancing the intrinsic beauty captured through skilled lighting techniques. As you continue to practice and experiment with clamshell lighting, remember that the essence of a great portrait lies not just in the editing but in the mastery of light itself!
If you found clamshell lighting helpful, you might also enjoy our posts on backlighting in photography and photo studio light setup. They're full of tips that can take your portrait shots to the next level!
Happy photo taking!
Backlight photography: all you wanted to know about
learn more
How to Set Up High Key Studio Lighting
learn more