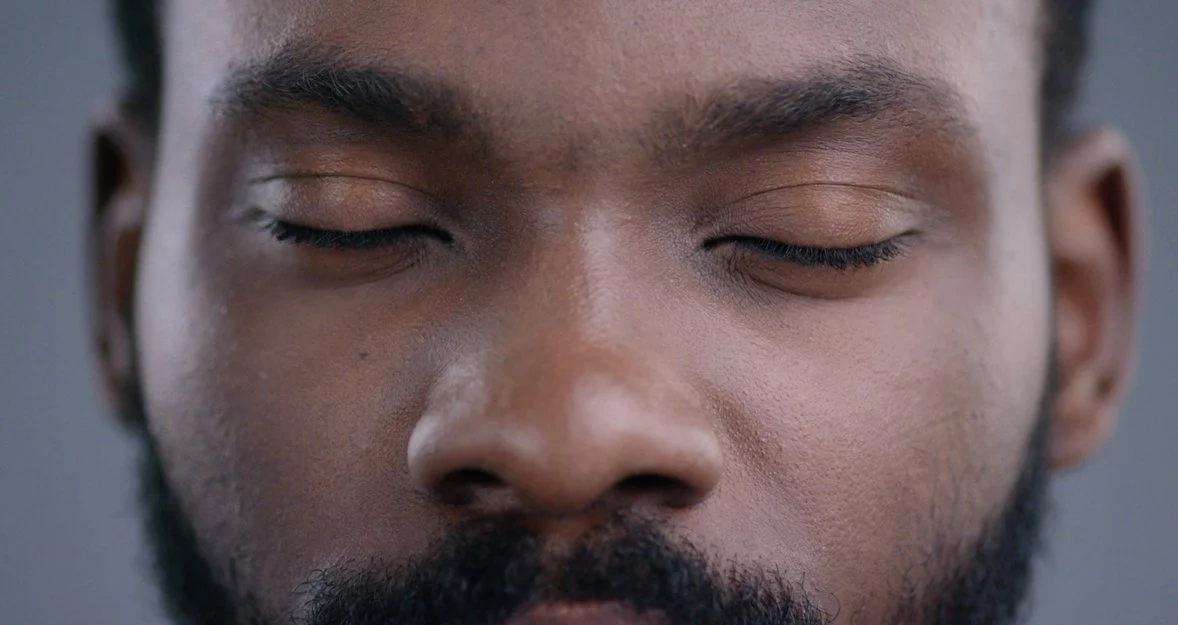
You Got A Great Photo But Unfortunately You Turned Out In The Photo With Your Eyes Closed? Here Are Some Methods To Help You Fix It And Enjoy The Perfect Photo.
We've all experienced a moment: the disappointment of opening up a great photo only to realize that your eyes are shut. Whether it's a candid shot taken by a friend or a portrait shot by a professional, the result is always the same — a potentially perfect picture spoiled. The frequency of such occurrences can seem inexplicably high, raising questions like "How to open your eyes in a photo?"
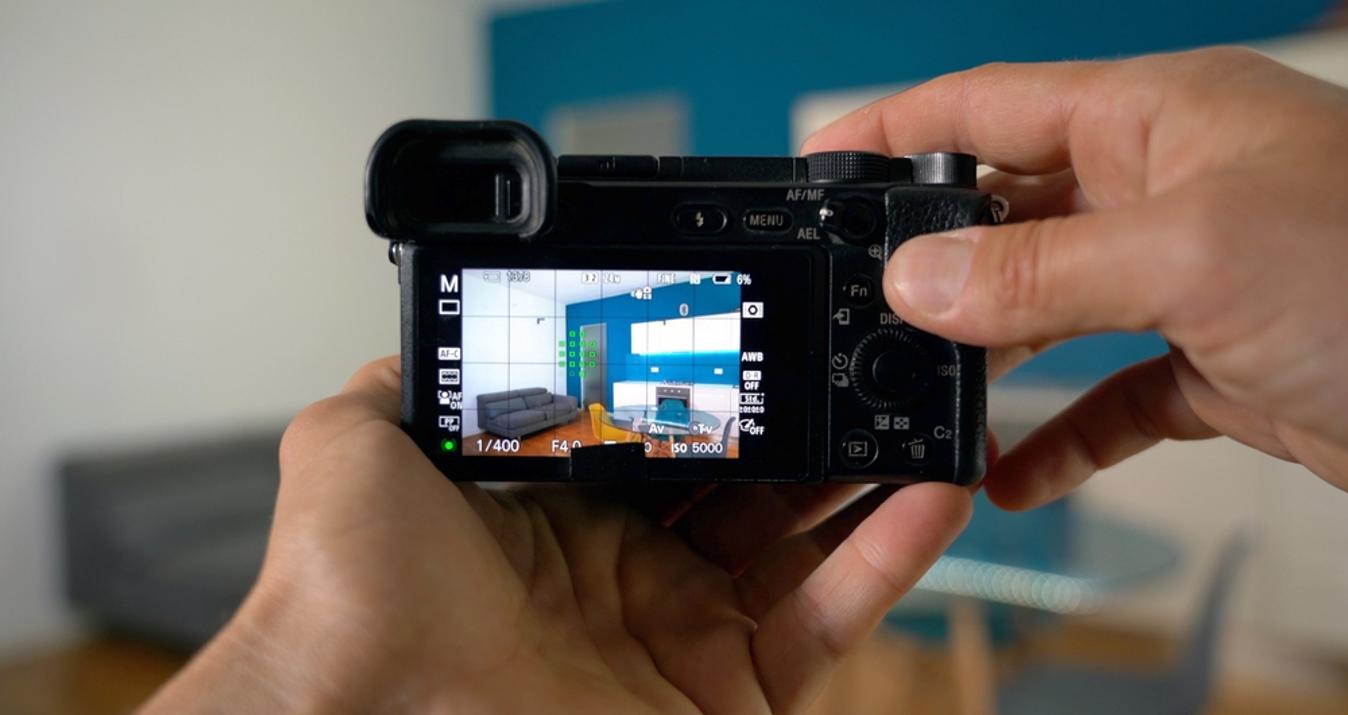
Thankfully, a closed-eye picture doesn't have to be a lost cause with today's digital technologies. Portrait photo editing, once a domain restricted to professional photographers, is now accessible to everyone. With these tools, editing pictures is just a few clicks away. Read on to learn how you can turn your blinked moment into a masterpiece!
The Prevalence of the Problem
One of the main causes is the timing of the camera's flash. Our eyes naturally close to protect themselves when suddenly exposed to bright light, and the speed at which this happens often surpasses the camera's shutter speed. Thus, despite your best efforts, you might often find yourself blinking at the exact moment the photo is taken.
Another prevalent issue is the occurrence of squinty eyes in pictures. Several factors, such as natural expressions, fatigue, and sun exposure, contribute to this phenomenon.
Understanding these common reasons is the first step towards resolving them, and thankfully, we have numerous tools at our disposal to do just that.
Initial Solutions to the Problem
Knowing why closed eyes in photos occur is helpful, but knowing how to avoid it is even more so. Here are some basic tips:
- Avoid direct flash: As mentioned earlier, the sudden bright light of a flash often triggers the reflex to blink. Try to use natural light or diffused light whenever possible to reduce the chance of blinking.
- Use the camera's burst mode: Burst mode allows you to take a sequence of photos in quick succession, increasing the chance of capturing a shot with your eyes open.
- Close your eyes until the moment of the shot: Ask the photographer to count down from three. Close your eyes, and open them just as the photographer says "go" or "click".
These tips will help, however, if you stumble upon a favored photo where your gaze appears shut, fear not. You can employ various methods to learn how to open your eyes in the photo.
How to Edit Eyes in Photos Using Advanced Solutions
While the above tips may help prevent closed eyes in photos, they might not be helpful in rectifying the photos already taken. Fortunately, advanced solutions like Luminar Neo or Adobe Photoshop can come to your rescue. And now for more details.
Fixing Closed Eyes in Luminar Neo
Whether you're rectifying common photo mishaps or engaging in creative photo manipulations, Luminar Neo offers tools catering to beginners and professionals alike. For those seeking to amend photos with closed eyes, here's a straightforward guide on how to seamlessly correct them using Luminar Neo:
Open the photo: Launch Luminar Neo and open the photo with closed eyes.
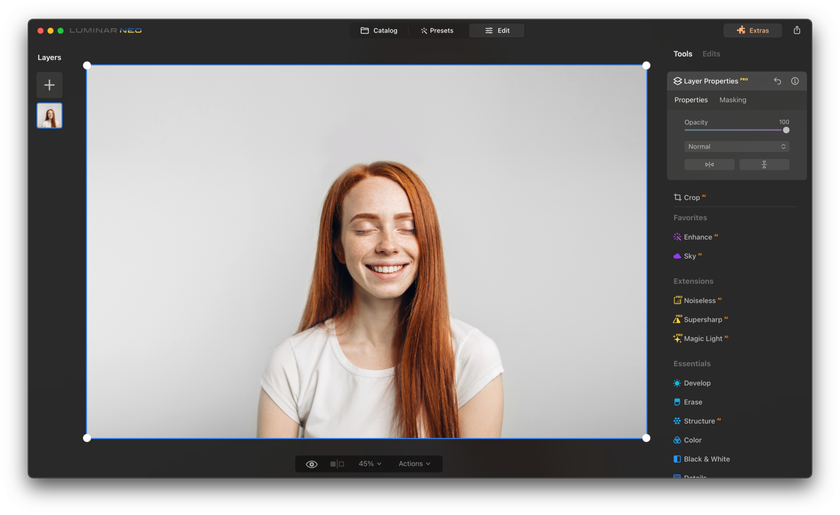
Add the reference photo: On the left side panel, add a second photo of the same person with their eyes open. This will serve as the source for the open eyes.

Open the Properties Layer: Click on the layer that contains the photo with open eyes to access its properties and tools.
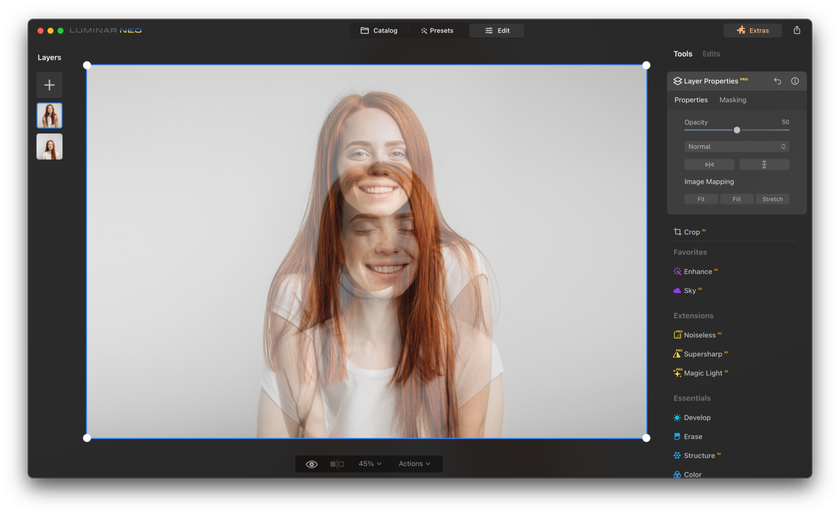
Cut out the eyes: Select the brush tool from the toolbar. With appropriate settings, carefully brush around the eyes to make a precise selection. Ensure that you capture just the eyes and as little of the surrounding area as possible.
Adjust the cut-out eyes: Position the selected eyes correctly over the closed eyes using transformation tools to get the right alignment, size, and orientation.

Tweak the overall look: Utilize the tools in Luminar Neo, such as brightness/contrast adjustments and others, to ensure the pasted eyes blend naturally with the rest of the face.
Save your edited photo: Once you're satisfied with the edit, click on the "Share to" icon located at the top right. Follow the subsequent prompts to save or export your modified image.


Download Luminar Neo and Get a 7-day Free Trial
I'm in!Brief Guide on Adobe Photoshop
Whether you're rectifying common photo mishaps or diving deep into advanced photo manipulations, this software stands as the industry standard, offering many tools suitable for both novices and experts. Here is a step-by-step guide on how to fix squinty eyes in Photoshop:
Open the photo in Photoshop: Launch Adobe Photoshop. From the toolbar at the top, select 'File', then 'Open', and navigate to the photo with closed eyes. Do the same to open a second photo of the same person with their eyes open.
Select the open eyes: On the picture where the eyes are open, select the 'Lasso Tool' from the toolbox on the left. Carefully draw around the eyes, ensuring you capture the full eye area but as little of the surrounding area as possible. Once done, right-click within the selected area and click 'Copy'.
Paste the eyes onto the other photo: Navigate to the photo with closed eyes. Right-click anywhere within the image and select 'Paste'. You'll now have a new layer in your Layers Panel with open eyes.
Position the eyes correctly: Select the 'Move Tool' from the toolbox (the arrow icon at the top). With the new layer selected in the Layers Panel, you can click and drag the pasted eyes to the correct position over the closed eyes. If needed, you can use the 'Transform' controls (Edit > Transform > Scale or Rotate) to size and angle the eyes correctly. The key to avoiding a "googly eye" picture is patience and attention to detail
Blend the pasted eyes: This is probably the trickiest part. Choose the 'Eraser Tool' from the toolbox with the pasted eyes layer still selected. In the toolbar at the top, adjust the eraser's hardness to a lower level (around 10-20%) for a softer edge. Gently erase around the edges of the pasted eyes to blend them into the face.
Adjust the brightness and contrast: The lighting in the two photos might not be the same, so you may need to match the brightness and contrast. With the pasted eyes layer still selected, go to Image > Adjustments > Brightness/Contrast. Adjust the sliders until the pasted eyes match the rest of the photo.
Post-Processing and Enhancements

Correcting closed eyes in a photo is a significant step in achieving a perfect picture, but it's not the end of the journey. Post-processing is an equally crucial part of photo editing, allowing you to enhance your image's aesthetic aspects like color balance, contrast, clarity, and overall ambiance.
Here's where Luminar Neo steps into the spotlight. As a user-friendly AI photo editor, Luminar Neo not only helps correct common photo errors but also offers robust tools for advanced photo enhancement. With its intuitive interface, you can perform sophisticated post-processing tasks with just a few clicks. You can adjust the image's exposure, boost the colors, apply filters, and even add creative effects to give your photos a professional and stunning look.
What makes Luminar Neo even more versatile is its compatibility with other photo editing software like Adobe Photoshop. Luminar Neo offers plugins for Photoshop, making it convenient for users to enjoy Luminar's advanced features within the Photoshop environment. Once you have corrected the closed eyes in Photoshop, you can simply switch to the Luminar Neo plugin and start the post-processing work without leaving the software.
To use the Luminar Neo plugin for Photoshop, follow these simple steps:
- With Photoshop open, navigate to 'Filter' in the top menu.
- From the drop-down list, select 'Skylum Software' and then 'Luminar Neo'.
- This will open the Luminar Neo panel within Photoshop, and you can start editing using its various features.
Editing closed eyes in photos and performing post-processing work has never been easier. With the combination of Adobe Photoshop and Luminar Neo, even the most imperfect photos can be transformed into beautiful masterpieces. All it takes is a bit of patience and a few clicks, and you'll have photos that not only capture the moment perfectly but also impress with their professional-grade aesthetics.
Solutions for Mobile Users: How to Fix Closed Eyes in a Photo on iPhone
If you primarily use your smartphone for photography, there are numerous apps to fix lazy eye on pictures. Apple's built-in photo editing tool provides a basic solution to address this issue, specifically on an iPhone.
Here's how to fix closed eyes in a photo on an iPhone using the built-in tools:
- Open the photo you want to edit in the Photos app on your iPhone.
- Tap on the Edit button in the top right corner.
- Select the Retouch tool, represented by a Band-Aid icon.
- Zoom in on the closed eyes area and use your finger or Apple Pencil (if supported) to carefully brush over the closed eyelids, smoothing them out.
- Once you've retouched the closed eyes, tap Done to save the changes.
While the built-in tool can handle basic adjustments, it's worth considering third-party apps available on the App Store for more advanced edits. There are numerous highly-rated apps designed specifically to fix closed eyes in pictures.
Here are some top-rated apps for fixing closed eyes in photos on an iPhone:
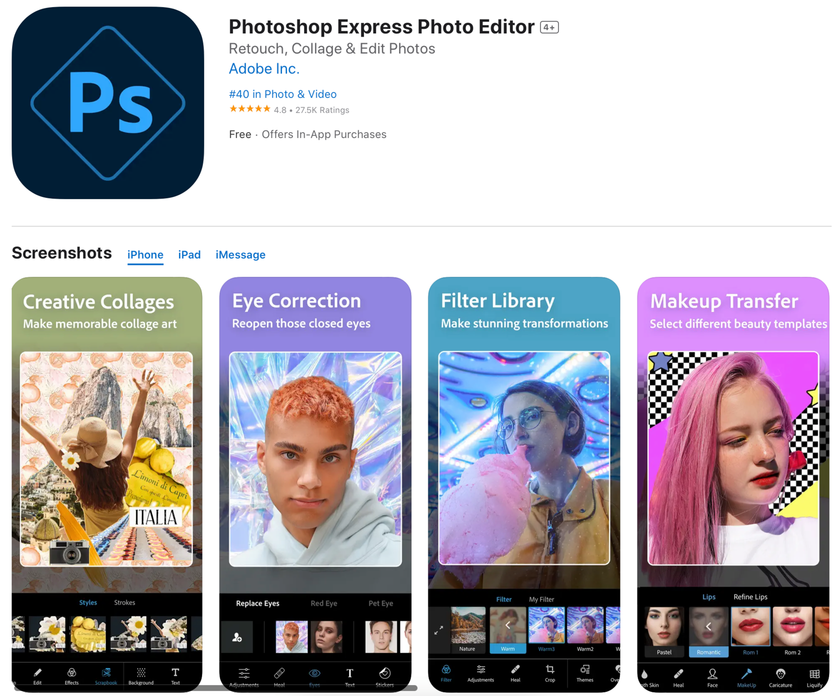
1. Adobe Photoshop Fix: This app offers a comprehensive set of tools for precise editing, including the ability to fix closed eyes with detailed control.
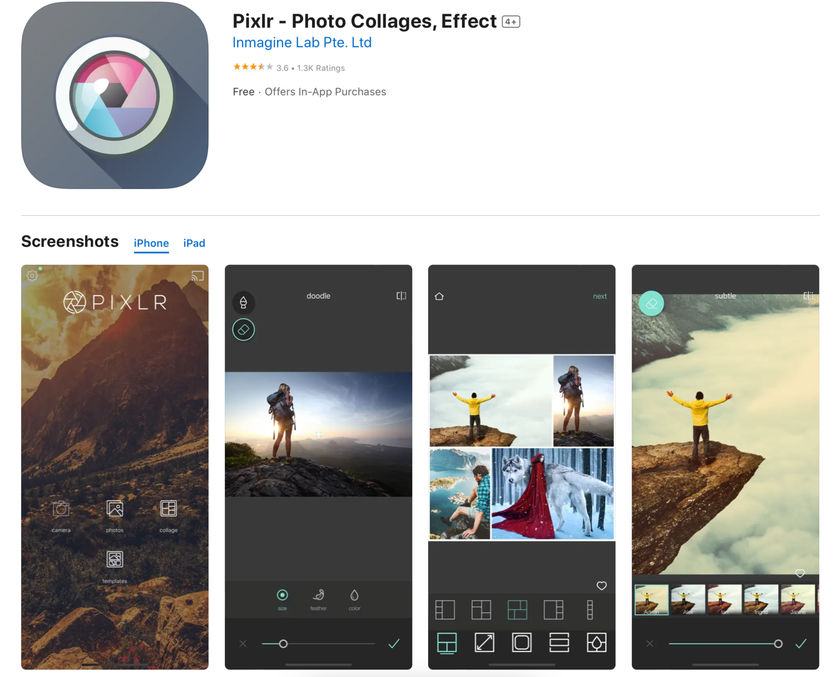
2. Pixlr: With its user-friendly interface, Pixlr provides a range of features to correct closed eyes effectively, enhancing the overall appearance of your photos.
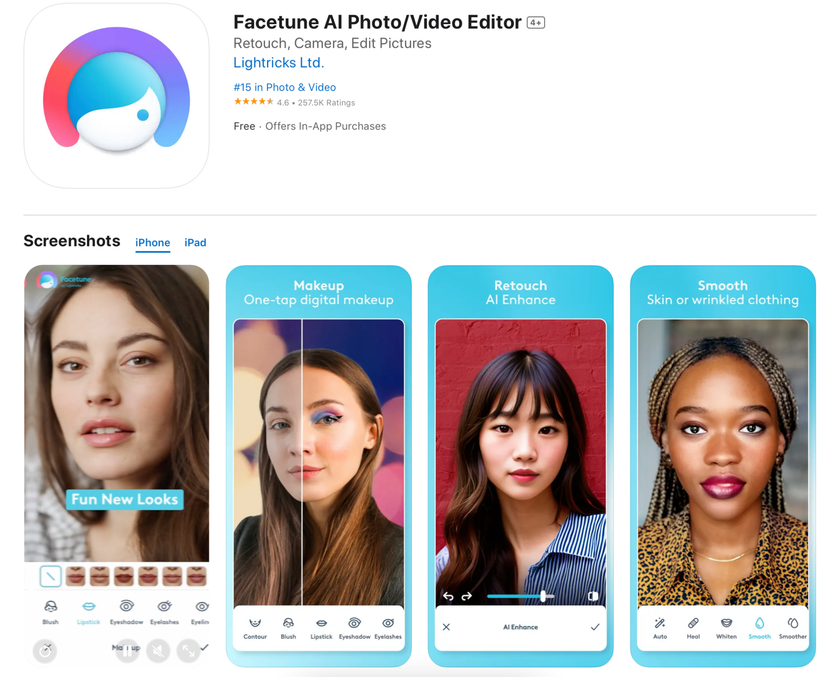
3. Facetune: Known for its powerful editing capabilities, Facetune includes dedicated tools to fix closed eyes and improve eye appearance in photos.
By utilizing these apps, you can effectively address closed eyes in your iPhone photos, ensuring that your favorite moments are captured in the best possible way.
Conclusion
There are several ways to fix it, whether you're comfortable with advanced software like Adobe Photoshop or prefer user-friendly applications like Luminar Neo or mobile apps.
Correcting these seemingly small imperfections in your photos might require a bit of effort and patience, but the results can be well worth it. Don't let the statement "my eyes look half closed in pictures" become a recurring theme in your photo albums.
The next time you come across a great photo marred by closed or half-closed eyes, don't discard it. Instead, apply these methods to transform that imperfect picture into a perfect memory. After all, every picture tells a story. With a bit of editing, you can ensure your photos accurately reflect the beauty of the moment they captured.