
Glass Photography Can Be Tricky, But It's Also Very Rewarding. Follow These Step-by-step Instructions To Master The Art Of Glass Photography.
Look around. Many glass objects surround us. Transparent or colored, smooth or textured, tableware or interior items, indoor or outdoor, fine or dull, matte or shiny.
If you want to learn the nuances of glass photography, this article is for you. From avoiding reflections to creating sparkle, we will discuss this and more. You will find different budget options for lighting setups that you can apply to various color backgrounds; and glass photography ideas for developing your creativity.
How to Photograph Glass with Depth of Field
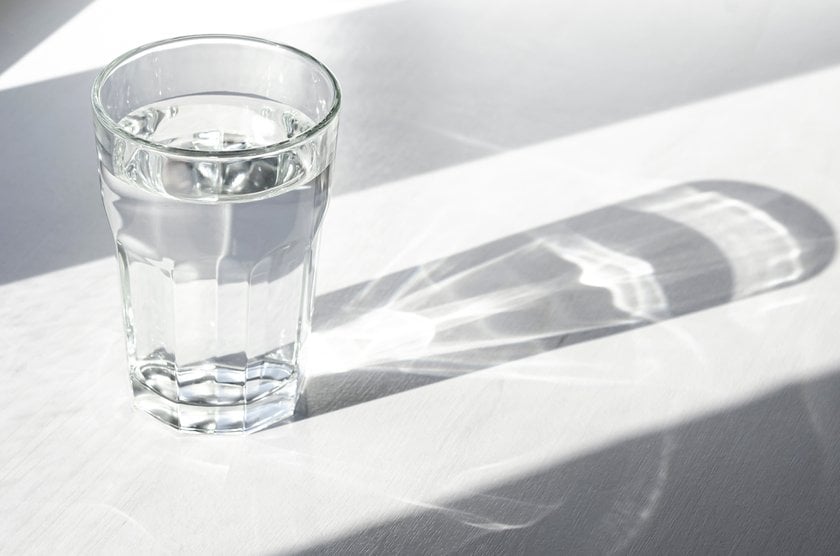
When dealing with glass in photography, the process can be conditionally divided into two types — shooting the object itself or using the reflective properties of glass. Depending on your goals, the principles of photography will be different. Adapt the settings to your specific equipment and the effect you want to achieve, and review your results to make adjustments as needed. Photographing with a controlled depth of field involves techniques to capture your object while achieving a desired level of background blur. Here's a brief guide on how to photograph clear glass:
- Use a lens with a wide maximum aperture (e.g., f/1.8 or f/2.8) to create a shallow depth of field. A prime lens can be particularly effective for this.
- Opt for Aperture Priority (A/Av) or Manual (M) mode on your camera. Aperture priority lets you control the aperture, while manual mode allows control over both aperture and shutter speed.
- Select a wide aperture (small f-number) to create a shallow depth of field. It will blur the background while keeping the object in focus.
- Since wide apertures might lower shutter speeds, use a tripod to avoid camera shake and ensure sharpness.
- Manually focus on the object, ensuring the focus point is precise and clear.
- Place the object against a suitable background. A distant, clutter-free background will help emphasize the glass while achieving blur background effect.
- Position the camera relatively close to the object. It helps increase the background blur while keeping the subject in focus.
- Bokeh refers to the aesthetic quality of the out-of-focus areas. Wide apertures often create pleasing bokeh. Circular or soft-shaped bokeh highlights can enhance the overall look.
- Try different aperture settings, distances, and compositions to achieve the desired object focus level or background blur.
How To Take Pictures Of Glass
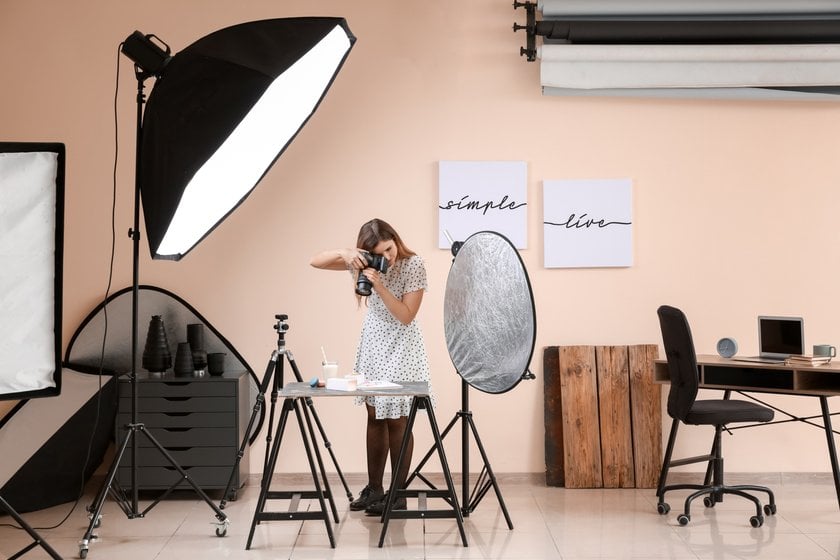
Photographing glass objects requires careful consideration of lighting, angles, and background to effectively capture their transparency, reflections, and intricate details. Opt for neutral background colors that won't compete with the object, or use gradients to add depth. Black or white backgrounds can highlight different aspects of transparency. Set up a camera to control exposure and depth of field. Let's look at the most important nuances of glass product photography.
1. Use Backlighting To Avoid Glare
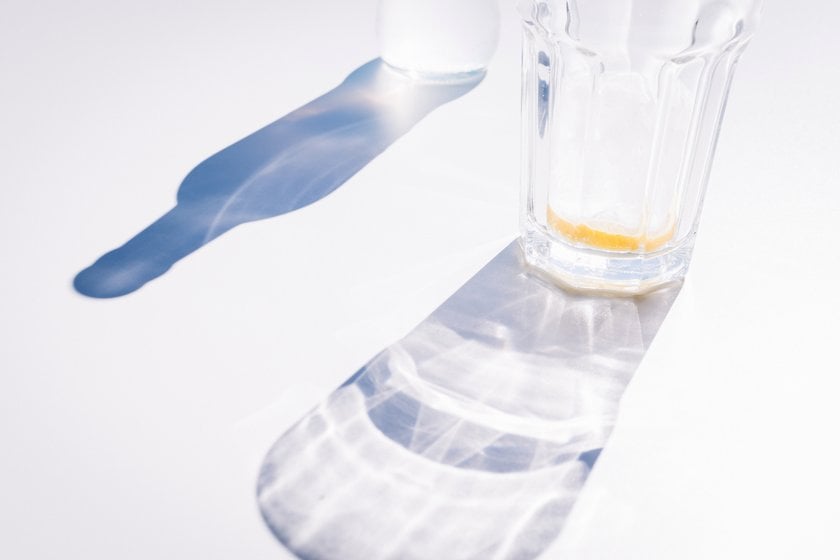
The biggest problem when photographing glass objects is glare. Only some reflections are good. Like shadows, we use them to show the shape of our subject. And just as front lighting kills most shadows, Backlighting kills most reflections. The difference is that for glass product photography, the Backlighting is unsurpassed.
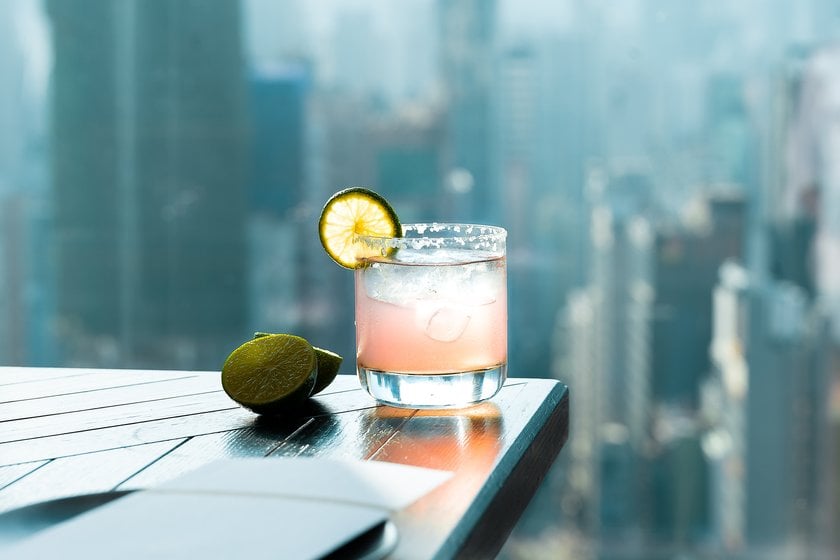
Glass bottle photography necessitates precise lighting to evade reflections and exhibit the bottle's form and content. Employ diffused lighting from diverse angles to eliminate harsh highlights. Backlighting can enhance the bottle's transparency and make the liquid shine. Choose a complementary background that accentuates the bottle's aesthetics, like neutral tones or gradients. Opt for a narrow aperture (high f-stop) to keep the entire bottle in focus.
Now you know how to photograph glass without glare. But what to do if we need to illuminate our object correctly? Different methods can be used to create illumination. Not all of them require fancy photo equipment. You can get by with a fairly simple lighting setup and simple techniques. Take a large sheet of white paper or plastic and illuminate it with two flashlights. Thus, your object will be illustrated by reflected light from the background. Use a softbox as a white background. If you see a round spot of light but want a more even background light, move the light source further away from the diffuser or add another layer of diffusion material. It can be a special white cloth or even a sheet of parchment paper.
2. Use Two Light Sources For Depth
The image with only one backlight looks clear and minimalist but may need more depth. Especially if you also have a non-transparent object in the frame, like liquid, fruit, etc. In that case, place one more light source on the side of your thing. The glass will get an additional reflection on its body that complements its shape. An extra light helps to reveal the texture and shape of a non-transparent subject and makes it 3-D. It also helps when shooting something like a wine bottle with a label on the front.
3. Use A Long Focal Length
A long focal length allows you to get further from the scene. It minimizes the chance of getting your reflection. You can also use a smaller background, which is an advantage if you shoot at home or in a limited space. Lenses with long focal lengths compress the area so the camera sees less space behind the subject.
4. Clean The Glass

It is an obvious but no less important piece of advice. Clean every surface very well to avoid smudges and smears on your subject. Any dirt and fingerprints will be visible in the image. Using gloves will make the process much easier. But make sure they don't leave dust or fiber on the surface. Check the glass to the light to see if it's clean. Some seconds could save you hours of post-processing.
5. Add Drama By Photographing On A Dark Background

If you have a bright object in the frame in addition to the glass, select the appropriate background according to the complementary scheme. Black is the most versatile, and it looks very effective when shooting a transparent object filled with water or red wine. Add a sheet of colored paper right behind the glass. It should be wide enough to cover the area right behind but also narrow enough to keep the edges of your light source visible. It will create a white glowing outline that looks wonderful!
6. Add An Action Or A Movement

Dynamic photos are not trite and boring. Pouring liquid, bubbles, and splashes look fantastic with transparent dishes. Set your two lights on low power. That provides a very short speed duration. The scene will be lit only for 1/4000th of a second or less. It will freeze the liquid in action, not the shutter speed. Pour some water into the dishes and take a sequence of shots. Bubbles and splashes look on black and white backgrounds.
7. Improve The Result With Photo Editors
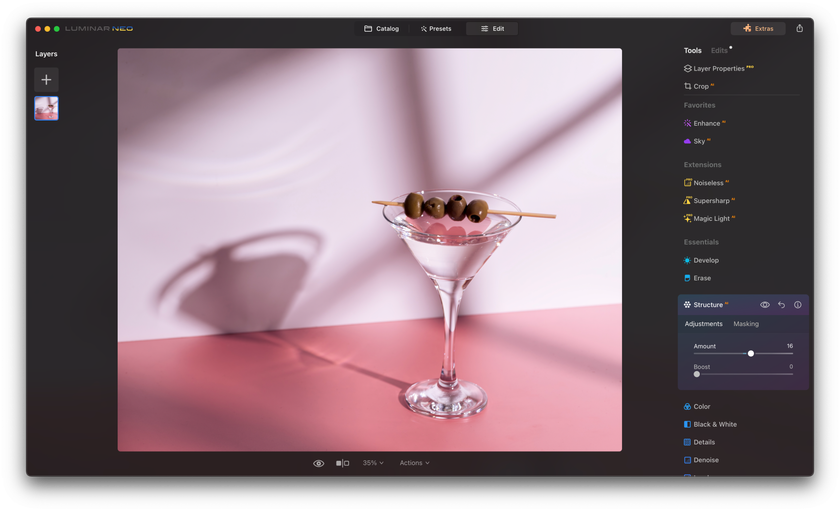
Post-processing can enhance the image. Retouching highlights, shadows, and reflections in software can refine the final result. This step can improve the product's allure and present it in its best possible light. For example, you can achieve the desired result by processing your photo with Luminar Neo. Photo Editor for beginners has all the necessary tools for working with pictures of glass objects.
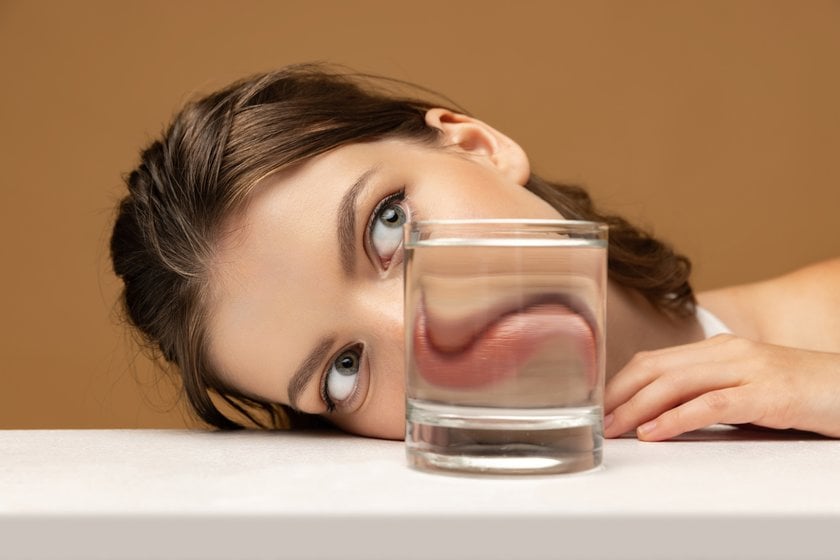
Use the Reflection The Way You Want

Glass reflection photography involves creatively capturing mirroring on glass surfaces. When you want a traditional symmetrical glassware shot with a review below, you can place your glass on a sheet of mirror or plastic and photograph a real reflection. But that adds one more surface to worry about. Try creating fake mirroring to simplify work. Namely, stack two identical objects upside down to counterfeit mirroring. For example, two glasses place one on top of another.
Now let's talk about how to avoid reflection in glass photography. Usually, it is needed to strengthen the effect of transparency and cleanliness of the surface. We have already discussed that using Long Focal Length lenses allows you to take photos from a greater distance, avoiding your reflection on the subject's body. Light settings will also help you get the best result. In some cases, matte spray can minimize reflections, but test it on a small area first to ensure it doesn't affect the overall appearance.
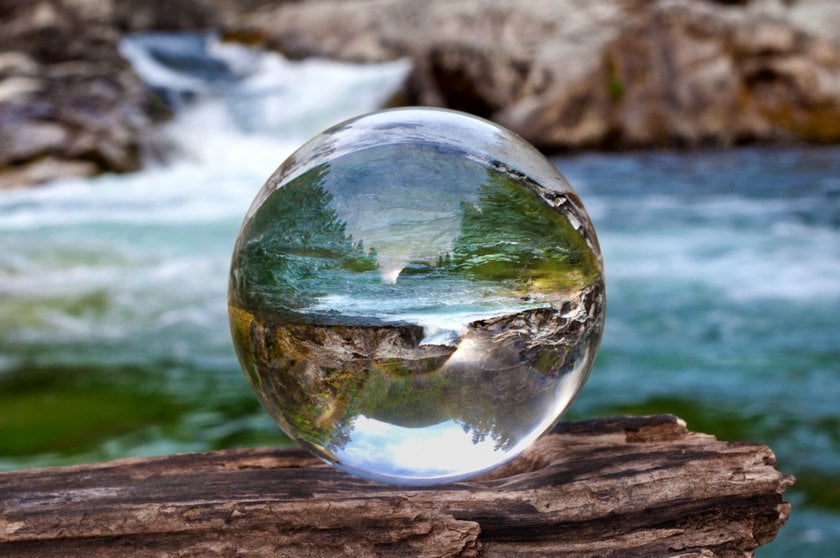
Use Transparency Creatively
The properties of glass make it possible to create incredible shots of the objects themselves and if they act as a background or a prop. Shooting through glass photography opens up a realm of creative possibilities. Capture cityscapes through glass skyscrapers, people inside cafes through windows, raindrops sliding down windows, landscapes or cityscapes through airplane windows, and pets or children engaging with the outdoors through a door or window.
Quite unusual shots can be obtained by shooting the main object next to the window. Experiment with lighting and shooting angles to get the grade you want. Window reflection photography differs from shooting through glass by positioning the camera in a way that includes both the subject and its reflection on the windowpane. Thanks to this, photographers can achieve layered compositions. This technique adds depth, context, and often a touch of abstraction to the images. Reflections can interact with the subject, altering its appearance and creating an intriguing juxtaposition between the real and reflected worlds. Through careful framing and manipulation of lighting, photographers can turn ordinary windows into canvases that tell captivating visual stories, blurring the boundaries between interior and exterior, reality and illusion.
Bottom Line
Patience and experimentation are the key. Glass photography demands a delicate balance between managing reflections, highlighting details, and maintaining the object's inherent transparency. Utilize soft, diffused lighting, adjust shooting angles to minimize reflections, and choose neutral backgrounds or gradients. Backlighting can enhance transparency while polarizing filters help manage glare.
While maintaining transparency, glass product photography demands meticulous lighting, angles, backgrounds, and post-processing to showcase the object's intricacy and beauty. Use our tips for your experiments and improve your skills. Remember that glass is fragile and sharp, so be careful when working with it.