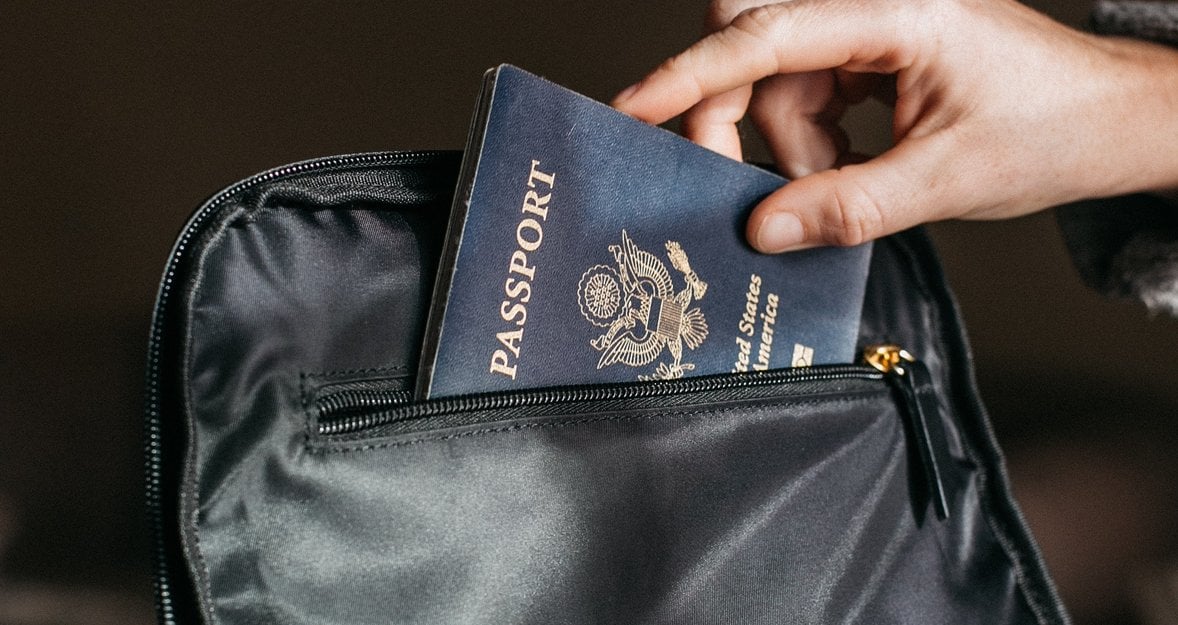
In the past, if you wanted to take a passport photo, you would need to walk into a studio and wait minutes for your printout. You might spend more time than you’ve imagined if you have to wait in line. In this article, you will take the steps of taking your passport or id photos at home, from shooting to editing all by yourself.
Can You Take Your Passport Photo?
Consider the convenience of taking your passport photo in today's world. So, you can take your passport photos at home, in a school dorm, or on tour worldwide. However, it must meet specific requirements set by the Department of State. This guide will give you step-by-step instructions to follow if you want to DIY passport photos and ensure you meet the guidelines for passport photos.
Basic Passport Picture Requirements
The essential passport picture requirement ensures your passport meets all rules for passport photos and mandatory parameters. Here we will explore what instructions you must follow when taking or submitting a passport picture of yourself. We will go through the do and don’t, the accurate passport picture size, the background, the accessories you can’t put on, and more passport photo tips. Let's get started!
Passport Pictures Size
Different countries have different passport picture size requirements. If you are in the United States, the accurate passport photo size is 2 inches x 2 inches, 35x45 mm (Australia, Europe, UK, Nigeria, Singapore, and many other countries); China requires 33x48 mm. In Canada, 5x7 cm and that of India are the same as in the United States. The image must be in a square aspect ratio with a resolution of 600 dpi (dots per inch) and taken within the last six months.
Read Also: How To Resize an Image
Pose and Expression
A lot has been said about how difficult it is to get the best DIY passport pose and expression. However, the pose for passport photos is a headshot with a straight or blank expression. This sounds easy, but it is sometimes difficult to keep a straight face and look into the camera lens if you are doing it all by yourself.
What To Wear For A Passport Photo- Headwear Accessories and Glasses
Passports don’t require so much glam. The most needful accessory is a gentle straight face or a gentle smile. A plain head covering like a turban or a hijab is an acceptable headwear for passport photos. Hats or glasses are not allowed, and you are expected to keep your hair away from your face by pulling it back because the requirement states that all the details of your face should be visible. If you have to wear glasses, they should be recommended, non-tinted, and the frames shouldn’t cover up your face. Jewelry or facial piercings are allowed in your photos, but you must keep them small. Accessories on the head are not allowed.
How To Take Your Passport Photo: 5 Important Steps
Taking your passport photo is convenient and will help you save money and time. You don’t have to make any trips to a photo studio, and you enjoy the process of doing it all by yourself. Or maybe with a loved one. Although a self passport photo is an enjoyable task, you must meet all the requirements for it to be approved. Let’s look at some things you need to implement before you start.
Choose A Suitable Location And Background
- Depending on your country, you might have different background color requirements. You will need a solid neutral-colored background like grey or white for most countries. You can use a backdrop or wall not partnered with your background.
- Clear all clutter and distractions from the background. If your walls have stains, you can try to remove them or repaint the stained surface and allow it to dry before you proceed. Remove all posters or any objects from your wall.
- Good lighting is necessary if you want high-quality passport photos showing all the required features of your face, neck, and shoulder. Also, you avoid shadows on your passport photos. Remember that your passport has to reflect your skin tone and not change your looks; it has to be as natural as possible. Try to keep the light source natural and soft.
- If you have to use a different background, you can use a smart background remover to cut your background and change it into another one.
Set Up The Camera Or Your Phone
After deciding on and preparing your location, the next step is setting up your camera or phone on a tripod. You can make an improvised stand by stacking up books or any solid surface.
Frame The Photo Correctly
To frame your photo correctly, you must frame the photo correctly. Use the correct photo size based on your country's or region's specifications. Then place the photo in the passport frame with two hooks and some loops at the back. The hooks and loop help you secure your photo on the frame. You must place the hook into the slots of your passport photo and press the frame to secure and align it.
You can expect an excellent result once you correctly place your passport photo.
Take Multiple Shots and Choose The Best One
Adjust your camera or phone settings until they present a clear snap at the right angle. You can take a few shots to ensure all the settings are correct. Position yourself in front of the camera. Ensure your body and face are showing when posing for a passport photo. It’s also essential to ensure that all your facial features are evident. Remember to wear appropriate clothing for a passport photo; this includes outfits that don’t expose your shoulders. Avoid wearing neutral colors that can easily blend with the background.
Take multiple shots and choose the ones that come out great and represent your likeness.
Edit Your Passport Photo
After taking multiple passport photos, save them on your computer and be ready to edit your work. You can take a break and return to the editing step when rested. However, if you are in haste, you proceed to edit immediately. Here are a few steps to help make your editing step simpler:
- Adjust Exposure and Contrast: use your phone doting software to adjust the exposure and contrast of your image. Ensure that you only make your face and background brighter and more visible. A passport doesn’t require much editing, so you don’t need to change your appearance in the image.
- Color Balance: your passport must look natural, don’t make it look too different from your actual app perambulation. Blend the colors so your facial features and neck appear very natural.
- Increase Image Sharpness: you will want to sharpen your image and ensure it doesn’t look blurry. Also, ensure your passport photo meets the required resolution and quality.
- Crop the Image: sometimes, you might snap more than is required of you; using your photo editing software, crop your image and ensure your facial features are clear and visible.
- The final step is to print your passport photo. Ensure you save it as a high-resolution photo before printing.
Passport Photos Tips
Passport photos are essential when applying for a passport or filling up some documents. You don’t want to waste time getting the wrong photos or not meeting the standard requirements. In this article, we shared all you need to know and the instructions you must follow to take the best shots for your passport. And here, we summarize the entire passport photo tips for you.
Choose a neutral background.
- Wear colors that won’t blend into the background
- Avoid shadows on your background
- Ensure your face, neck, and shoulder are showing centered in the frame
- Avoid wearing excessive accessories; keep them small and simple
- Keep your hair backed in a bun or to the back
- Straighten your posture
- Keep your eyes open and your mouth closed
- Take different shots to test your camera and ensure everything is good before you proceed.
Here are some passport pictures examples or passport photo examples to guide you through the process.
Frequently Asked Passport Photo Questions
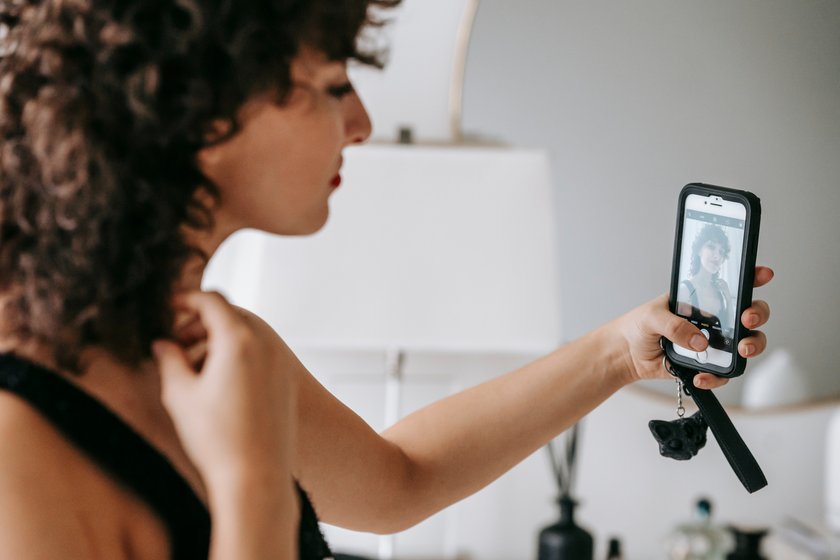
1. Can I Take a Passport Photo With My Phone?
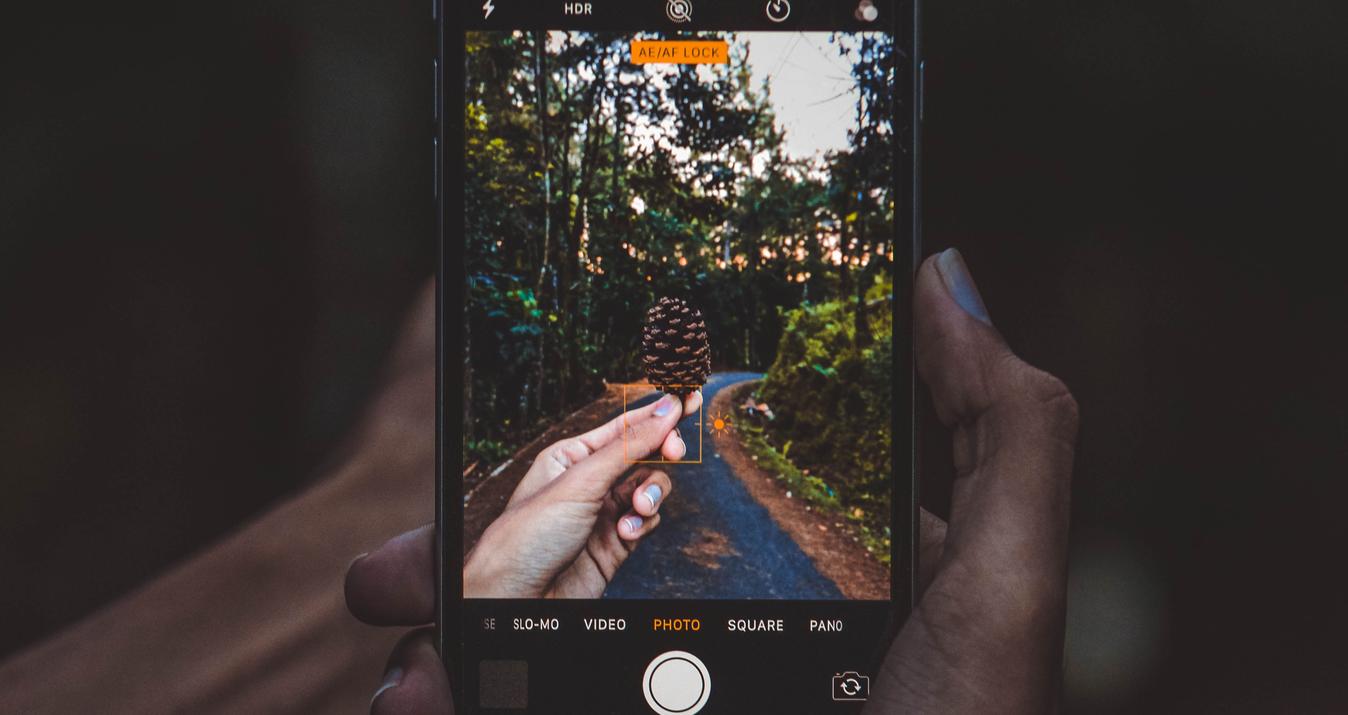
With your iPhones and Android devices, you can save time and money. Life is busy, and people are growing impatient. No one wants to go and spend minutes to hours in the studio just for a couple of self-passport photos. Using your phones, you can now take self-passport photos anywhere worldwide.
2. How Big Is Passport Photo?
Your passport pictures shouldn’t be more significant than 2 x 2 inches (51 x 51 mm). Always remember that you must capture your head from the bottom of the chin to the top of the head and a part of your shoulder. When measured vertically, your head should measure between 1″ to 1 3/8″ (2.5 to 3.5 cm). You can use our Luminar Neo AI photo editing software to crop your passport photos and ensure you get a full-face passport photo.
3. Can you take a passport photo by yourself?
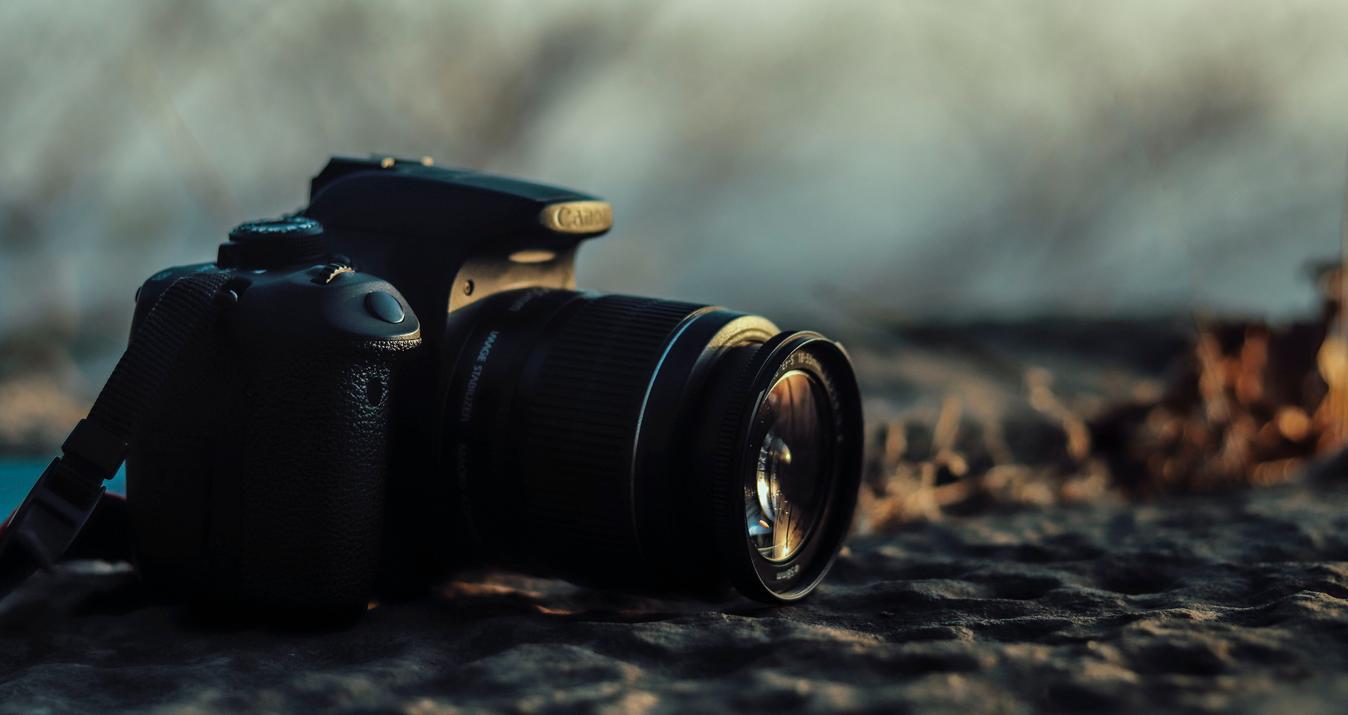
Passport photos have guidelines and specific requirements that need to be met. But if you have the skills or the gut to try, you can take a passport photo by yourself. You can use your smartphone, a camera, or a tablet.
4. How To Do Passport Photo At Home?
Set up your space, and ensure the lighting and background is good. Then set up your camera or phone on a tripod stand. A bright natural light will give you a better picture; avoid smiling and avoid wearing outfits that will blend into the background. Shadows on your DIY passport photos may cause rejection; ensure to use editing software to make it disappear or take other shots.
5. How to take ID Photos?
ID photos aren’t difficult to take; the procedure is as easy as how to take passport picture at home. You must also ensure your ID photo meets various rules, guidelines, and requirements. Prepare your background, light source, and equipment before you start shooting. Make sure to explore different settings before you round up your shoot. Choose your favorite from all your shots and proceed to your editing software to make it look better.
Advanced yet easy-to-use photo editor
Get Luminar Neo NowLuminar Neo Your Best AI Photo Editing Software
When you are done taking your passport photo and reading to edit, you will need editing software with all the editing tools and features. Luminar Neo is a powerful AI photography software that helps make your passport photo or ID photo editing process easier and more enjoyable. The AI software has incredible features that help you enhance the exposure of your passport and brighten the background without changing your true appearance.