Beginners may have questions about how to use a tripod for a camera, and this is not surprising. It is not enough just to put a tripod in a certain place. A good tool alone does not guarantee good photos. In today's article, we will show you the best way to use it.
When working at slow shutter speeds, a stable tripod is essential for eliminating camera vibration and capturing sharp photos. Although setting up and using a camera-stabilizing device may seem simple and self-explanatory, it does have some nuances. Even if you own the most expensive tool and know exactly what you need to do to get sharp pictures, you can get poor-quality images simply by not setting up the tripod correctly. It's best for you to start by figuring out what works best for you when it comes to monopod vs. tripod.
When you buy all the equipment you need for the job, including the tripod, you'll need a great open-source photo editor, with ample opportunities for modification. If you're interested in professional post-processing, try Luminar Neo! This app will impress you with a lot of features, so you won't regret your choice. Plus, Luminar Neo provides a huge selection of vintage presets for Lightroom that you'll love.
The Main Advantages of Using a Tripod
Before we get to the main topic of this article, we would like to emphasize the importance of investing your money in a good tripod. Unfortunately, when it comes to buying, many of us end up making the wrong choice. Most likely you'll buy a number of cheap tripods that don't meet your requirements with low quality, and finally get to the professional models. In order to avoid such mistakes you can read our article about the best tripods for photography.
It is extremely important to know clearly when you should use a tripod. Shooting handheld is much easier and faster than setting up a tripod and camera on it, so many of us (myself included), prefer to shoot handheld whenever possible. While most modern cameras can produce excellent results with very low noise at high ISOs, tripods are still in demand for low light and even more so for shooting landscapes, especially when a high-resolution photographer wants maximum image quality with little or no noise. Since there are many variables such as handheld technique, shutter speed, high ISO performance, sensor size, focal length, image stabilization system, lens sharpness, and distance from the camera to the subject, there is no magic formula that can tell you when to use it. However, we have some thoughts based on personal experience, and in the list below we've compiled the main factors that determine using:
- Weight: if the system you're using is very heavy, it's better to use a tripod to avoid tedious handheld shooting. Try handheld shooting with a 600mm f/4 lens mounted on a professional DSLR – we're sure your arms will get tired very quickly, even if you have daily experience shooting with this lens/
- Genres of photography: landscape, macro, architecture, and some other genres of photography may require a tripod to precisely frame and create your desired composition, even in good light conditions. You may want to achieve a motion blur effect, such as shooting waterfalls, moving clouds, etc. In addition, some photography techniques such as panorama, HDR, interval shooting, and exposure matching may also require you to use them.
- Your handheld shooting technique, shutter speed definition, and the image stabilization system you use: Knowing how to hold your camera correctly when shooting is definitely important, but if you're shooting at slow shutter speeds, you'll find it very difficult to avoid camera vibration. As a general guideline, the rule of thumb that says that the shutter speed should be no longer than the inverse of the focal length to one ratio works quite well. For example, if you are photographing with a 300mm lens, you should use a shutter speed no longer than 1/300th of a second.
When applying this rule to a camera with a cropped sensor, don't forget to multiply the focal length by your camera's cropped factor. Finally, if your camera or lens is equipped with an image stabilization system, activate it. This will allow you to use shutter speeds slower than the calculated 2 stops or more (depending on the effectiveness of the image stabilization system and your handheld shooting technique).
How to Use a Tripod for Photography for Maximum Effect
First, decide on the composition of the picture you are going to take, and only then set up your tripod. It is useful to walk around the intended subject (if it is a flower, for example) or periodically look through the camera's viewfinder to see how the scene will look in the photo (choosing where to stop to take a landscape). Here are some tips:
- One foot should be pointing toward the subject. This positioning of the tripod legs will allow you to operate the camera without constantly bumping into the other two, and on the other hand, it will provide additional stability if the camera and lens are tilted forward.
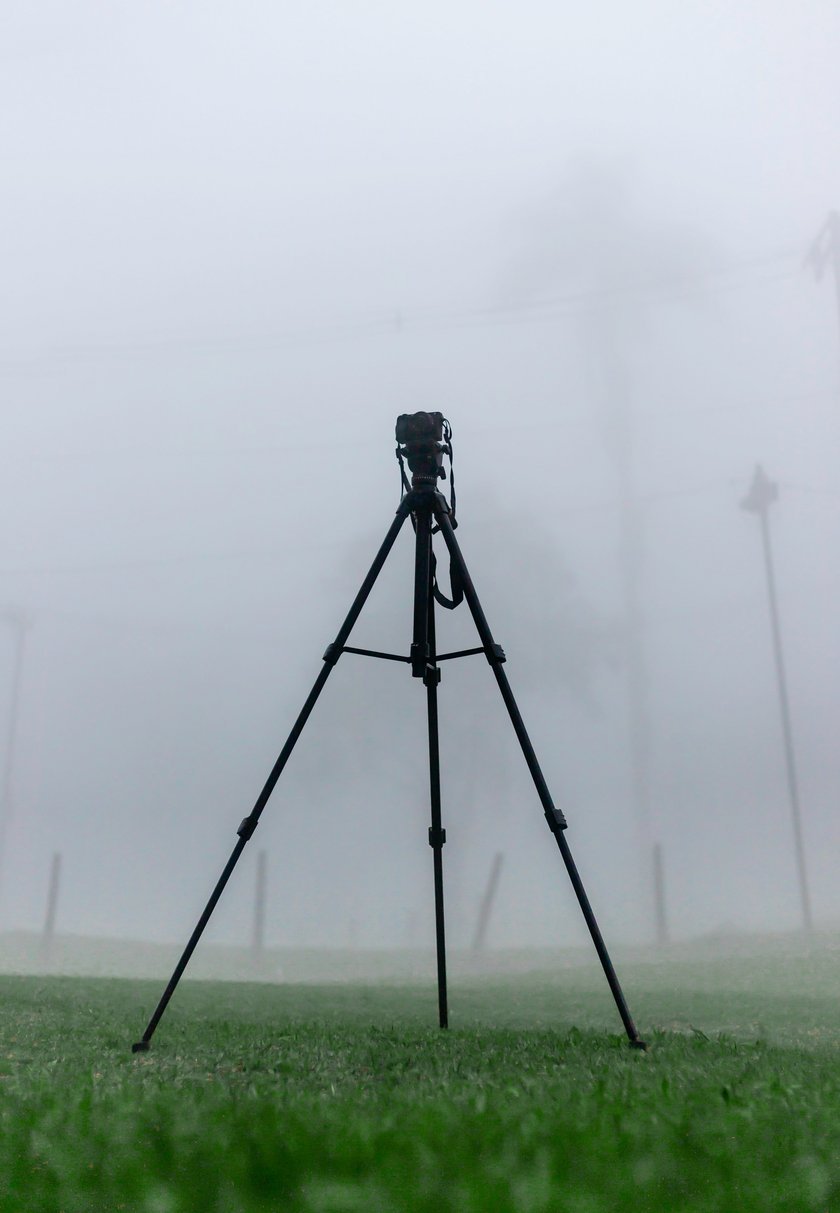
- The center boom should be positioned vertically. This allows the weight of the camera to be evenly distributed on the tripod without shifting the center of gravity. A bubble level helps. It is important to monitor verticality when setting the camera stabilizing device on uneven ground (on a slope when the legs are extended to different lengths).
- If possible, do not use the center boom. It is unstable and subject to vibration. Professionals say: "Don't touch the center boom, don't turn the device into a monopod! Raise it only in extreme cases.
- Understandably, obtaining a comfortable tripod to get the highest possible level of height without the use of a boom can be challenging. However, the inconvenience of this task will be more than offset by the resulting clear and sharp photos. If the design of the tripod allows it, remove the center rod and hide it in a closet (so you won't be tempted).
- Use an L-bracket. L-bracket is a special plate curved in the shape of a Latin "L" that allows you to mount your camera on a tripod in portrait orientation without shifting the center of gravity. In addition to not shifting the center of gravity when shooting in portrait orientation, there is another implicit benefit: Using the L-bracket adds a few centimeters in height rather than taking it away.
Enhance Your Photography Skills: Unlocking the Potential of Tripods
In this section, we'll describe the benefits you'll get from using a tripod:
- High ISO performance and acceptable noise. Some of today's full-frame cameras are capable of producing great images with little noise at high ISOs while losing dynamic range and color. However, there is always a fine line between what a camera can do and what is acceptable to you in terms of image quality. Some photographers don't mind seeing a lot of noise, while for others even a hint of it is unacceptable. Determine the limit of your camera's image quality that you don't want to go below, and if shooting conditions require higher ISOs.
- Print/image output size. It is also important to know how large you plan to display or print the photo. If you need stunning pixel-level quality for large-format photo printing or viewing images on an ultra-high-resolution monitor, you may need to shoot at low ISO settings and, as a consequence, at slower shutter speeds (which of course entails the need for a tripod). If you are not interested in large format printing, and you only plan to show your photos online, you can simply reduce the size of your photos, which drastically reduces blur, noise, and other problems with images.
- Focal length and distance to the subject: the larger the lens, the shorter the shutter speed needs to be to get sharp images when shooting handheld. The distance to the subject is also important. If the subject is far away and occupies only a small part of the frame, poor sharpness will be more noticeable.
- Camera and lens resolution. The higher the resolution of your camera, the more demanding it will be for your handheld technique – don't forget that.
Even the most successful photos can be refined with free Photoshop actions avoiding tedious and routine work.
Achieving Perfect Shots: How to Use a Camera Tripod Effectively
One of the major pitfalls of using a tripod is that it develops tunnel vision in framing and composition. Many of us do the following: spread the legs wide open, set the camera on it, and then start framing the scene and looking for the best composition. Everyone shoots the same scene from the same angles. Before setting up, walk around the scene, look for spectacular angles, and work out the composition of the shot while holding the camera in your hands. Sit down and see how the scene looks from a low angle, or go higher and try framing the scene from a new point. Only once you understand what your shot will look like can you set up your tripod head and mount your camera on it. Try to get into the habit of working in that order, not the other way around. Don't let your tripod get in the way of your creativity and dictate your vision of framing and composition! That way even the best travel tripod or online image editor can only be a burden to you.
Advanced yet easy-to-use photo editor
Get Luminar Neo NowThere are a number of simple things you can do to help you:
Remove the strap from the camera. The belt is certainly a useful and necessary accessory, but not when shooting. In windy conditions, it can cause a camera micro-vibration, which will cost you a clear shot.
- Shoot at base ISO and turn off auto ISO mode. Most cameras have the least amount of noise and the highest dynamic range at a base ISO (usually between ISO 64 and ISO 200), so try to use the lowest of your camera's base ISO camera settings. Before you start shooting, remember to make sure that ISO Auto is turned off.
- Use the shutter release button. Pressing the shutter button with your fingers will definitely cause the camera to shake, so use a release cable or remote control to avoid this.
- Use the self-timer. If you don't have a remote or cable switch, use a two- or one-second delay before the self-timer.
Conclusion
Now you understand what a tripod can make and how it can improve your photos. We only wish you the best of luck in creating your own photographic masterpieces.
FAQ
How Do You Use a Basic Tripod?
After installing it, mount your camera on the tripod head. This will allow you to eliminate vibration, which is great for many types of shooting.
What Is the Correct Way to Carry a Tripod?
It is correct to transport the tripod folded up, in a cover or a case.
How Do I Set My Phone to a Tripod?
The phone is better suited to a monopod, it is lighter, as well as easier to transport. If you want to set a photo to the tripod, use an L-shaped bracket to prop up the phone and secure it.