Explore the beauty and challenges of night street photography, and learn how to capture stunning city night photography with expert tips, techniques, and inspiration. Discover the secrets to creating mesmerizing photography of the city at night.
City Streets After Dark: Expert Tips for Night Street Photography
Introduction:
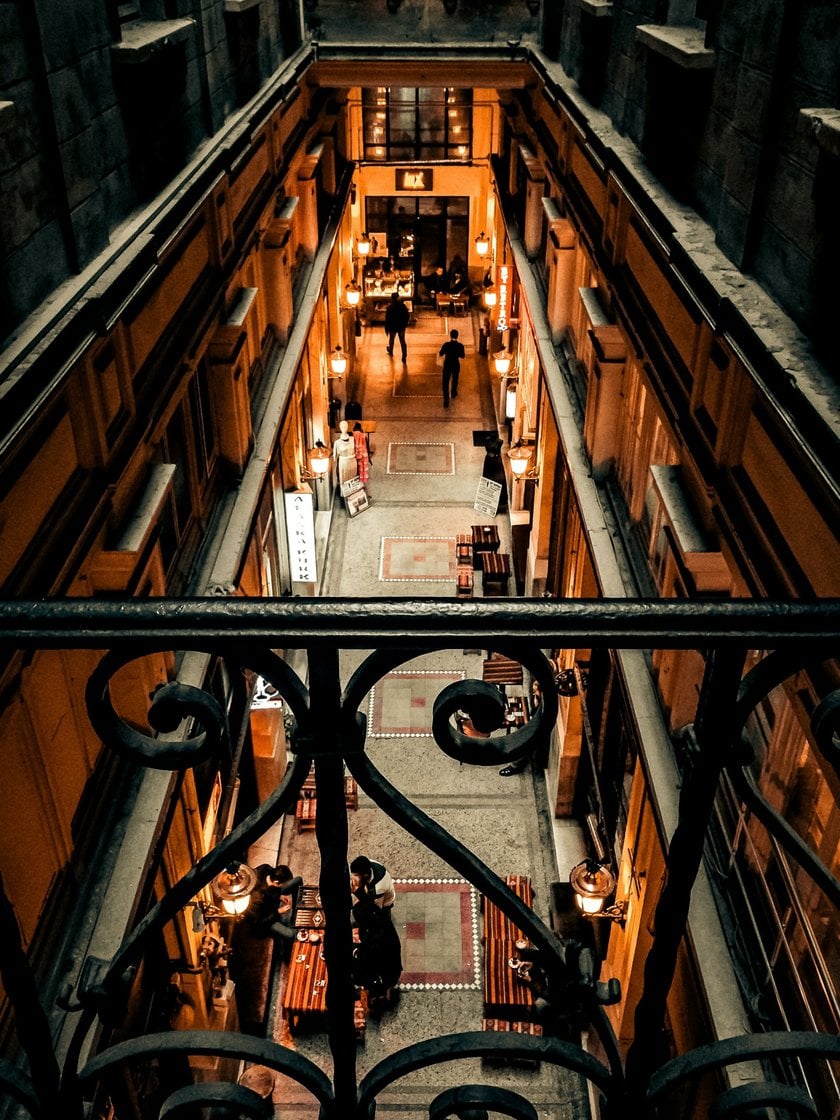
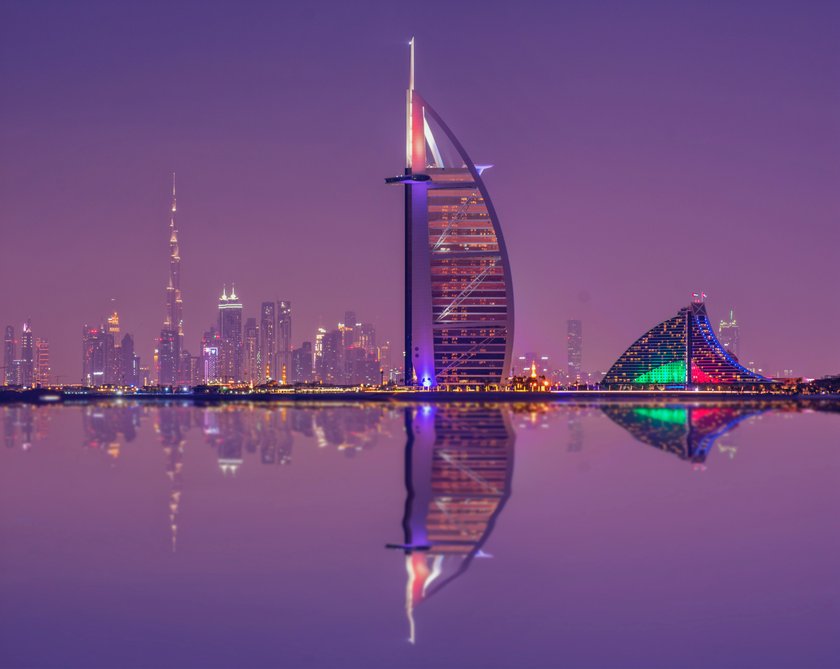
Walking the streets at night with a camera is an exciting experience for street photographers. We know capturing a city's vibe and ambience is difficult after dark, but the resulting pictures are breathtaking and thought-provoking. Street night photography is an excellent method to capture the character of a city and its inhabitants, from the vivid hues of city lights to the peaceful lanes.
Nighttime street photography, when done correctly, results in some of the most dynamic and captivating photographs ever created. The possibilities are boundless, ranging from lengthy exposures to inventive lighting. Our article on night city photography provides an uncommon viewpoint on capturing the essence of the metropolitan setting.
Preparing for Your Nighttime Photography Adventure
We all know the agelong war of how challenging it is to take pictures in low light. There are certain things you can do to set yourself up for maximum success during a city night photoshoot.
Scouting Locations For Street Photography
Urban night photography requires you to pick an ideal location. Here are some of the tips that guide our street scenes:
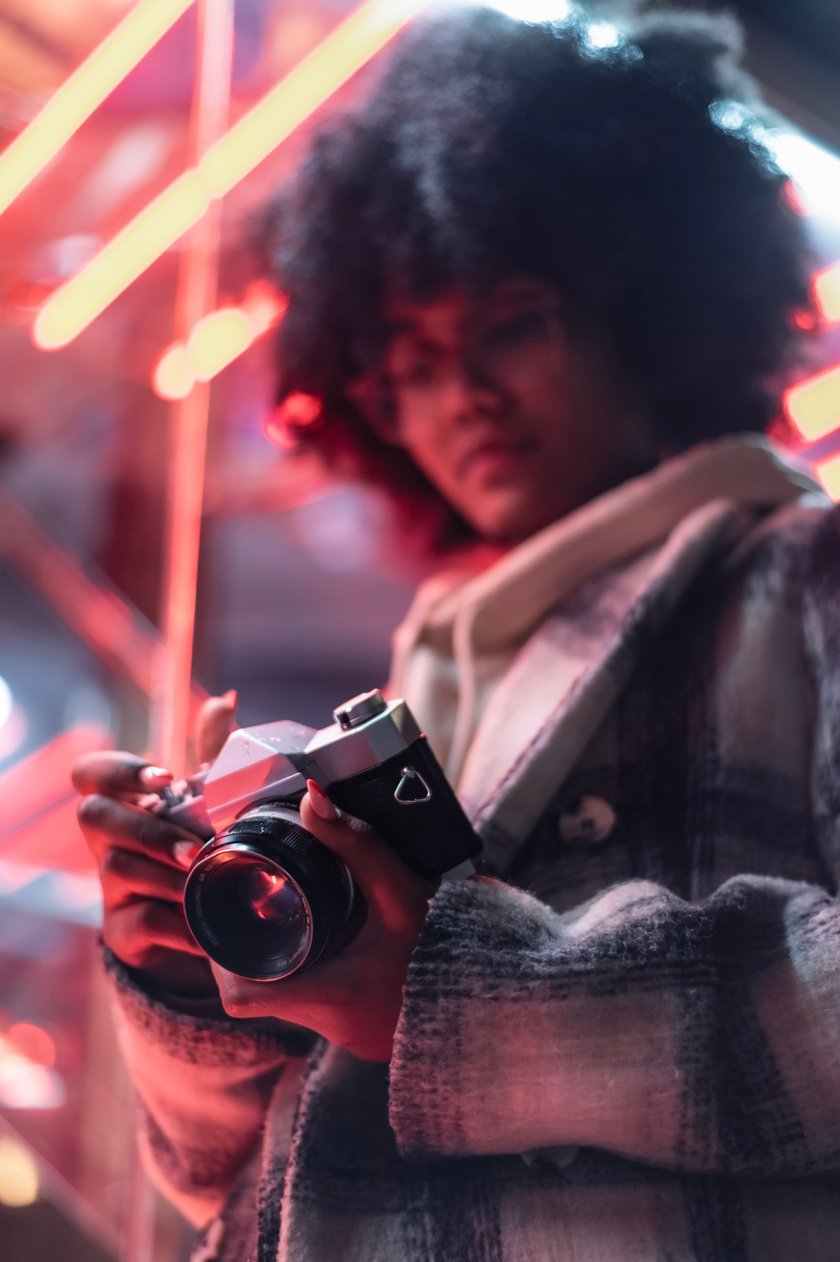
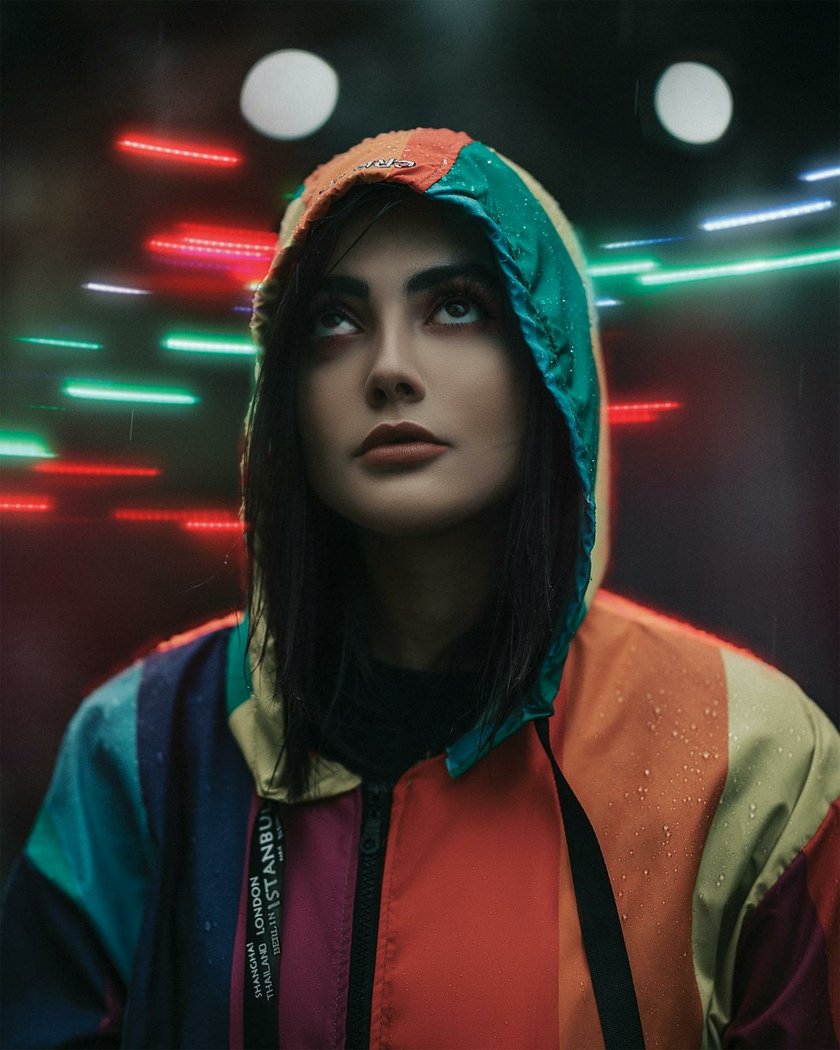
- Seek out light sources. The quality and kind of lighting significantly alter the outcome of photography at night in the city. Look for locations with distinctive illumination, such as neon signs, street lamps, or car headlights.
- Scout throughout the day. Since there is more light during the day, scout out suitable spots. This will offer you an overview of the area's layout, the movement of pedestrians, and any potential hazards or impediments.
- Locate fast-moving streets. Street photographers look for places with a lot of foot traffic to take pictures of people in their element. You want to capture your muse in a freeze-motion shot with the fast-moving street as the canvas.
Identifying Exciting Subjects And Scenes
To take powerful and captivating photos, you must first locate appealing subjects and scenes. Here are some tips to help you choose intriguing subjects and settings for your street photography at night:
- Look for contrasts: Images with contrasted parts are vibrant and eye-catching.
- Look for patterns: Patterns give your images a feeling of recurrence and organization. There are patterns in nature and architecture; identify them.
- Find beauty in the ordinary: If you creatively approach ordinary items and scenes, they make for interesting subjects.
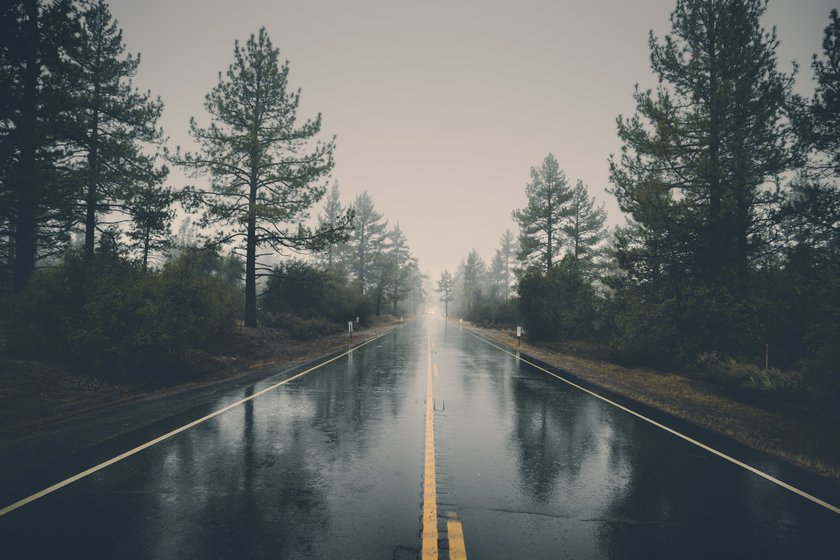
- Use leading lines to give the impression of depth: Look for lines in your surroundings to utilize as leading lines (such as highways, fences, or bridges) as they draw a viewer’s attention to your work.
- Observe unusual interactions or moments: Someone is always on the street under the city’s night light having a special moment. Imagine how fulfilling it is to be the photographer that captured that memorable event.
Considering Safety And Legal Aspects
Here are some guidelines to keep you safe and compliant as you practice photography:
- Observe the privacy of others: When shooting pictures in public settings, consider other people's privacy.
- Recognize your rights: Know your local laws about photographers' rights. Conduct a preliminary study because local rules and laws governing photography can differ.
- Be considerate: of the property you are photographing and take care not to harm it or the surrounding area.
- Respect cultural and religious traditions: When taking pictures in a foreign country, never take pictures of persons or locations that are deemed sacred or sensitive from a cultural perspective without their consent.
- Keep your equipment safe and secure to prevent theft or damage: Use a strong camera bag or case, and stay alert while using your equipment in public.
Must-Have Gear and Equipment for Night Street Photography
Let’s look at the tools and equipment you’ll use. From cameras and lenses to extras like tripods and filters.
Camera Types and Lenses for night street photography
Camera Types
- DSLR Cameras
- Mirrorless Cameras
- Point and Shoot Cameras
Lenses
- Wide-Angle Lens: They are ideal for capturing wide views of buildings and city streets photography.
- Prime Lens: This lens has a fixed focal length and provides sharper images. They are very helpful for capturing details in night time street photography.
- Fast Lens: Fast lens has a wide aperture, allowing more light to enter the camera and producing brighter photographs.
Importance Of Using A Tripod Or Other Stabilization Methods
A tripod is a good stabilization tool that significantly improves the quality of your city photos at night. Let’s discuss the value of using a tripod and other stabilization tools when taking night time street photos:
Sharper Images
Even the smallest movement blurs your photos when shooting in poor light. Using a tripod, your camera will stay motionless, producing clearer, more detailed photographs.
Longer Exposure Times
To catch the proper quantity of light in night time Street photography, longer exposure times are frequently required. Utilize longer exposure times without being concerned about blur by using a tripod.
Composition
Finding the ideal angle and framing your photo precisely sometimes takes priority over worrying about maintaining camera stability. Tripods enable you to produce more artistic and captivating pictures that convey the feeling and ambiance of the location.
Consistency
You can take many pictures from the same position while maintaining a steady basis for your camera without worrying about slight changes in angle.
Additional Accessories
You can use several other gears in low-light situations. Look at some extra gear to help you improve your night photography:
- External Flash: Using a flash adds extra light to highlight your subject and present more explicit, detailed pictures.
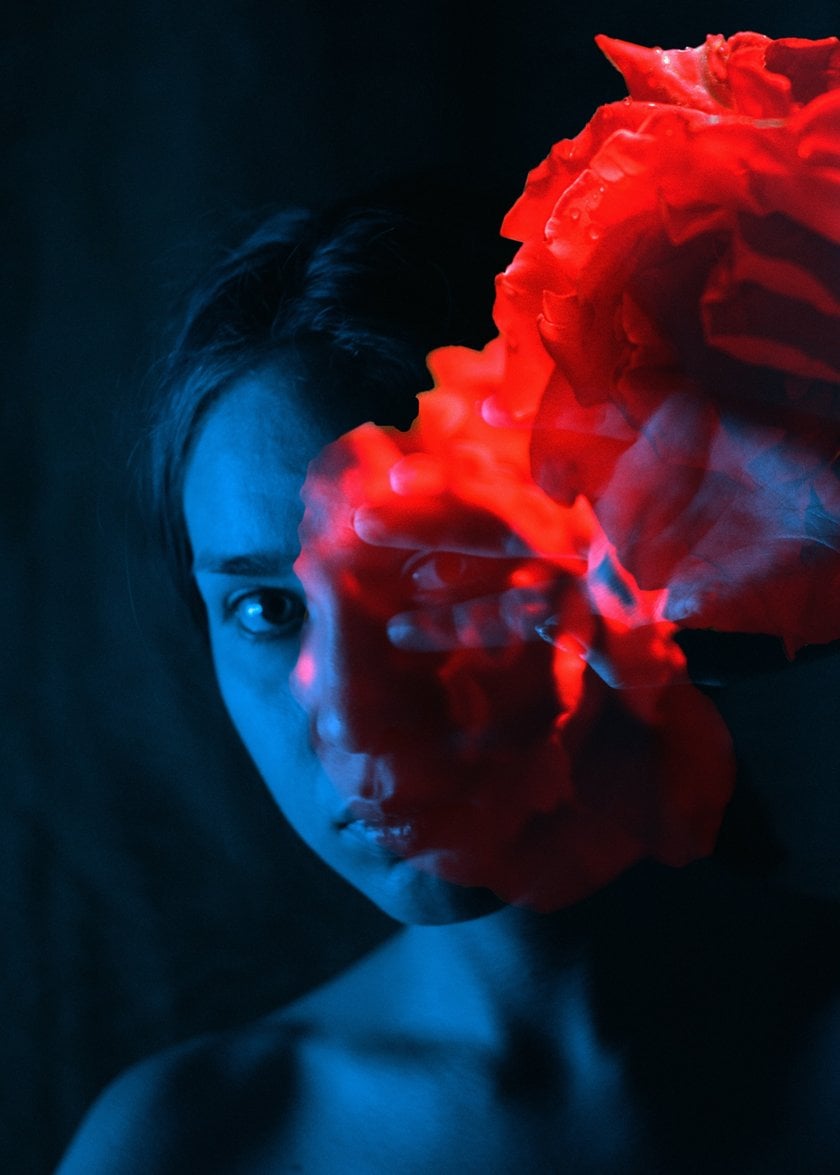
- Reflectors: They assist by refocusing light on your subject to produce a more even and realistic-looking illumination. They are especially helpful for portrait night Street photography because they soften harsh shadows and produce a more pleasing light on your subject.
- Light Painting Tools: Using LED lights or glow sticks as light painting tools can give your city street photography shots a unique flair.
- Battery Grip: A battery grip fastens to the bottom of your camera and adds extra battery life to keep shooting longer between battery changes.
Camera Settings for Night Street Photography
Understanding how to change your camera settings can make the difference between shooting a passable photo and a spectacular one.
Adjusting ISO, Aperture, And Shutter Speed For Low Light Conditions
ISO
In low light situations, a high ISO number (6400) signifies that your camera's sensor is more sensitive to light. This tends to blur your photographs and give them a grainy appearance. Try to maintain your ISO (ISO 100) as low as possible while obtaining the required exposure.
Aperture
More light enters the camera through a wider aperture, giving you a narrower field depth.
Shutter Speed
In order to catch adequate light for dark street photography, a slow shutter speed is required. But this must be paired with a tripod or any other stabilization method for the best results.
Focusing Techniques For Night Photography
It is challenging to establish precise and sharp focus when there is little light, and the subjects are moving. However, mastering focusing for photography in the city at night is doable with the appropriate methods and tools. We'll review some of the top night photography focusing methods and offer advice on getting the best outcomes:
Manual Focus
Manual focus is more dependable than autofocus because you have total control over the focus point. You can manually change your focus to get a sharp image by using Live View to zoom in on your subject. Use a depth-of-field calculator to find the correct focus distance based on your aperture and focal length.
Hyperfocal Distance
 The hyperfocal distance is handy when photographing landscapes or cities at night. However, to perform this approach, you need to be aware of your lens's focal length, the aperture you are using, and the hyperfocal distance.
Manual Focus Assist
Some cameras offer features, such as focus peaking or magnification, to help with manual focus. Use these capabilities to achieve precise manual focus, particularly when shooting with larger apertures.
Using Manual Or Semi-Automatic Modes For Better Control
You can have more control over your camera's settings and create the desired artistic look by selecting manual or semi-automatic modes.
Manual Mode gives you total control over your camera's settings, and you can independently change the aperture, shutter speed, and ISO. In low light situations, where the camera's metering system finds it challenging to deliver precise exposure readings, you can alter your settings to attain the correct exposure.
Shutter Priority Mode is best when photographing moving subjects or when you wish to produce a particular motion blur effect.
Aperture Priority Mode comes in handy when you want to regulate the depth of field and produce a certain bokeh effect; this setting is your best bet.
Manual White Balance helps you manually regulate the color temperature and establish a certain mood or atmosphere in your photographs by modifying the white balance.
Composition and Framing Techniques
Capture the romance and mystique of the city at night photography using the correct composition and framing techniques. These suggestions will assist you in improving your city streets photography skills, regardless of your degree of experience:
Rule Of Thirds And Leading Lines
You can make strong and visually appealing photographs by combining the rule of thirds and leading lines. To bring the viewer's attention to a point of interest, like a well-lit building or an illuminated landmark, employ the leading lines of a roadway or a bridge. Position it at one of the intersections of the rule of thirds for maximum impact.
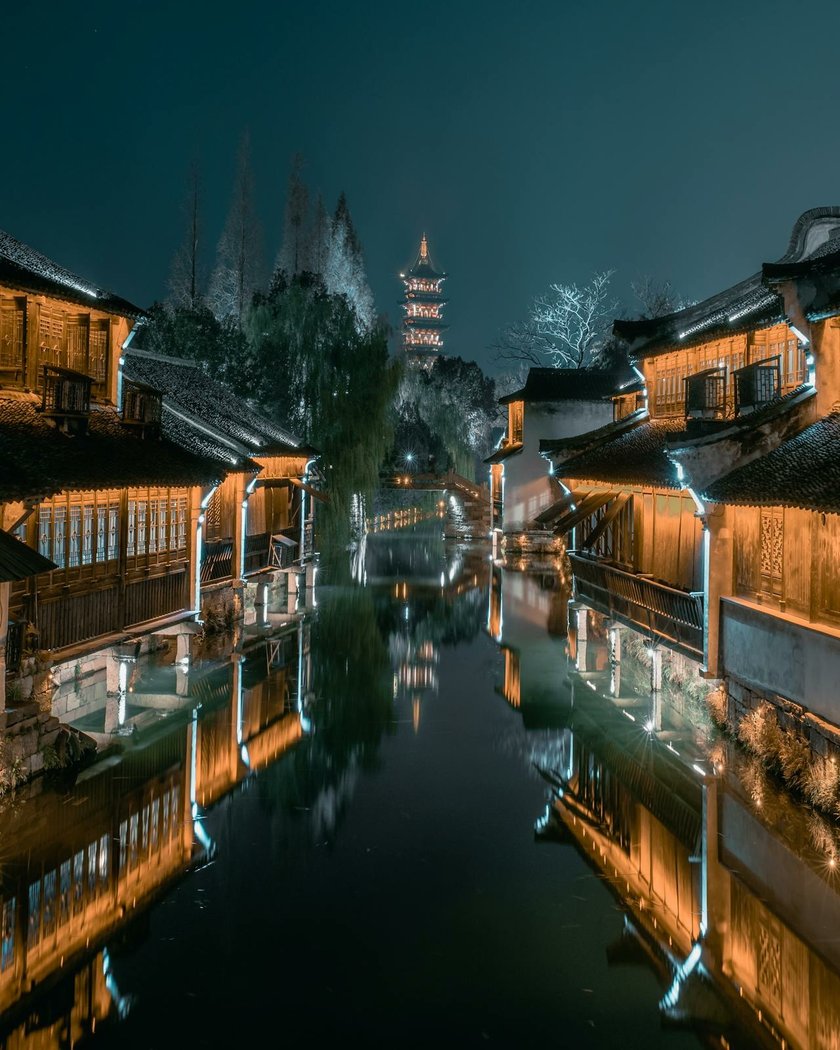
Incorporating Reflections And Shadows
 Combining reflections and shadows can produce a distinctive and alluring effect. You can photograph the reflection of a lit building in a pool of water with the contrast and depth provided by the shadow cast by a tree in the background.
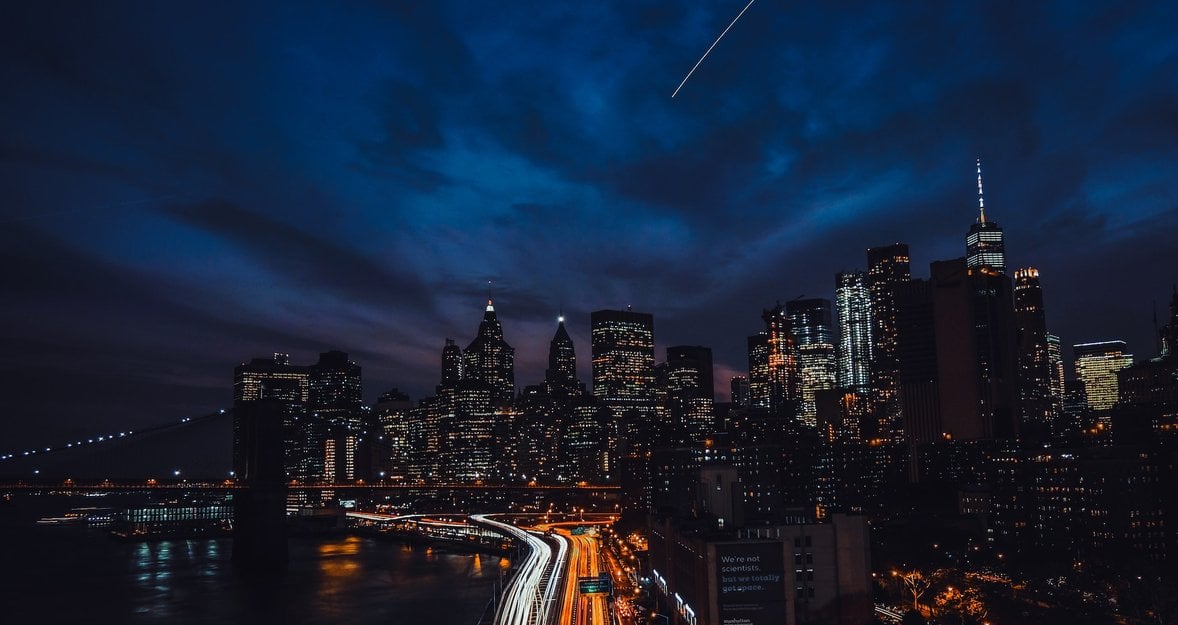
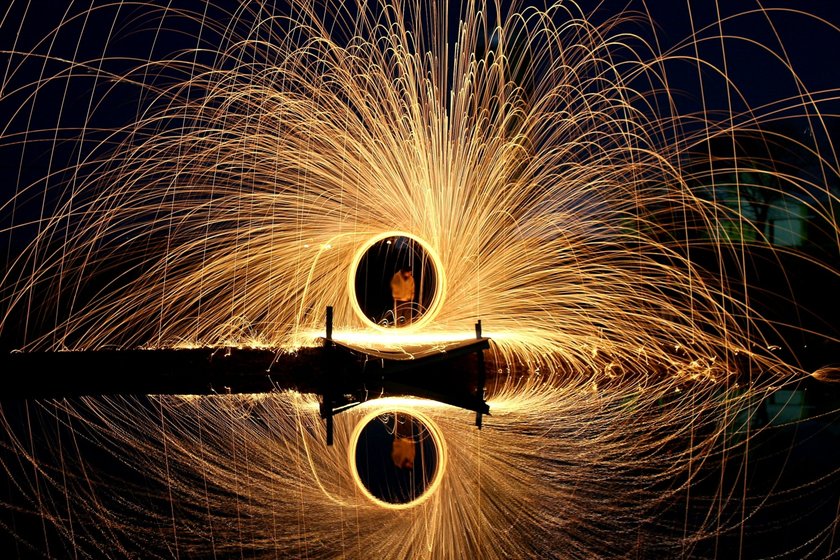
Capturing Motion And Light Trails
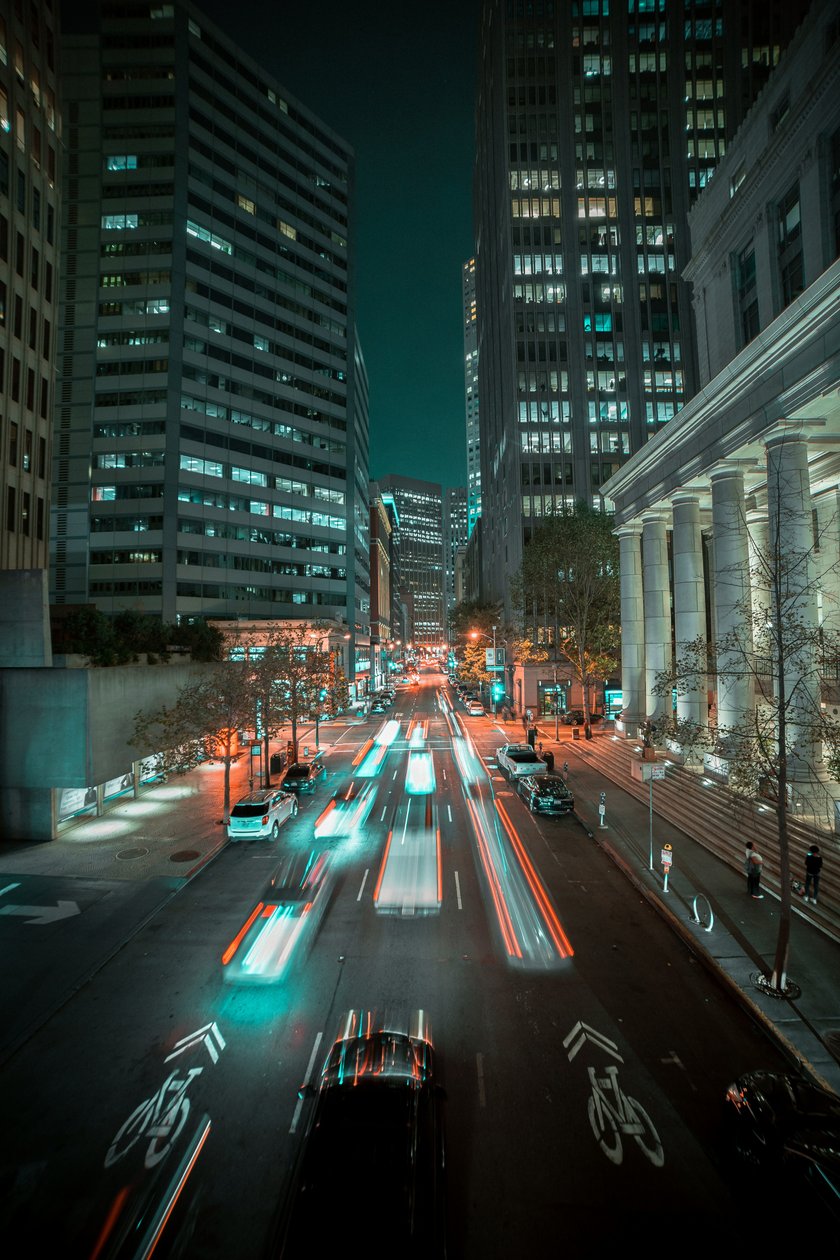 Enhance the drama and excitement of your nighttime photography by capturing motion and light trails. A slow shutter speed will cause a trail of light and blur the motion while photographing moving people, animals, or light sources. Try panning your camera while the light source is moving or zooming in while the shutter is open to add a creative effect to your light trail pictures.
Exploring Unique Styles and Approaches
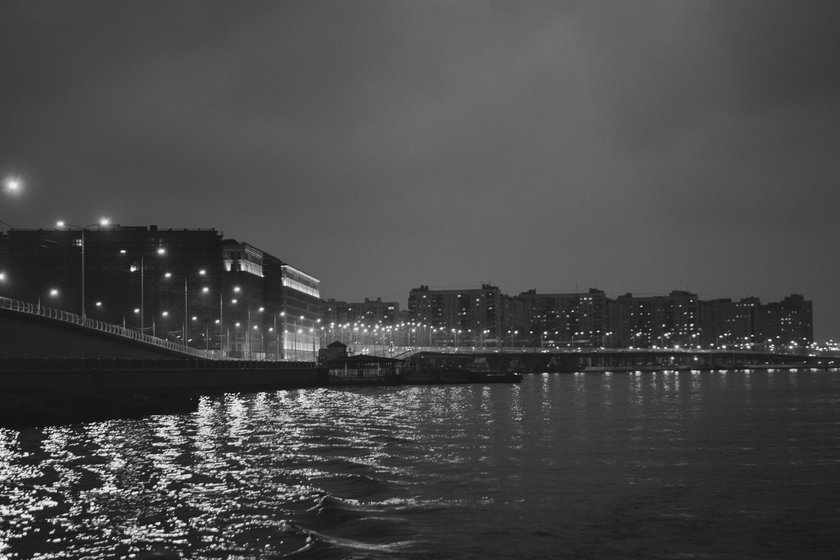
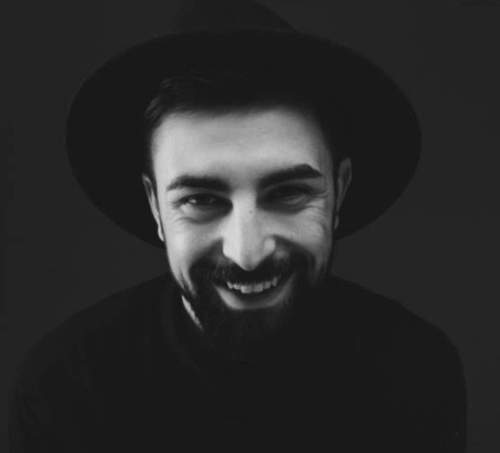
Black And White Night Street Photography
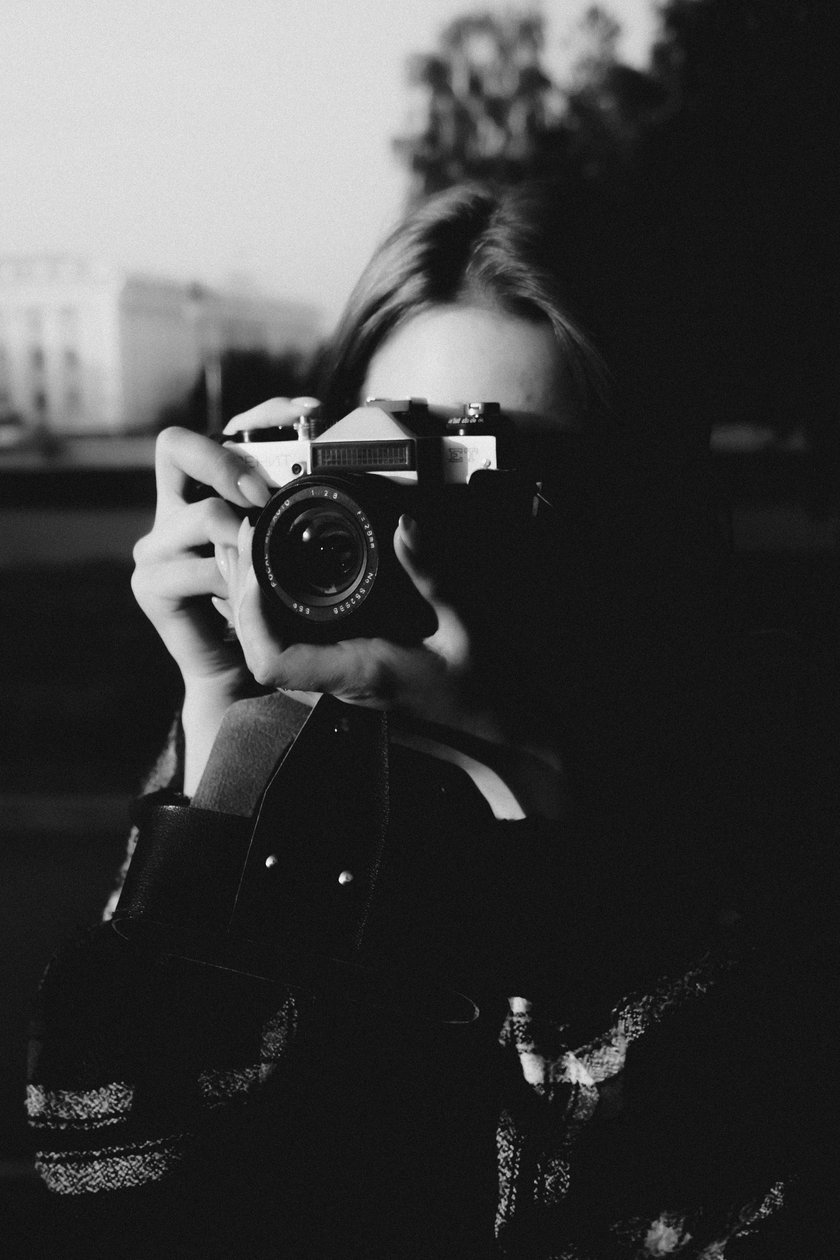
We believe that a city's ambiance after dark is best captured through black and white night time street photography. Here are some pointers for striking nighttime black-and-white street photos:
- Look for contrasts. The impact of black and white photography depends on the strength of the contrast between light and dark parts. Black and white photography provides dramatic and melancholy photographs of a metropolis's dazzling lights and thick shadows at night.
- Play around with exposure. Since black and white images lack color to offer interest, you'll want to play around with exposure to bring interest to the picture. Try underexposing or overexposing your photos for a more ethereal and dreamlike result.
- Look for unusual textures and patterns to capture in your images.
- Create a dynamic composition with solid lines and forms. Employ the rule of thirds to add balance and interest.
- Improve your black-and-white nighttime street images with post-processing. Improve your black-and-white nighttime street images with post-processing. Use photo presets made available by artificial intelligence for photo editing. Employ an AI that enhances images to give your work a finished look. It can be a photo editor to denoise, sharpen a blurry image, or even brighten a picture.
AI-driven Tools of Luminar Neo for Seamless Editing
Try it for FreeUsing Artificial Light Sources
Here are some tips for taking artificial light sources for nighttime photography:
- A tripod is necessary to get clear pictures.
- Experiment with various light sources to see what effects you can produce.
- Use a lower ISO, and alter your aperture and shutter speed to regulate the amount of light coming in.
- Be conscious of the color temperature of the light sources you are using and think about altering your white balance post-processing.
Experimenting With Long Exposures And Light Painting
Keep these tips near your sleeve when experimenting with long exposures and light painting:
- Look for a place with unique shapes or textures that you can use light painting to accentuate. It is best if you pick a site that is remote from city lights.
- Use a tripod or some other sturdy platform to support your camera because long exposures demand a steady camera.
- Put your camera manually and increase or decrease the shutter speed. You can also modify the ISO and aperture for ideal exposure.
Enhancing Your Night Street Photos in Post-Processing
Your night street photos would still need a little dazzle to look like finished art. Here is an ideal way to enhance your shots with post-processing:
Adjusting Exposure, Contrast, And White Balance
Employing effective software with ease of use helps with post-processing. Skylum Luminar Neo analyzes your images using artificial intelligence and modifies exposure, contrast, and other parameters to improve your pictures.
Enhancing Colors and Sharpness
Due to illumination, pictures taken at night tend to have a chilly or blue hue tint. You can change the color temperature in Luminar Neo to give your photos more warmth and balance. Luminar's AI-powered tools can also evaluate your image and modify its sharpness in mere milliseconds.
Noise Reduction And Selective Editing
Use the best software for noise reduction on your nighttime images. Luminar's Denoise tool and Noiseless AI Extension edit noisy images without ruining the originality of your image.
Add Light Beams with AI | Skylum
Enhance your photos effortlessly with the innovative 'Magic Light AI' feature powered by AI from Skylum. This state-of-the-art tool lets you add magical light beams, mysterious glows, elevator flickers, and more to your images with just a few clicks.
Whether you're aiming for a magical, ethereal vibe or a dramatic, cinematic effect, Skylum's AI technology makes it easy to transform your photos into captivating visual stories. Elevate your creativity and bring your vision to life with the power of AI-driven light manipulation in Skylum's photography software.
Insider Tips and Tricks for Night Street Photography Success
In all honesty, we have only provided the ultimate tips and tricks required to succeed as a street photographer. However, we will go over them to ensure the message reaches you.
Overcoming Common Challenges And Obstacles
- You must have a reliable tripod.
- A lens with a wide aperture will let in more light, allowing you to take pictures in low light without tuning to a high ISO (ISO 3200) on your camera. A lens with an f/1.8 or greater aperture is recommended for night photography.
- RAW files allow you to recover details from dark regions and change the exposure and white balance.
- Use your manual focus.
- A fast shutter speed can stop motion and produce clear photographs, while a slower shutter speed can produce fascinating light trails and motion blur.
- Photographs in black and white are particularly good at portraying the ambiance and feel of a city at night.
- You can take sharper pictures by using a remote shutter release with your tripod.
- Practice is essential.
Developing A Personal Style And Vision
- Technical expertise, creative vision, and individual experimentation are all necessary to develop a unique style and vision for night photography. Here are some pointers to assist you in creating your own aesthetic and vision for nighttime photography:
- Learn to use your camera's manual settings.
- The goal of nighttime photography is to capture unique lighting effects. For dramatic and moody shots, look for light sources like neon signs, street lights, and even the moon.
- Don't be afraid to experiment with various views and angles. Utilize post-processing methods to improve your nighttime photography.
- Develop a consistent aesthetic or style for your nighttime photography. This will help you stand out.
Building Confidence And Interacting With Subjects
Nighttime photography is scary because gaining confidence and engaging with subjects is crucial to producing excellent photographs. Here are some pointers to ease the burden on you:
- Be sure you have everything you need.
- Examine probable venues in the daytime to acquire a feel for their layout, lighting, and dangers.
- Communication is key, whether you're photographing models, close friends, or complete strangers. Ask for their opinions and ideas while outlining the shot's goals.
- Asking your subjects to hold a light or stand in a specific way is completely acceptable.
- Be composed and committed while being open to new experiences.
- The more you shoot at night, the more at ease you'll feel around your equipment and subjects.
Conclusion
Night street photography gives you a chance to capture the city in a completely different light. Take great and unforgettable nighttime photos by getting to know your camera settings, playing with various lighting situations and angles, creating your unique style and vision, and gaining confidence when approaching subjects. Master the skill of photographing cities at night and produce pictures that perfectly depict the metropolitan setting with commitment, perseverance, and practice.
FAQ
What Are The Best Locations For Night Street Photography?
We believe that with nighttime photography, your creativity is your limit. However, here are the top five locations we deem the best for night street photography.
City streets and alleys;
Overpasses and bridges;
Public squares and plazas;
Parks and gardens; and
Markets and Nightlife zones.
How Can I Stabilize My Camera For Sharp Images In Low Light Conditions?
A tripod is an essential piece of equipment for low-light photography. It offers your camera a sturdy foundation and lessens the camera shake. Use your tripod's cable release or self-timer to capture photos without touching the camera directly.
Try bracing yourself against a solid wall or railing if you must shoot handheld. This stabilizes your camera and reduces camera wobble.
What Light For Night Street Photography?
Use natural light to illuminate your subject if there is enough ambient light from other sources, such as buildings and streetlights. This gives your images a warm, atmospheric tone useful for shooting street scenes and moving subjects.
You can use a flash for street portraiture and still-life photography. When creating abstract or artistic photographs, you can also use light painting to produce a dreamy, ethereal look.
What Is The Shutter Speed For Street Photography?
A general rule of thumb for nighttime street photography is a shutter speed of about 1-2 seconds. However, this might vary depending on the situation. Experiment with various shutter speeds to discover the setting that works best for your circumstances and preferences. When modifying the shutter speed, keep the ISO settings in mind. The aperture should also be considered because they all work together to affect your photos' exposure and depth of field.