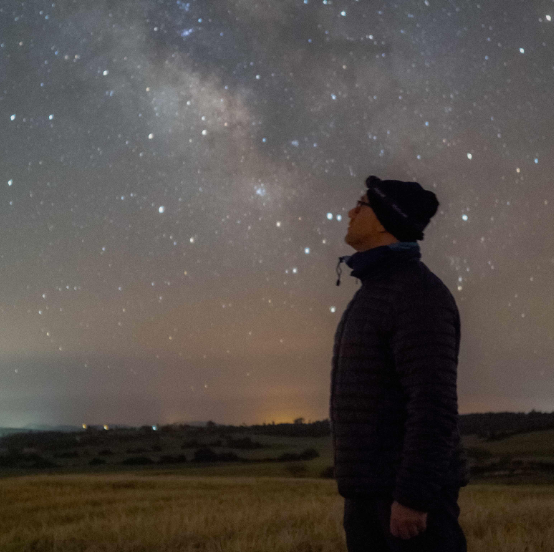

Star gazing at the night sky has a mesmerizing quality that has captivated humans for centuries. The vast expanse above us, adorned with stars, presents an excellent canvas for photographers willing to explore the art of long exposure night photography.
Here are some invaluable tips to help you embark on this celestial journey.
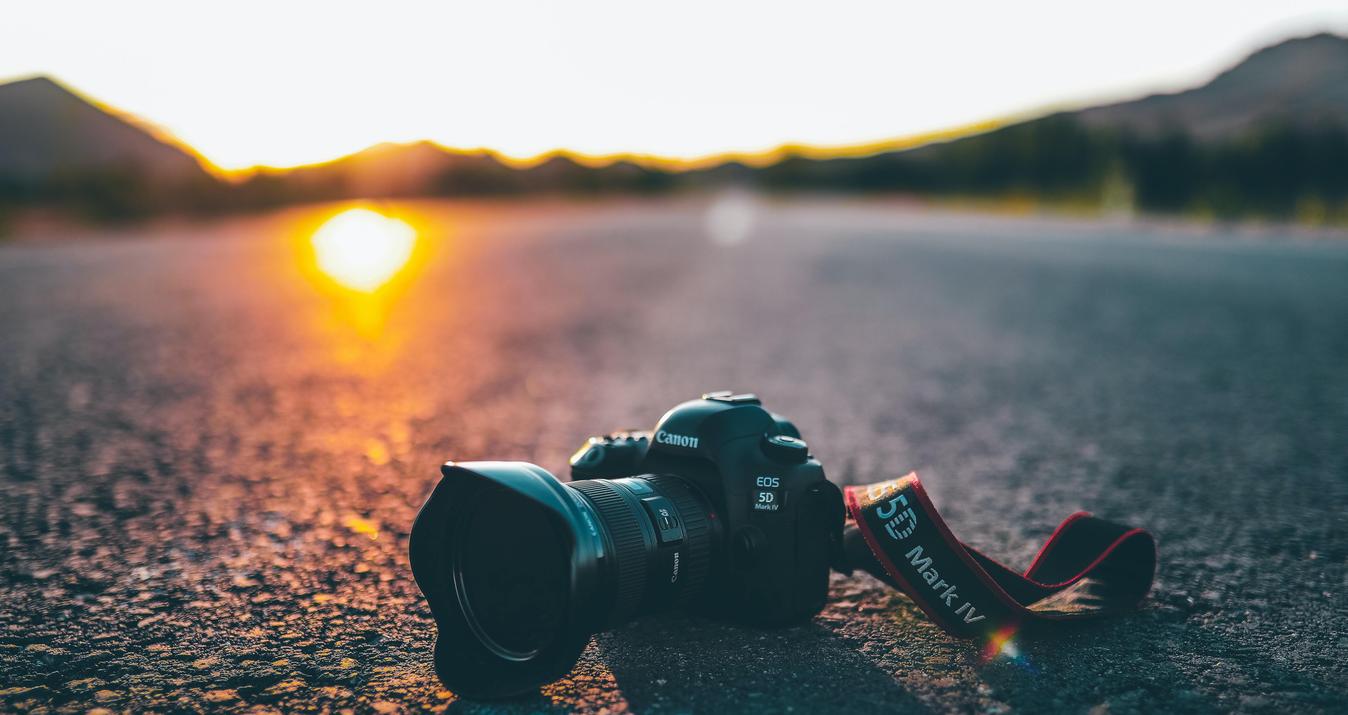
1. Essential equipment
Before venturing out into the night, make sure you have the right equipment. A sturdy tripod is your best companion, providing stability during long exposure shots. Invest in a wide-angle lens with a low aperture (f/2.8 or smaller) to capture more light and detail in the sky.
Be sure to include flashlights or headlamps in your gear. These tools are not only essential for your own visibility in dark environments but also become valuable allies for selectively illuminating elements of your scene. Whether for focusing attention on specific details or for light painting, having flashlights and headlamps expands your creative possibilities and ensures a safer experience during your night photography expedition.
2. Master Manual Focus

Autofocus can be a challenge in low light conditions. Switch to manual focus and take your time to focus accurately on a bright star or distant light. Use the live view and zoom function on your camera to achieve accurate focus.
3. Challenge the ISO Darkness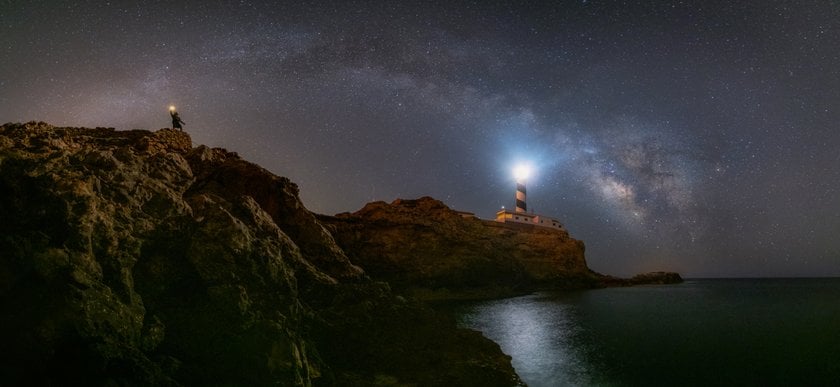

In night photography, it is often necessary to increase the ISO to capture sufficient light, especially in low-light situations. Higher ISO allows you to capture more detail, but you must balance this with the risk of introducing noise into the image. Knowing your equipment will help you find that limit, and you can always help yourself with Luminar Neo's noise reduction tool.
Explore the Future of Noise Reduction with NoiselessAI
Try It in Luminar Neo4. Reduce Shutter Speed
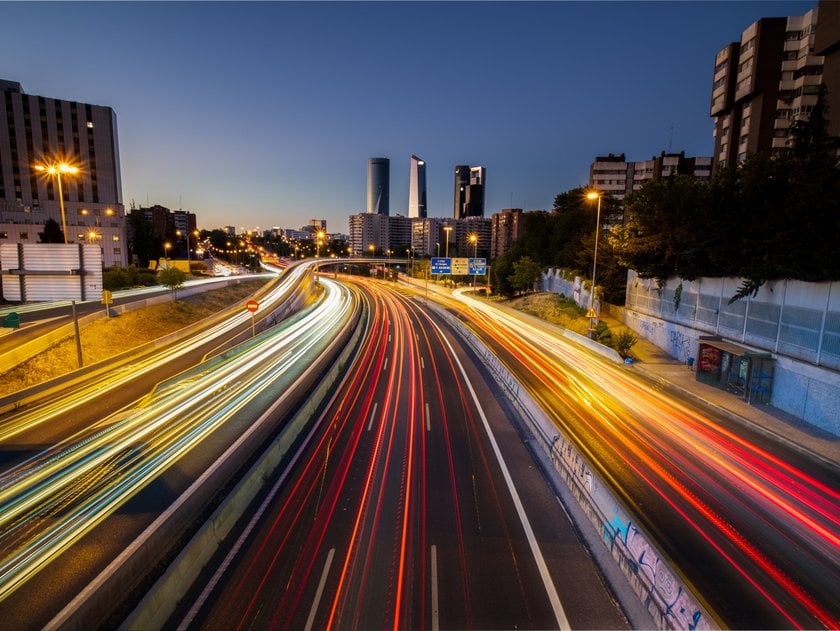

The magic of long exposure lies in extending the shutter speed. Experiment with different exposure times; start with 20-30 seconds and increase for unique effects such as star trails. A remote control or the camera's built-in timer helps avoid shaking during shooting.
When photographing the night sky to capture stars as sharp points, remember the multiplication factor of your camera's sensor. Instead of directly dividing 500 by the focal length of your lens, multiply the focal length by the sensor multiplication factor and then divide 500 by that result. The adjusted formula would be Maximum Exposure Time = 500 / (Focal Length x Sensor Multiplication Factor).
This will give you the maximum recommended exposure time to avoid blurring the stars due to the motion of the Earth. Adjust the shutter speed according to this formula for sharp, detailed results.
5. Capture in RAW Format
Capture your night sky images in RAW format. This provides greater flexibility during post-processing, allowing you to adjust exposure, color balance and correct imperfections without sacrificing image quality.
Powerful and Feature-Rich RAW Converter
Try it Now6. Watch out for the Location


Choose a location away from light pollution for optimal results. Remote areas or high points offer a clearer view of the night sky. Apps like Dark Sky Finder can help you discover dark sky locations near you.
7. Follow the Lunar Calendar
The moon can be both friend and foe in night sky photography. A full moon illuminates the landscape but can fade starlight. Plan your shots according to the moon's phases, favoring nights with a new or crescent moon for darker skies.
8. Experiment with White Balance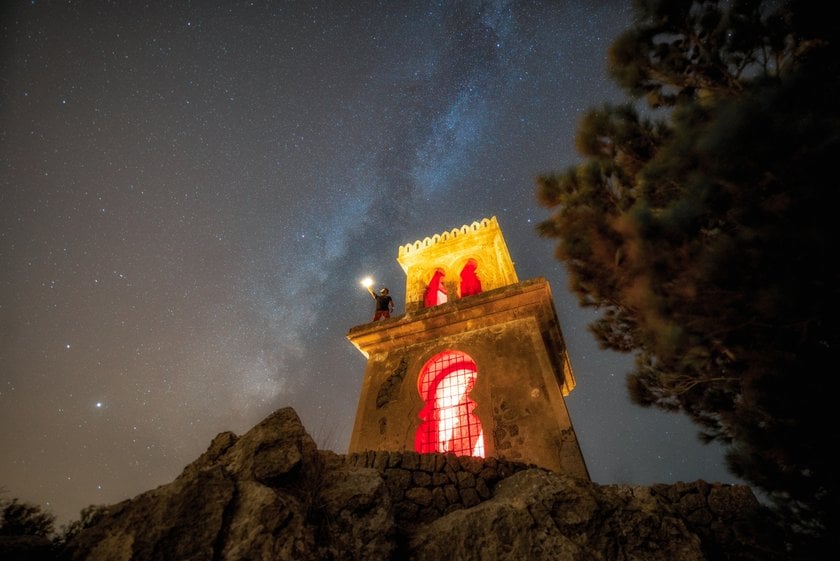

Play with your camera's white balance setting to find the right tone for your night shots. In general, setting the white balance to a value between 3200K and 4500K tends to produce pleasing results for most nighttime conditions.
However, the final choice will depend on your artistic vision and the specific lighting conditions on location. Experiment with different settings and adjust as necessary to achieve the desired mood.
9. Capture Close-Up Objects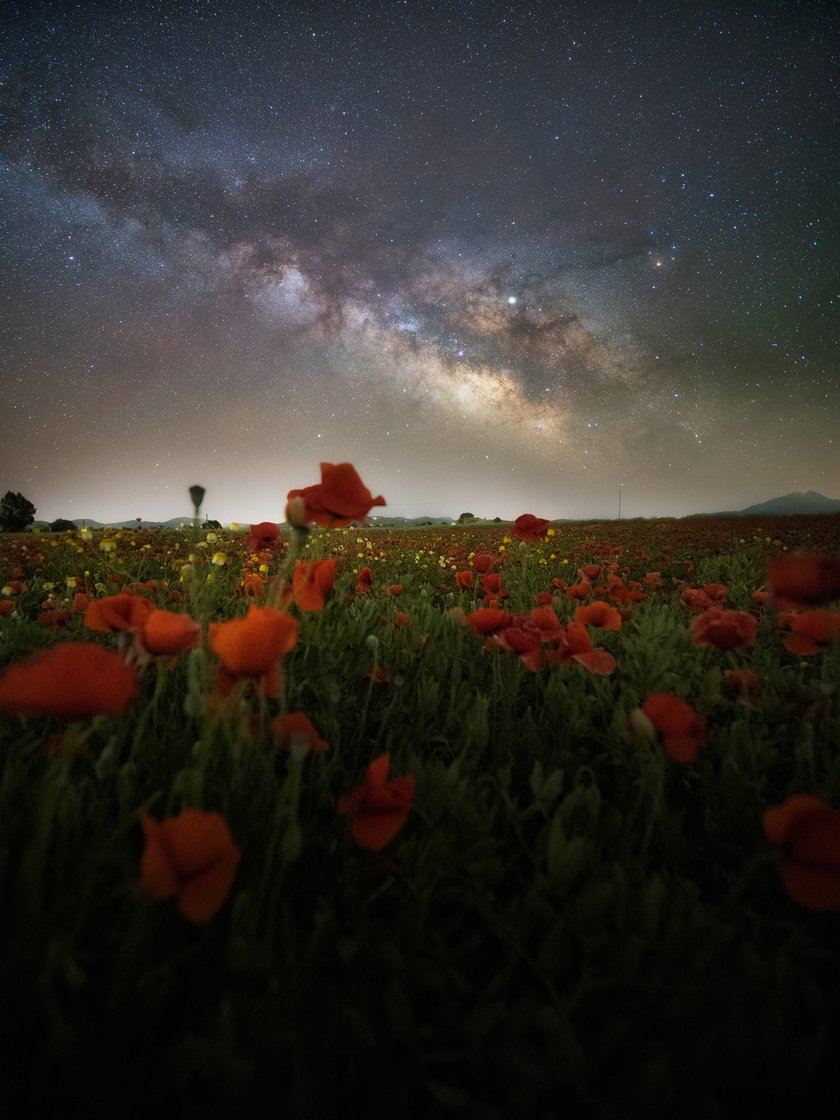

Include elements in the foreground to add depth and interest to your compositions. Silhouetted trees, rock formations, or landmarks can create a striking contrast against the cosmic backdrop.
10. Patience and Persistence
Night sky photography requires patience. Be prepared to spend time waiting for perfect conditions and experimenting with settings. The results, however, are often impressive, making the wait worthwhile.
Remember, the art of photography extends beyond the camera. Use tools like Luminar Neo to master the post-processing and give your photos a compelling atmosphere.
Wrap-up
Explore night photography with these practical tips. Let your camera capture the unique magic that unfolds as daylight fades and the night sky comes alive. This long exposure art reveals the beauty in the simplicity of darkness, with bright stars and night landscapes. Dare to experiment with your camera settings and discover the creative possibilities the night offers. Let each image be a visual testament to the serenity and intrigue that nighttime darkness offers.