Beginners often hear the advice to take shots exclusively in manual mode (M). However, it is important to recognize the value of each camera setting and how photographers can benefit from using them effectively. In this post, we will explore how to use aperture priority mode and why it has become the preferred option.
Professionals are continually searching for efficient ways to capture high-quality photos while considering a variety of settings and techniques. Among these factors, exposure stands out as a critical element. It always requires selecting the appropriate settings based on the situation. In addition, beginners who find the M mode intimidating can transition to alternative ways until they become comfortable with the basic functions and develop the skills necessary to confidently explore more advanced options. By the way, in our blog you can find the best camera settings for indoor photography.
Sure, the M option offers complete control over the entire picture-taking process. But there are times when speed is essential to get a shot without missing it, and other modes prove valuable. In our discussion, we have explored the comparisons between Av and M modes. Also, we have examined how photographers can benefit from using this option in several common shooting situations. We've put together everything you need to know on this topic in one place. Even if you're just starting, you can learn how to use your camera to its full capabilities.
Aperture Priority Mode Definition
This is a semi-automatic mode commonly found in digital cameras (often marked A or Av). It is designed to give you creative control over depth of field (DOF), while allowing the equipment to automatically adjust the other settings, like shutter speed (SS), ISO, and sometimes white balance, based on the selected aperture. Now you know what aperture priority mode.
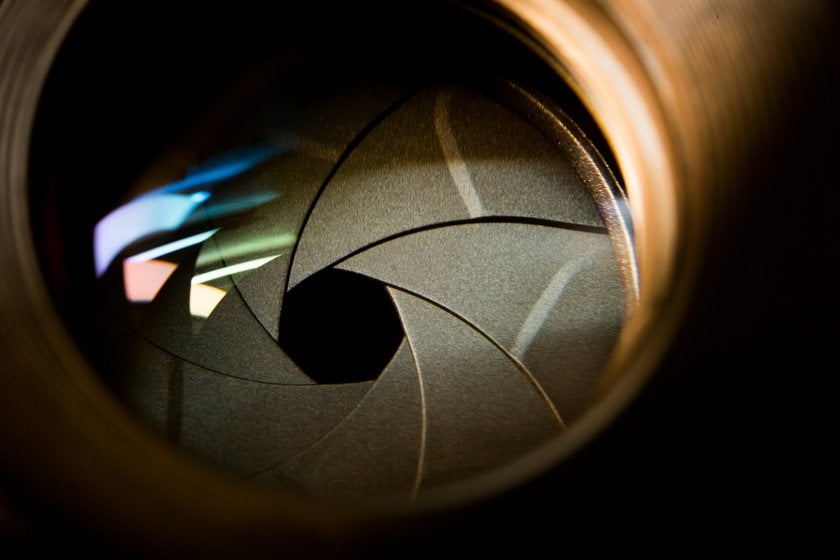 In this case, you select the desired aperture manually. When you set the desired f-number, the camera can select the shutter speed settings and ISO to produce a properly exposed image. But is aperture priority mode the best? This option strikes a balance between manual control and automatic adjustments, allowing for full control of the depth of field and expressing your creativity while the camera takes care of other settings. Also, if you want to learn more about manual mode or shutter speed in photography, follow these links to our blog.
Understanding Aperture Priority Mode: How It Differs?
First and foremost, manual mode gives you complete control over the aperture and other parameters, including SS and ISO. The photographer must manually adjust all of these parameters to achieve the properly exposed picture. But what does aperture priority mode do? It is a semi-automatic option. The photographer simply sets the aperture and the camera does the rest.
At the same time, manual mode provides the highest level of control but requires more knowledge and experience. It requires a solid understanding of exposure settings and how they interact. Photographers must be able to adjust all the settings to achieve the desired results. Av, on the other hand, offers a simpler approach to controlling DOF while relying on the camera's automation to make adjustments. It can be a useful stepping stone for photographers transitioning from fully automatic to more complicated mode.
 Manual control offers the greatest flexibility, allowing you to adjust all settings independently. It is useful in challenging lighting situations or when you have specific creative requirements. If you are a newcomer, you can begin with program mode, in which the camera sets both the SS and f-stop. This allows you to easily adjust exposure compensation to fine-tune the overall look of your shots.
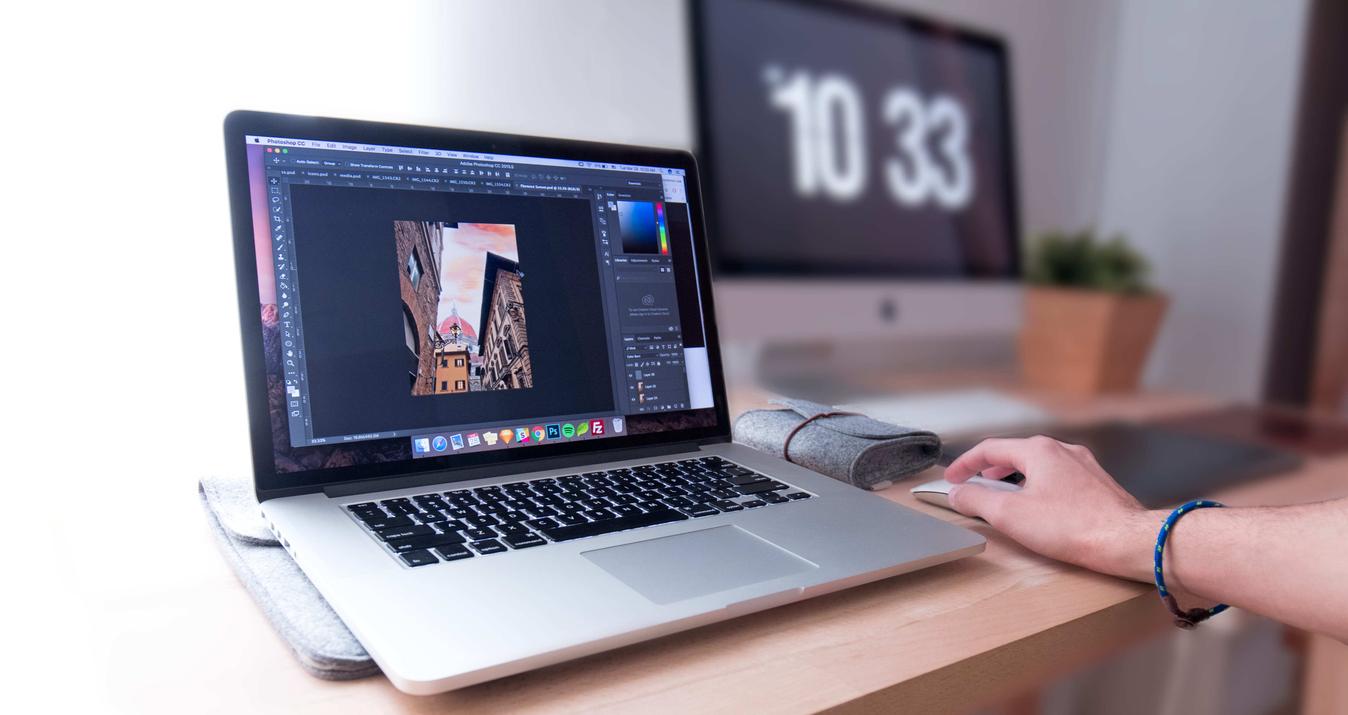
By the way, Luminar Neo makes it easy to make any picture look great, even if you didn't get the camera settings right the first time and think the photo turned out poorly. You can also dramatically transform any shot with just one tool in Skylum's online photo editor.
And what about shutter priority? is most effective in bright, intense lighting conditions. For instance, on a sunny day, settings like 1/500 at f/11 can be confidently used without concerns about reaching the aperture limit. However, in low-light situations, you must take into account the potential limitations of reaching the maximum.
When to Use Aperture Priority Mode?
It is well suited for various scenarios where controlling the DOF is critical to achieving the desired creative effect. Here are some situations where using the Av mode can be advantageous:
- Portraits. It allows you to create a pleasing background blur while keeping the subject in sharp focus. By selecting a low aperture, such as f/2.8 or f/4, you can achieve a shallow DOF that isolates the model and draws attention to him or her. You can also create great portraits with our selection of Vintage presets for Lightroom.
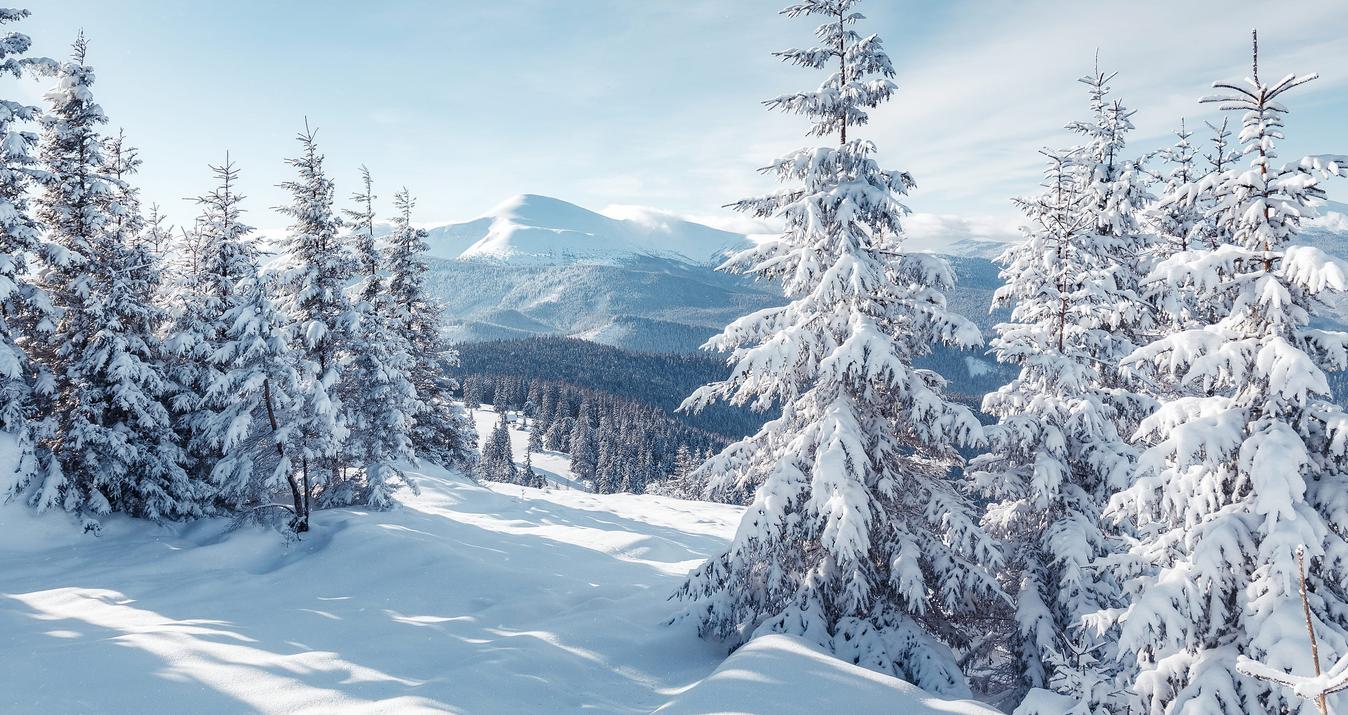
- Landscapes. In landscape photography, you may want to capture a large DOF to ensure that both the foreground and background are in focus. By choosing a higher f-number, like f/8 or f/11, in Av, you can maximize the DOF and capture detailed scenes. And remember that you can enhance any image with our picture presets for Luminar Neo.
- Macro. Controlling the DOF is critical when photographing close-ups or capturing intricate details. Av allows you to choose an appropriate aperture to ensure the desired level of sharpness in macro shots.
- Creative control. What is the aperture priority mode used for? Av allows you to prioritize DOF while letting the camera adjust SS and sometimes ISO to maintain proper picture quality. This mode allows you to experiment with different settings and explore various creative possibilities.
Advanced yet easy-to-use photo editor
Get Luminar Neo Now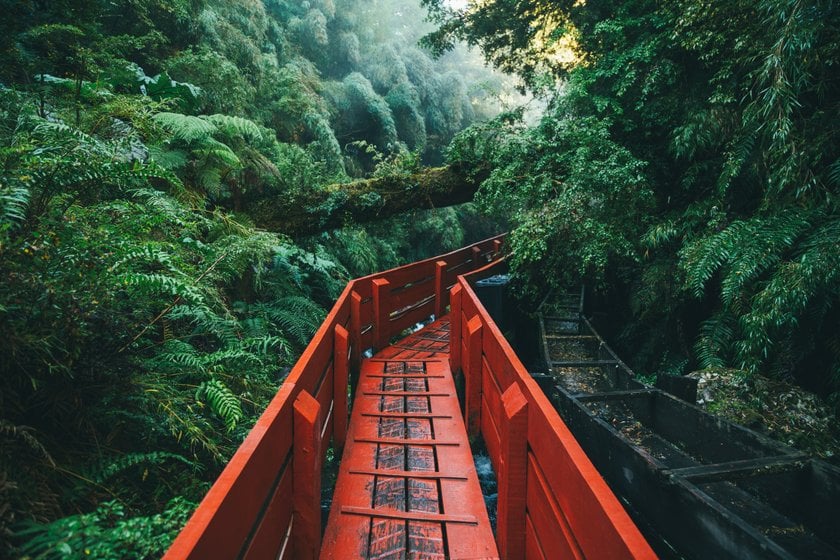 So, this option gives you the flexibility to control the DOF and express your creativity while relying on the camera's automation for adjustments.
Aperture Priority Mode in Photography: How to Use It?
You may not have used this option on your camera before. Here are a few simple steps to help you:
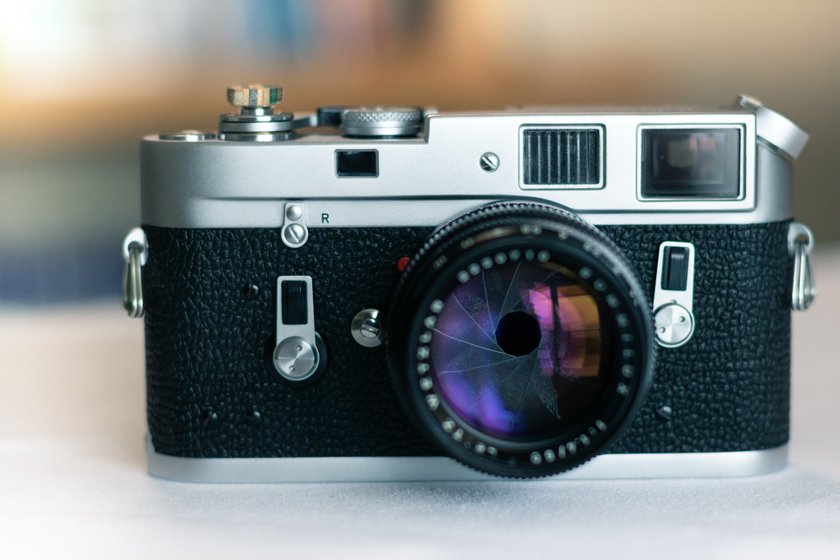
- Look for the mode dial on your device, usually marked with "A" or "Av". Rotate it to select the desired option.
- Use the control dial or buttons to adjust the aperture. Lower values result in a shallower DOF, while higher values create a larger DOF.
- Observe the display or viewfinder to see how the device adjusts the other parameters. The metering system evaluates the scene and makes the necessary adjustments.
- If the resulting image appears too bright or too dark, use the exposure compensation. (it is represented by a +/- symbol on a dedicated dial or specific buttons).
- Using aperture priority mode, focus on your subject using either manual or autofocus. Also, compose the frame according to your artistic vision.
- Press the shutter button to take the photo. The device will use the selected value and adjust the other settings accordingly to achieve a balanced shot.
- After capturing the photo, review the image on your device's LCD screen. If needed, make further adjustments and take additional shots until you achieve the desired result.
 As we mentioned above, this mode is labeled differently on devices from various brands. It can be indicated by the letters A (for instance, on Nikon and Sony models) or Av (on Canon equipment). To turn on the option you want, just turn the dial on the top of the camera so that the letter designation is next to the pointer in the form of a line or a triangle. As you can see, there is nothing complicated.
When A or Av Mode Is Unnecessary?
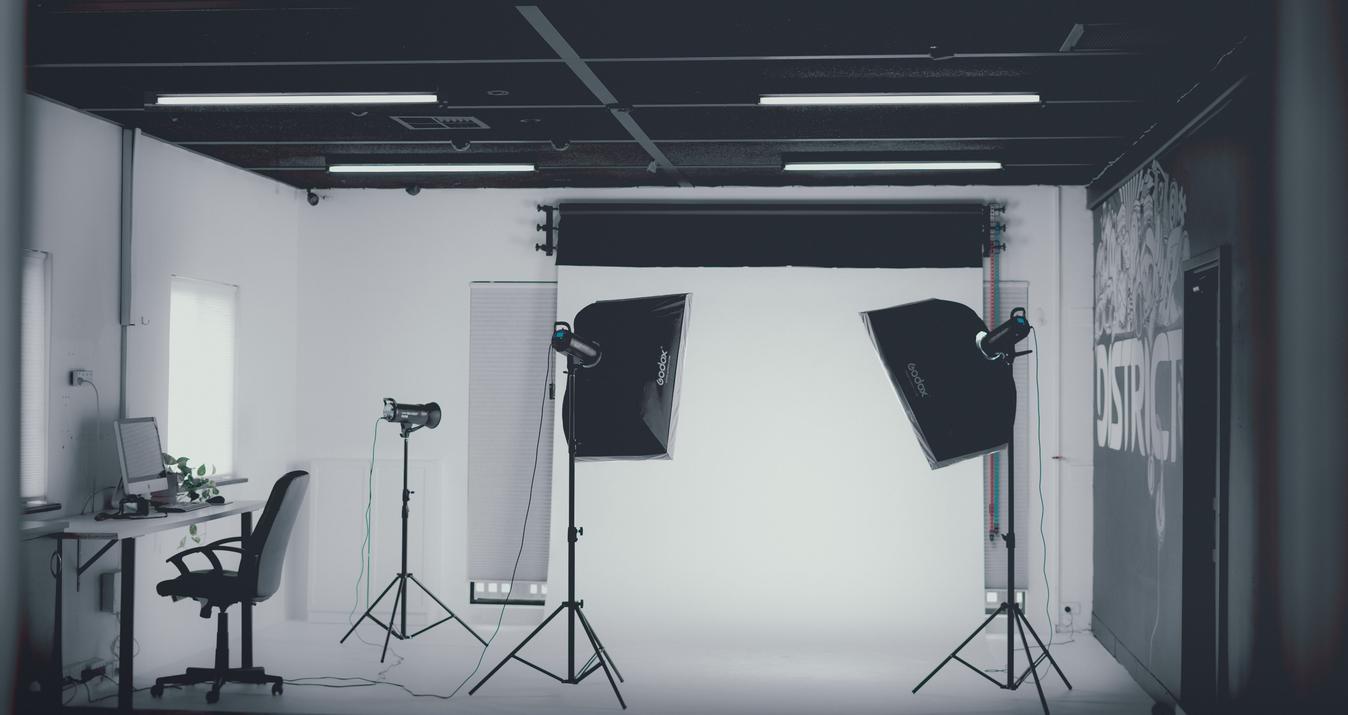
Why use aperture priority mode? We have already figured out in which situations it will be appropriate. Also, there are certain cases where using this mode may be unnecessary or less advantageous. For example, in certain lighting conditions or specific photography techniques, having full manual control over all settings is necessary. This could include situations where you want to intentionally overexpose or underexpose an image, or when using external lighting setups that require precise manual adjustments.
In dimly lit environments, A or Av mode can sometimes result in slower SS, leading to blurry images due to camera shake or subject movement. And when using a flash, the Av option leads to an imbalance between the subject and the background. In such cases, M mode is preferable, as you can achieve the desired balance of ambient light and flash illumination.
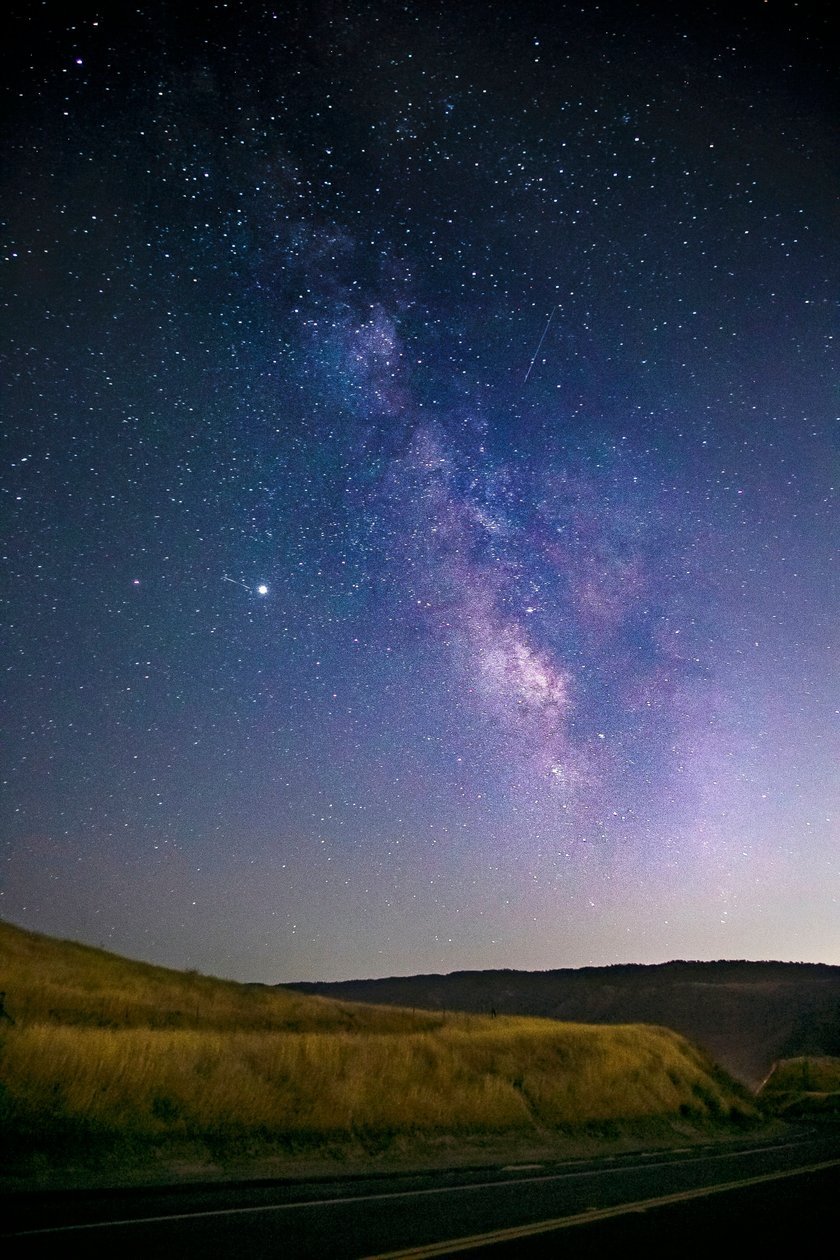 It can have limitations in certain situations, such as Milky Way photography, where automatic exposure may not accurately meter the scene. Such images taken in Av can turn out too dark or inconsistently exposed. To address this, many photographers prefer using M mode for capturing star photos or images in extremely low-light areas.
Also, in situations where you need consistent settings for a series of images, such as for panoramas or HDR photography, using M mode can ensure that all images have the same exposure values. Av option may lead to slight variations as the camera adjusts other settings automatically.
Don't forget that the choice of mode depends on your specific needs, creative intent, and photographing conditions. While Av offers special control over DOF, there may be instances where other options better suit the situation and simplify the process. You need to understand the strengths and limitations of each mode and find the most appropriate one for each scenario.
To Sum It Up
The desire for creative control over any scene is often a driving force behind many photographers. Captivating elements like background blur, bokeh, light trails, and ethereal effects of flowing water spark our fascination. In all these aspects Av holds an advantage over program mode. With Av, photographers retain greater control over various techniques, whether it's shaping DOF to isolate objects or capturing motion in a desired manner. This mode empowers you to exercise your unique artistic vision and take photos that evoke the real delight of the viewer.
And be sure to try Luminar Neo powerful tools for both advanced editing and efficient photo organization.
FAQ
Do Expert Photographers Use Av Mode?
Yes, many professionals do use this as part of their toolkits. While photographers often have a strong command over manual settings, such an option offers a balance between creative control and automation, making it a valuable choice in various scenarios. Av mode allows professionals to prioritize controlling the DOF while still benefiting from the camera's automatic adjustments for proper exposure.
Is Av Better than M Mode?
The superiority of Av over M mode is subjective and depends on the photographer's preferences and circumstances. The manual option provides complete control over settings, while Av offers a balance between control and automation, prioritizing DOF adjustments. Also, Av mode can be advantageous for quick adjustments and changing lighting conditions, while the M option requires a deeper understanding of exposure principles.
What Is the Disadvantage of Av Mode?
The main drawback of this mode is that it prioritizes controlling the DOF over other parameters. While the camera adjusts SS and sometimes ISO automatically, it may not always result in a great picture, especially in challenging lighting conditions. Additionally, relying solely on Av mode might limit the creative possibilities that come with full manual control over all settings.