The success of a photographer at any level lies in the quality of the photo shot he gets after doing a lot of work. To get a good result, you need to think about the subject line, props, and idea, and apply your theoretical knowledge and techniques.
One of the techniques that will help you make your results fantastic is balance photography. You can put a lot of effort into the clarity of the frame, clean it of noise, and use auto-edit photos, but without using balance and photography composition, the viewer's attention will constantly be distracted by something.
With this method, the concept of the frame becomes absolutely clear to the viewer and does not force him to focus his attention on any particular object.
After when you understand the question "What is balance in photography," you need to improve your knowledge of such aspects:
- types of balance in photography exist;
- construction of a balanced image to achieve balance in photography composition;
- compositional elements.
Of course, you can use editing software for photography however, you should not count on it alone.
This is not an exhaustive list. Let's look at it in more detail!
Balance Photography Definition: The Art of Visual Equilibrium
 In simple terms, when using this method of work, all the objects in your frame acquire the same role and become on the same level. There won't be a non-main or main subject, they have to merge into one story.
In order to achieve a sense of balance in photography, you have to decompose your entire frame into its individual components, and it's not just about things in the physical meaning field. You need to see the visual weight of the elements of the photograph and understand what the conceptual balance will be. In other words, if we explain balance photography definition, it is a composition composed of such coordinated elements:
- colors, shapes, textures, and other such characteristics;
- objects, emotions, actions, and so on;
- and you have to analyze the position of the camera, the focal point, and the distance between the camera and the subject.
With an understanding of balance and a single ratio of all of the above elements, you will definitely be able to achieve a balanced composition.
Achieving Color Balance in Photography for Enhanced Visual Impact
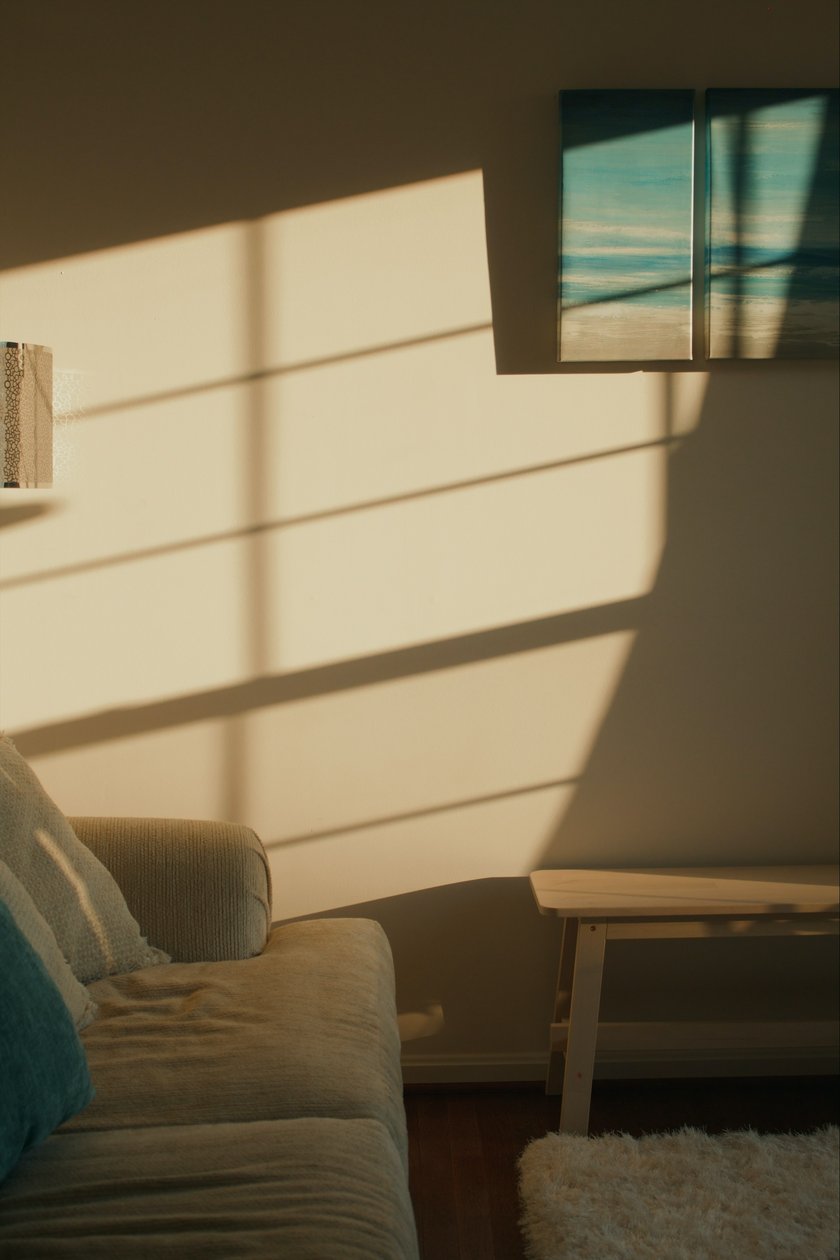
This type of balance is a kind of asymmetrical balance. Its essence is to dilute the frame, which uses exclusively calm tones, on the contrary very bright shades. But you need to place the color so that the overall view of the photo remains well-balanced.
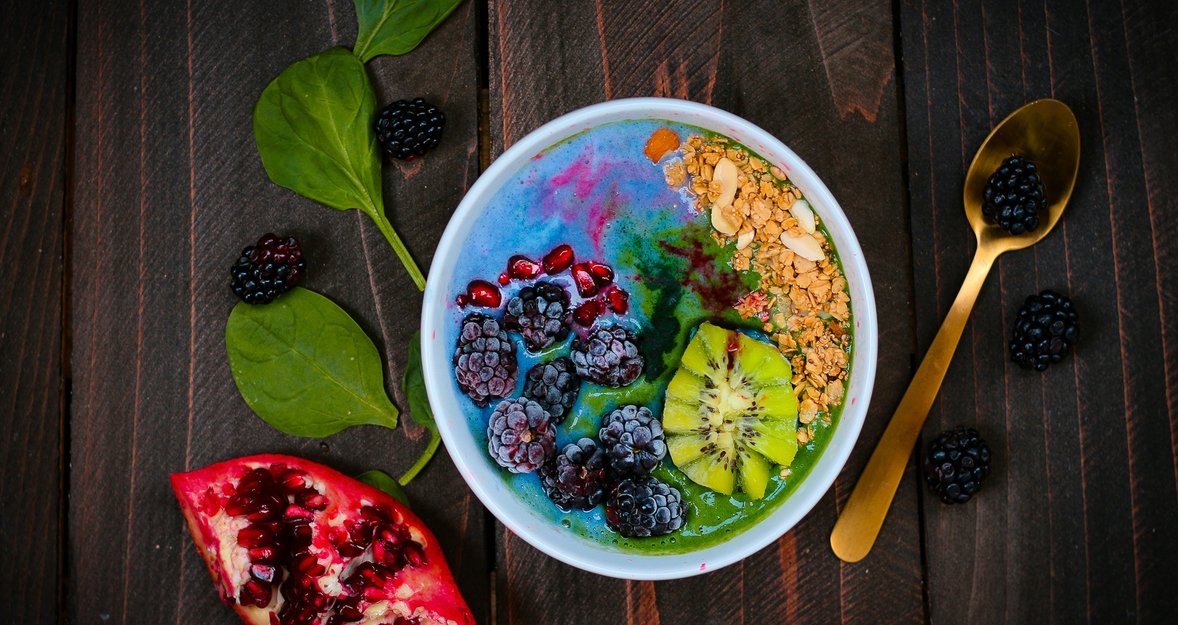
To make it clearer, let's look at color balance photography examples:

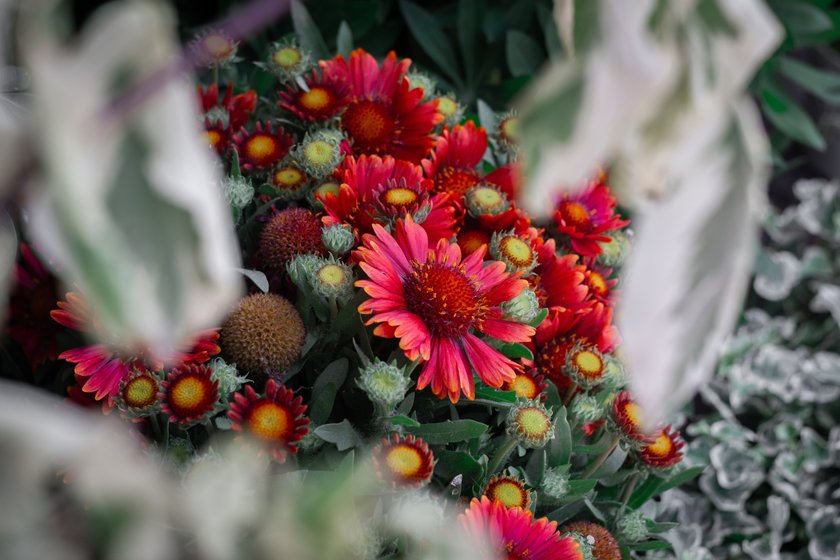 As you can see above in the image with the aquarium fish, balance is achieved by placing a bright "spot" in the frame on a monochrome background. Color balance can help you when you need to add brightness to a "boring" shot. It also works the other way around when you want to "calm down" a shot with a lot of colors with natural tones. By the way, for this type, you can use the color wheel, selecting the colors opposite each other.
In general, working with color is quite a time-consuming process, and to be able to work with it you need to have a lot of knowledge. Without it you will ruin the frame, not really understanding why, for example, the skin of your subject is too yellow, or any other object on the frame looks different.
You need to understand that light also has its own color, and it is different, for example, from the daylight and the lamp in the studio. In such a situation, a white balance can help you. You asked, "What is white balance in photography". In simple words, it changes the color temperature by changing the camera settings. That is, the camera will perform the function of bringing the unwanted color as close to the natural color as possible.
Advanced Techniques for Creating Balanced Photographs
There are a total of five types of balance, namely:
- color;
- tonal;
- conceptual;
- asymmetrical;
- symmetrical balance.
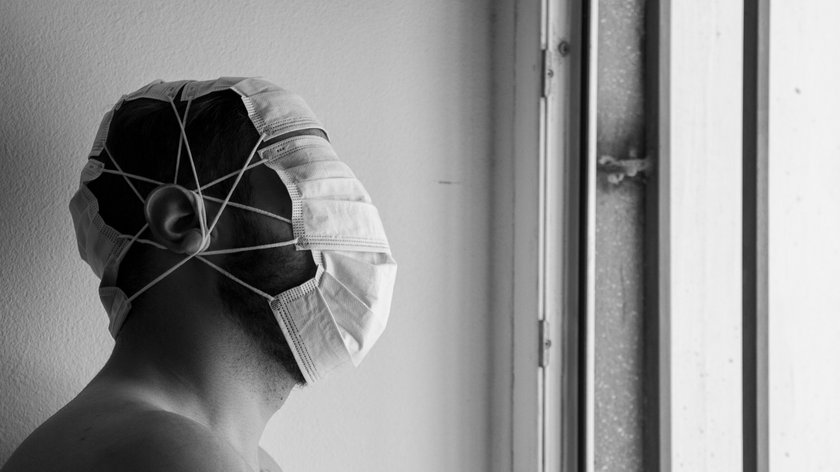
We have already mentioned the first type above, so let's skip that and go straight to tonal balance. The best example of this type is black and white photography or a photo taken in monochrome shades. That is, when the tonal balance is applied, there will be strong contrasting tones. Good examples are in the photos below:
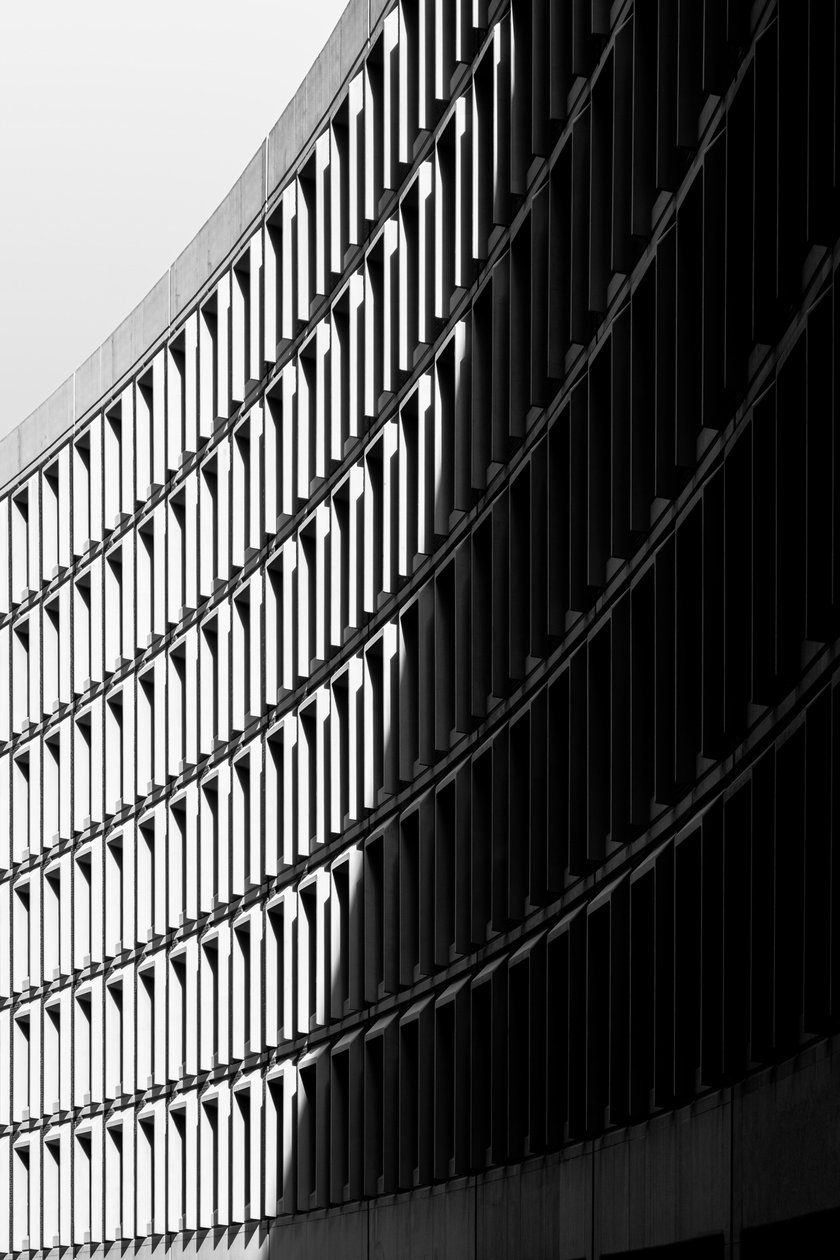 In order for you to have an interesting photo is suggested to use large objects and place the light elements at a distance from the dark to maintain visual contrast.
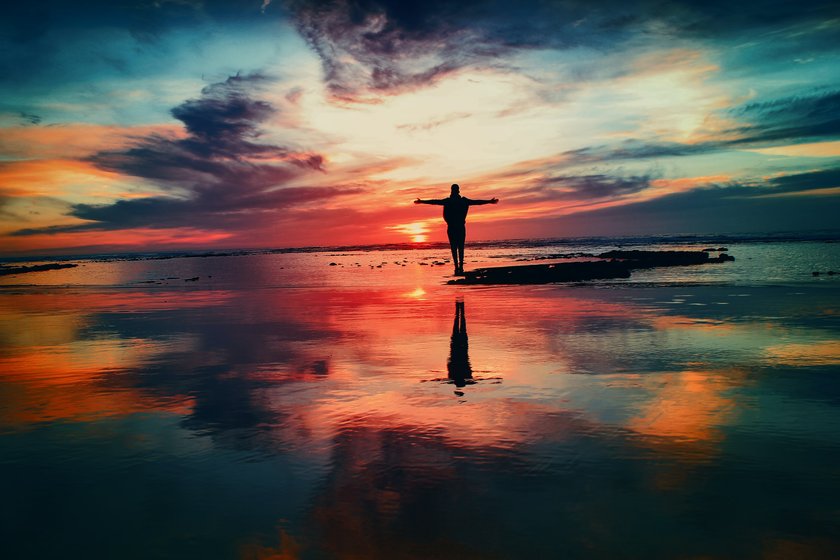
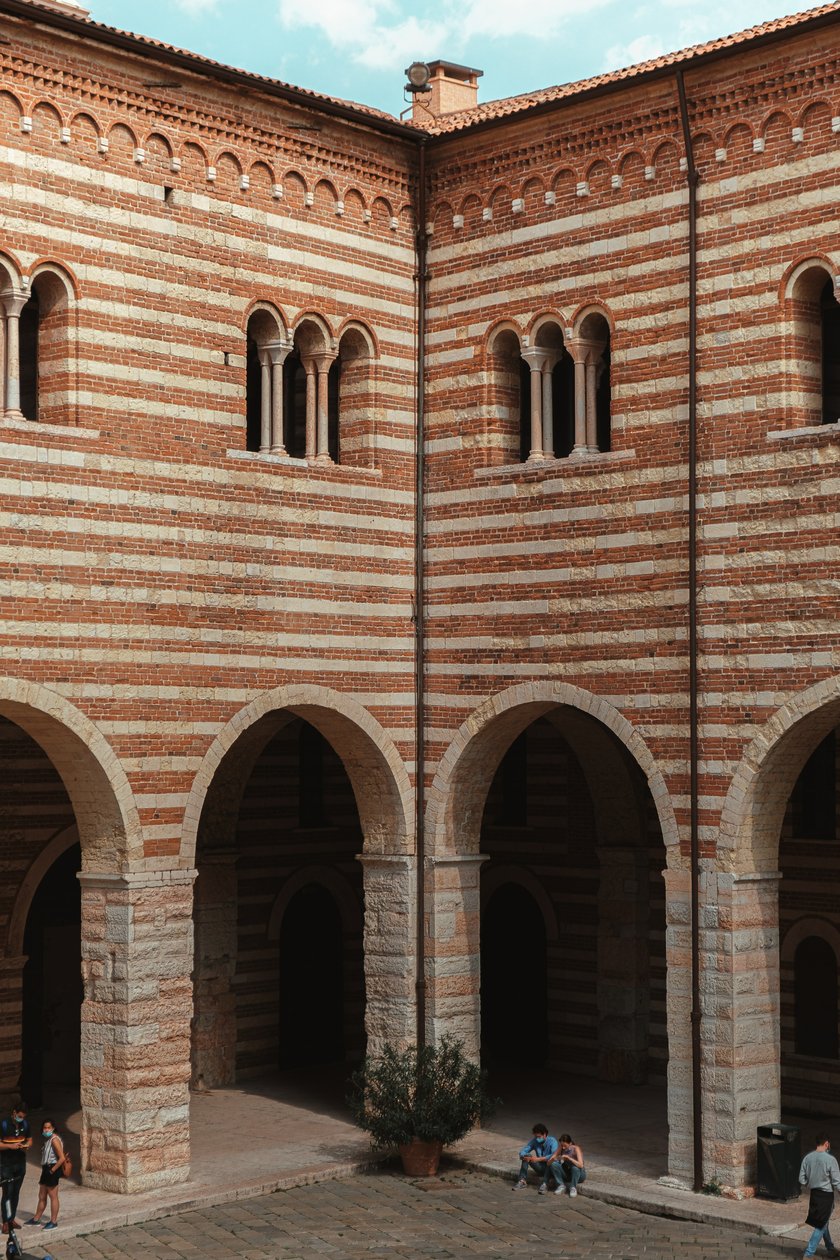
Next, let's move on to symmetrical balance photography, which is also called formal. From the definition, it is also clear that the meaning of this type is that it is necessary to keep the symmetry of the object in relation to the edge of the frame. In this case will be very interesting to look effect of the mirror reflection of the two halves of the frame, if in the middle will be the main object. Also, this technique is often used to shoot nature, landscapes, or objects for advertising work.
 Conceptual is more than just a beautiful photo. The author has to think about the idea of such a shot because it should involve a comparison of several completely different objects. Often such a comparison is next to buildings built many decades apart. In order you have the idea of such a frame think about what and with you associate such concepts as:
- kindness and wickedness;
- will and willlessness;
- light and dark;
- past and future.
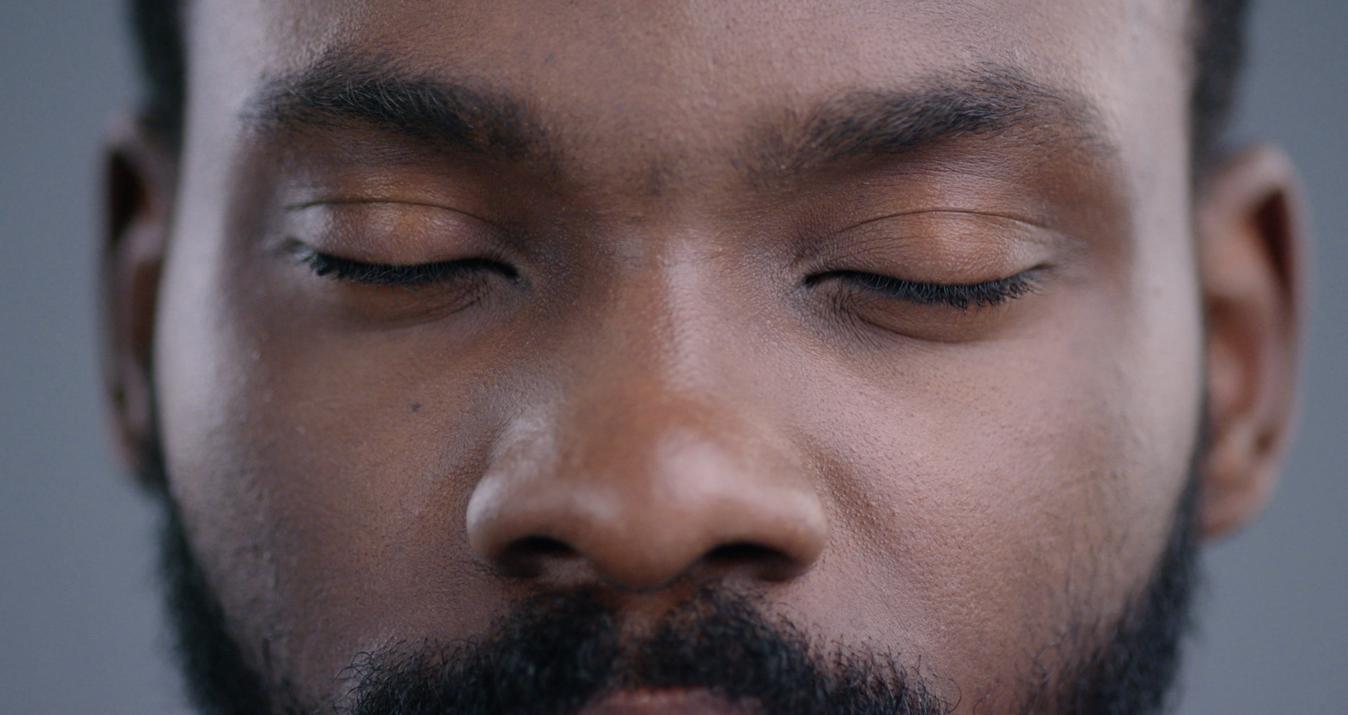
Experiment with textures and shapes. An example, look at the man looking into the light but with his eyes closed, as in the photo below.
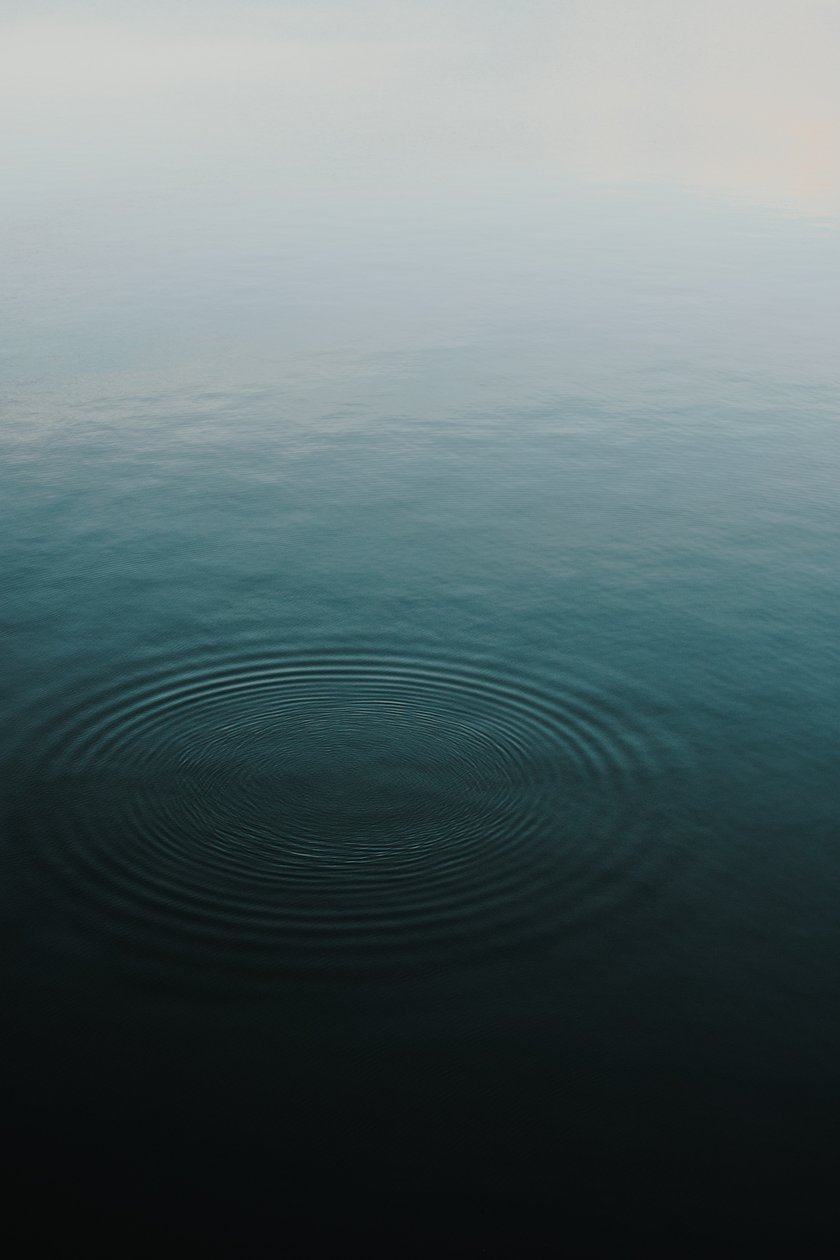
 When using asymmetrical balance photography (informal balance), the object is not placed in the central part of the photo, but at a distance of one-third from any edge of the frame you choose. In order to orient the object correctly, pay attention to the display of your camera, where you can select the setting that will accordingly divide the future frame by lines. Also, in order to visualize this type of unbalance in the frame place the object so that it is on the opposite side from the opposite element.
In order to orient the object correctly, pay attention to the display of your camera, where you can select the setting that will accordingly divide the future frame by lines. Also, in order to visualize this type of unbalance in the frame place the object so that it is on the opposite side from the opposite element.
The Importance of Post-Processing for Balanced Photography
 One of the main and final stages of the photo is the post-processing process. A variety of editing software, color changer for pictures, and tools such as mask layers, filters, brush tools, and other booster elements can help you with this.
The main issue that happens when working with different types is the color problem. And in this section, we need to return to the white balance in the photography definition. As you can see from the text above, we are not talking about image lightening at all. Using this method, you are editing a distorted color for some reason to a realistic shade.
This can be done in the process of post-processing a photo using any editor, namely:
- dropper tool;
- automatic settings;
- if the previous method does not produce the desired result you should manually work with the sliders and the "shade" function.
In order to correct color inaccuracies with the eyedropper, after selecting the tool, you need to identify and click on a part of the photo with a neutral hue. This can be black, gray, or any other calm color. If you are not satisfied with the result the first time, keep experimenting with different parts of the photo. A little trick, in case of failure: keep track of RGB indicators, and trace in what area they will be closest to each other. In this case, you will definitely be able to achieve the desired result.
Also, note that you can successfully edit a photo using the "shade" function only if the photo was shot in the RAW format.
Conclusion: Mastering Balance for Stunning Photography
Practicing each of the above types will definitely make your portfolio more interesting. Try to think geometrically, and at the beginning of mastering a new skill, stick to minimalism in the frame. When editing a photo analyze the ones that didn't turn out well. Practice, learn from your mistakes and you're sure to succeed!
FAQ
Let's look at the main questions that come up when considering this subject.
What Is White Balance in Photography?
White balance definition in photography refers to the process of editing the hue of color from distorted to natural, by using the settings of a camera or photo editing application, by correcting the "color temperature".
What Is Balance in Photography?
We can define it as a compositional technique in which objects in the frame are placed in such a way as to balance the visual weight of the entire photo.
What Does Balance Mean in Photography?
The point is that due to the correct placement of the elements in the frame, there is no main object. By visually balancing each element, you get a photo in which the viewer's eye will not be distracted by anything, or will attract more attention.
What Is Symmetrical Balance in Photography?
When the object is placed in the center of the frame and often the images on its sides look mirrored, which creates a symmetrical effect. That's what we're talking about in this case.
What Is Radial Balance in Photography?
This is a type of symmetrical balance in which the elements of the frame are arranged around a central point.